May 24, 2026
How to Schedule Shopify Blog Posts Without Losing Product Context
A step-by-step Shopify blog automation workflow that keeps product context, SEO links, visuals, and draft review in place.

How to Schedule Shopify Blog Posts Without Losing Product Context

A scheduled Shopify blog only works if it still feels connected to the store. If the draft is generic, the reader gets a tidy article and no useful next step. Supra Blog Automation is built to prevent that. It can generate SEO-focused posts, pull in product or collection context, add internal links and visuals, and either publish immediately or save a draft for review.
If you want the cadence side of the system first, How to Build a Shopify Content Calendar That Writes Itself is the best companion guide. If you want the product-first framing, How to Build a Product-Aware Shopify Blog Workflow covers the same idea from a different angle.
1. Pick one product and one reader problem
Start by narrowing the brief to a single product or collection and one question the shopper is trying to answer. That might be “which variant should I buy,” “why does this product solve my problem,” or “what should I read before I compare options.”
That decision matters because generic prompts produce generic posts. Product-aware prompts produce posts that can mention the real use case, the real collection, and the actual action you want the reader to take.
Expected result: you can describe the post in one sentence, and the sentence includes the product, the reader problem, and the next action.
2. Set the post goal inside Supra Blog Automation
In Supra Blog Automation, choose whether you are creating one post or a recurring workflow. Then set the topic, tone, post goal, product or collection to feature, and allowed image sources.
The product supports SEO-focused structure, built-in internal links, product promotion, and image generation. It also supports publish-now or save-as-draft control, which is important because not every article should go live the moment it is generated.
If you are unsure whether the workflow should be automated or reviewed, start with draft mode. That gives you speed without giving up control.
Expected result: the generator knows what to write, what to promote, and how strict the publish step should be.
3. Add SEO structure before you write the full draft
A useful Shopify post should have a clean outline before the full prose is generated. Define the primary keyword, a clear H2 structure, and a small set of links that help the reader move through the store.
At minimum, I want links to the relevant product page, the relevant collection page, and one related help or FAQ page. If there is a comparison or educational post already on the blog, link that too.
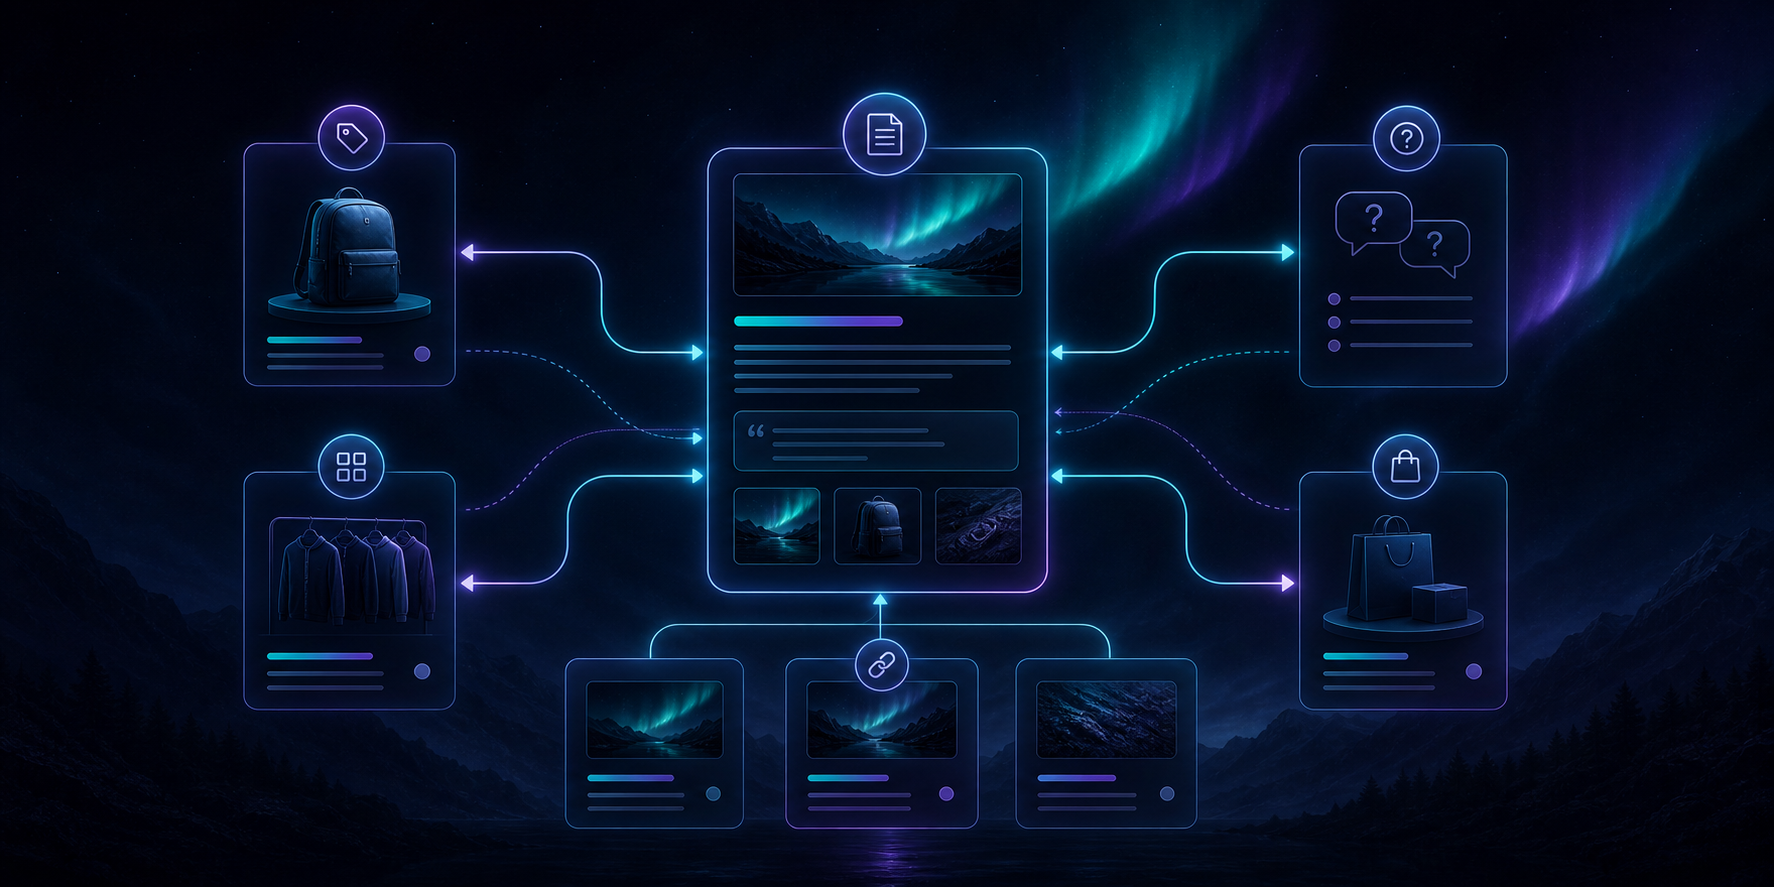
That network matters because it keeps the blog from becoming an isolated content island. The article should support the store, and the store should support the article.
You can see this idea in How to Turn Shopify Products Into SEO Blog Posts on a Schedule and How to Automate Shopify Blogging Without Losing Product Detail. Both are good reminders that the link structure is part of the article, not an afterthought.
Expected result: the post points to one primary product path and a few supporting pages instead of scattering random links.
4. Choose visuals that explain the workflow
Supra Blog Automation can use AI-generated visuals, stock images, product photos, or product-based references. For a guide like this, the images should explain the system, not decorate the page.
A good pattern is:
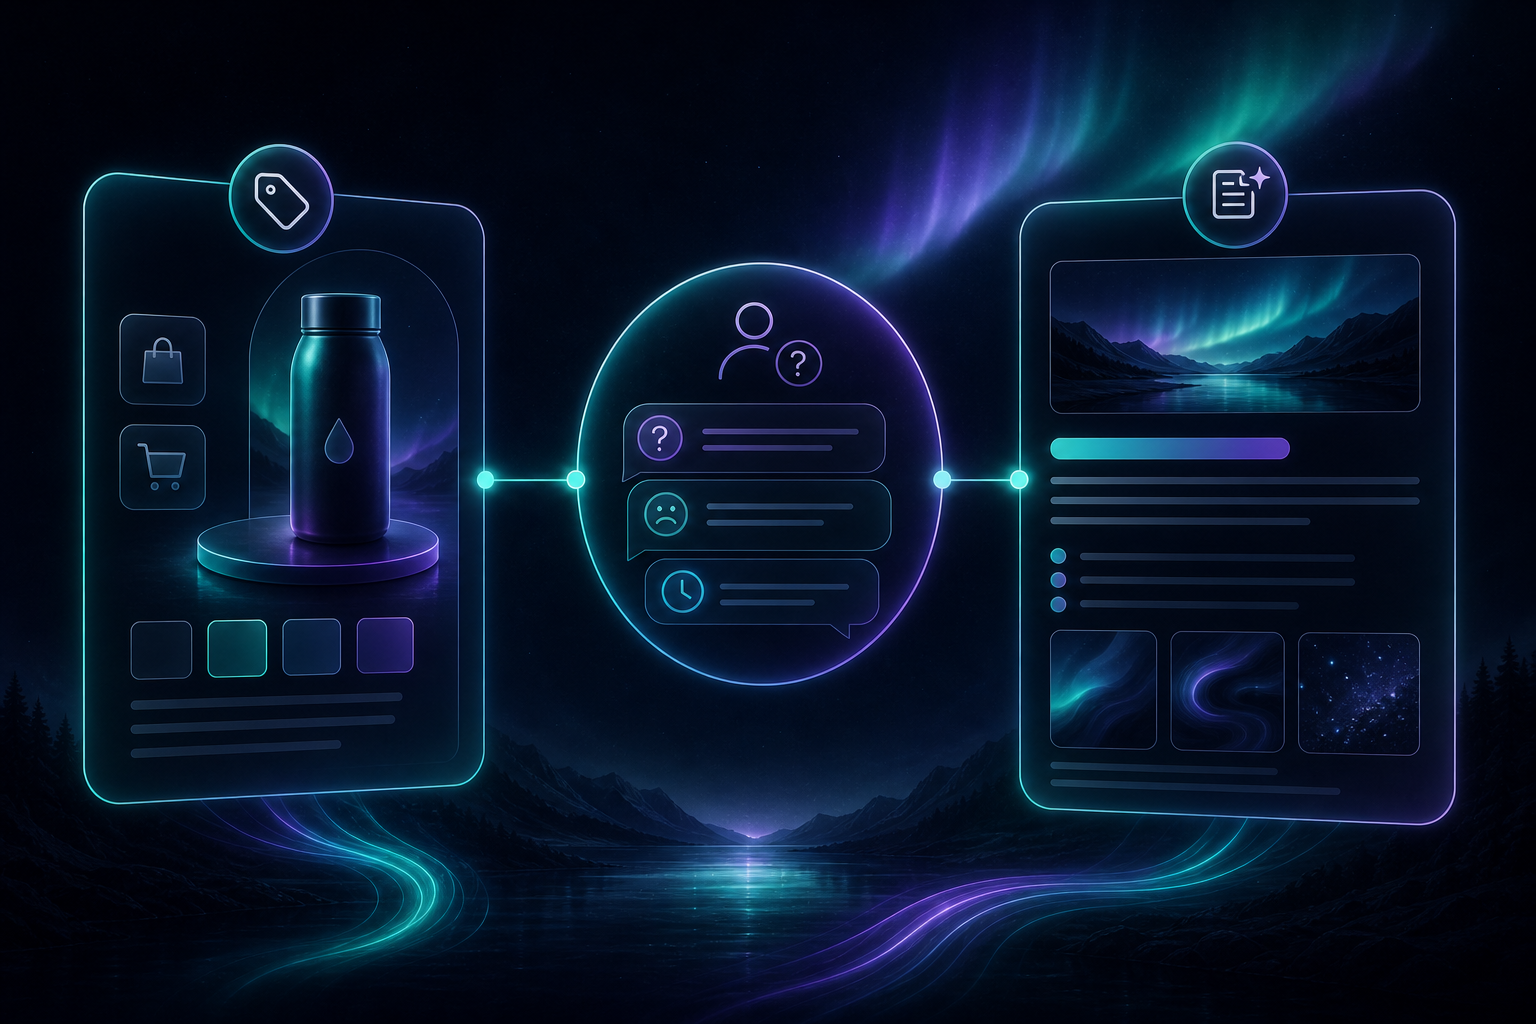
- a banner image that sets the mood and topic;
- one image that shows how product context becomes a blog brief;
- one image that shows internal link structure;
- one image that shows the review or publish gate;
- one image that shows the recurring schedule.
For the visual style, I prefer a dark, atmospheric treatment that matches the calm technical tone of the guide. That is the right place to use translucent panels, soft gradients, and clean workflow metaphors.
Expected result: every image earns its place by clarifying the article structure or the publishing workflow.
5. Keep a human review gate
Even if the generator can publish automatically, you should still review anything that touches product accuracy, pricing, claims, policy language, or brand voice.
Before publishing, check:
- the product facts;
- the CTA;
- every link target;
- the alt text;
- whether the tone still sounds like your store.

This is where draft mode is useful. You get a fast first pass, but a human still decides whether the article is ready.
If you want a deeper reminder of why that review step matters, How to Build a Shopify Blog Automation Workflow That Still Sounds Human is the most practical reference in the recent archive.
Expected result: the article is fast to produce without becoming careless.
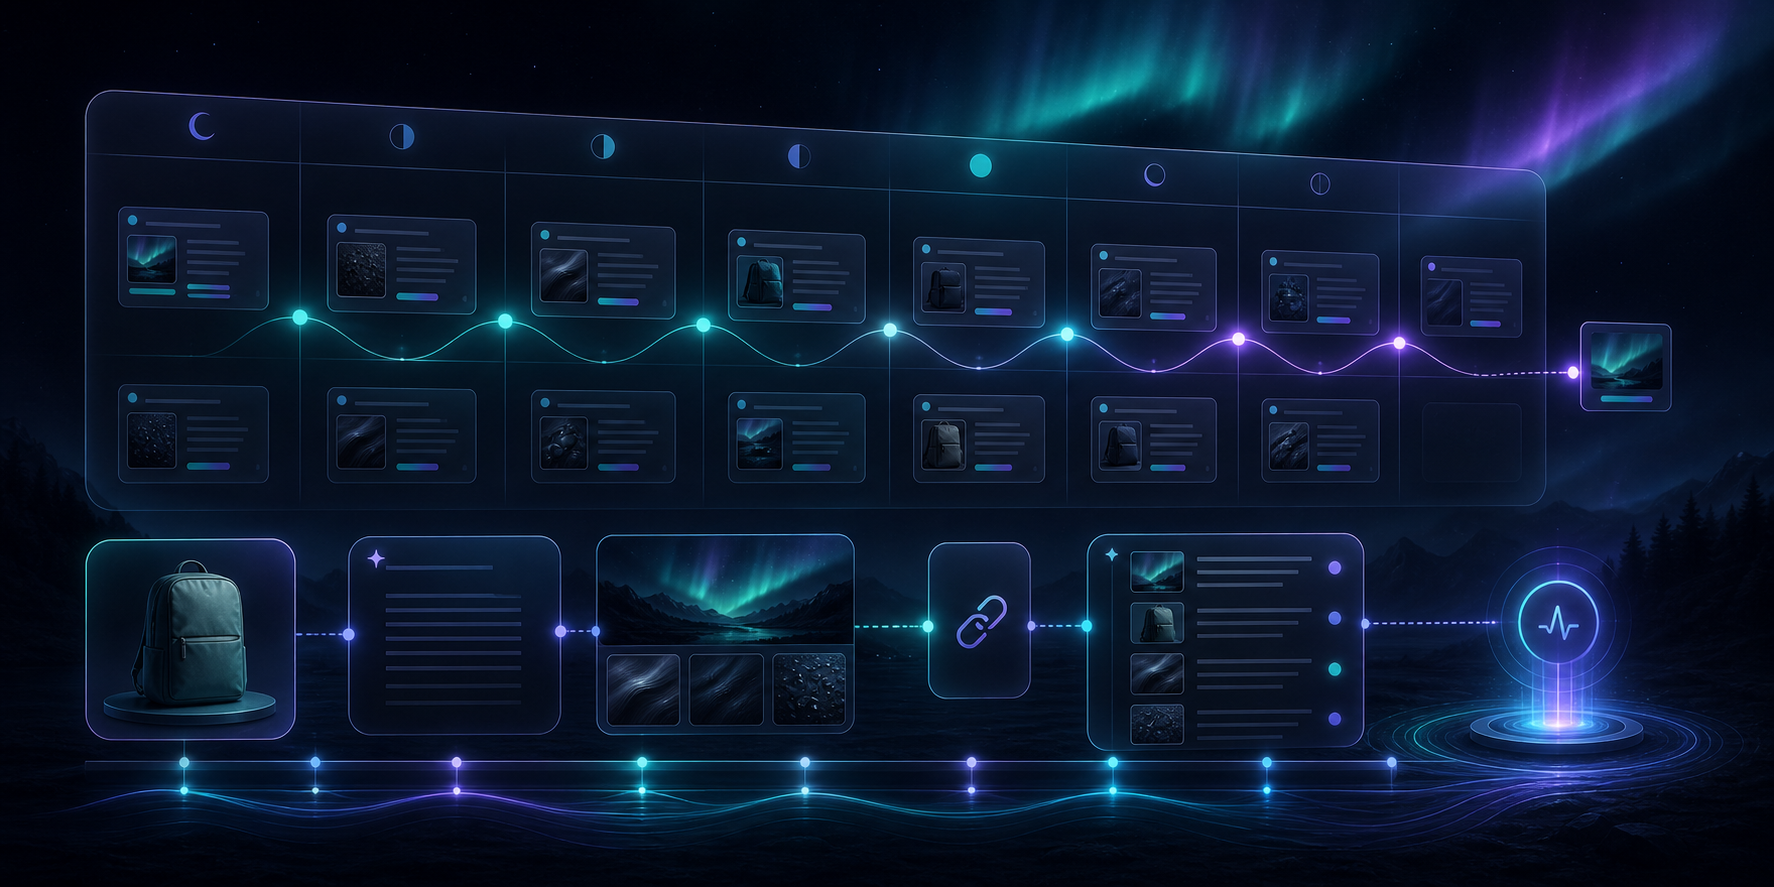
6. Turn the finished template into a recurring schedule
Once the template is working for one product, convert it into a schedule. Supra Blog Automation supports recurring automations on a daily, weekly, or monthly cadence, so you can keep the blog active without rebuilding the workflow every time.
That is usually the point where the system starts paying off:
- one brief template;
- one review pattern;
- one publishing rule;
- one content rhythm.
If you want the planning side in more detail, How to Build a Shopify Content Calendar That Writes Itself goes deeper on the cadence setup, and How to Build a Product-Aware Shopify Blog Workflow That Publishes on Schedule shows the same idea when the goal is steady publishing.
Expected result: the blog keeps moving on a schedule, and each new post still has product context.
Bottom line
If you want Shopify blog automation to work, do not start with a blank topic list. Start with one product, one reader problem, a small internal-link set, and a review gate. Then let the automation handle the repetitive work.
If you want to try that workflow, install Supra Blog Automation from the Shopify App Store or start from the landing page. The app has a free plan, so you can test the workflow before you commit to a larger content schedule.