
May 27, 2026
How to Export a Framer Site to Static HTML Without Rebuilding It
A practical Framer export workflow for static HTML, CSS, JS, media, and self-hosting with ExFlow.
How to Export a Framer Site to Static HTML Without Rebuilding It
If you want to keep a Framer design but move the site to static hosting, the goal is not to rebuild the site somewhere else. The goal is to export it into files you can own, inspect, and deploy on your own terms. ExFlow.site is built for that: you paste a Framer URL, choose what to export, and get a static package with HTML, CSS, JavaScript, images, media, and page files you can host independently.
I have covered nearby versions of this workflow in How to Export a Framer Site and Host It Yourself with ExFlow and How to Export a Framer Site to Static HTML and Self-Host It. This guide is the practical checklist I would use when I want the move to stay clean and repeatable.
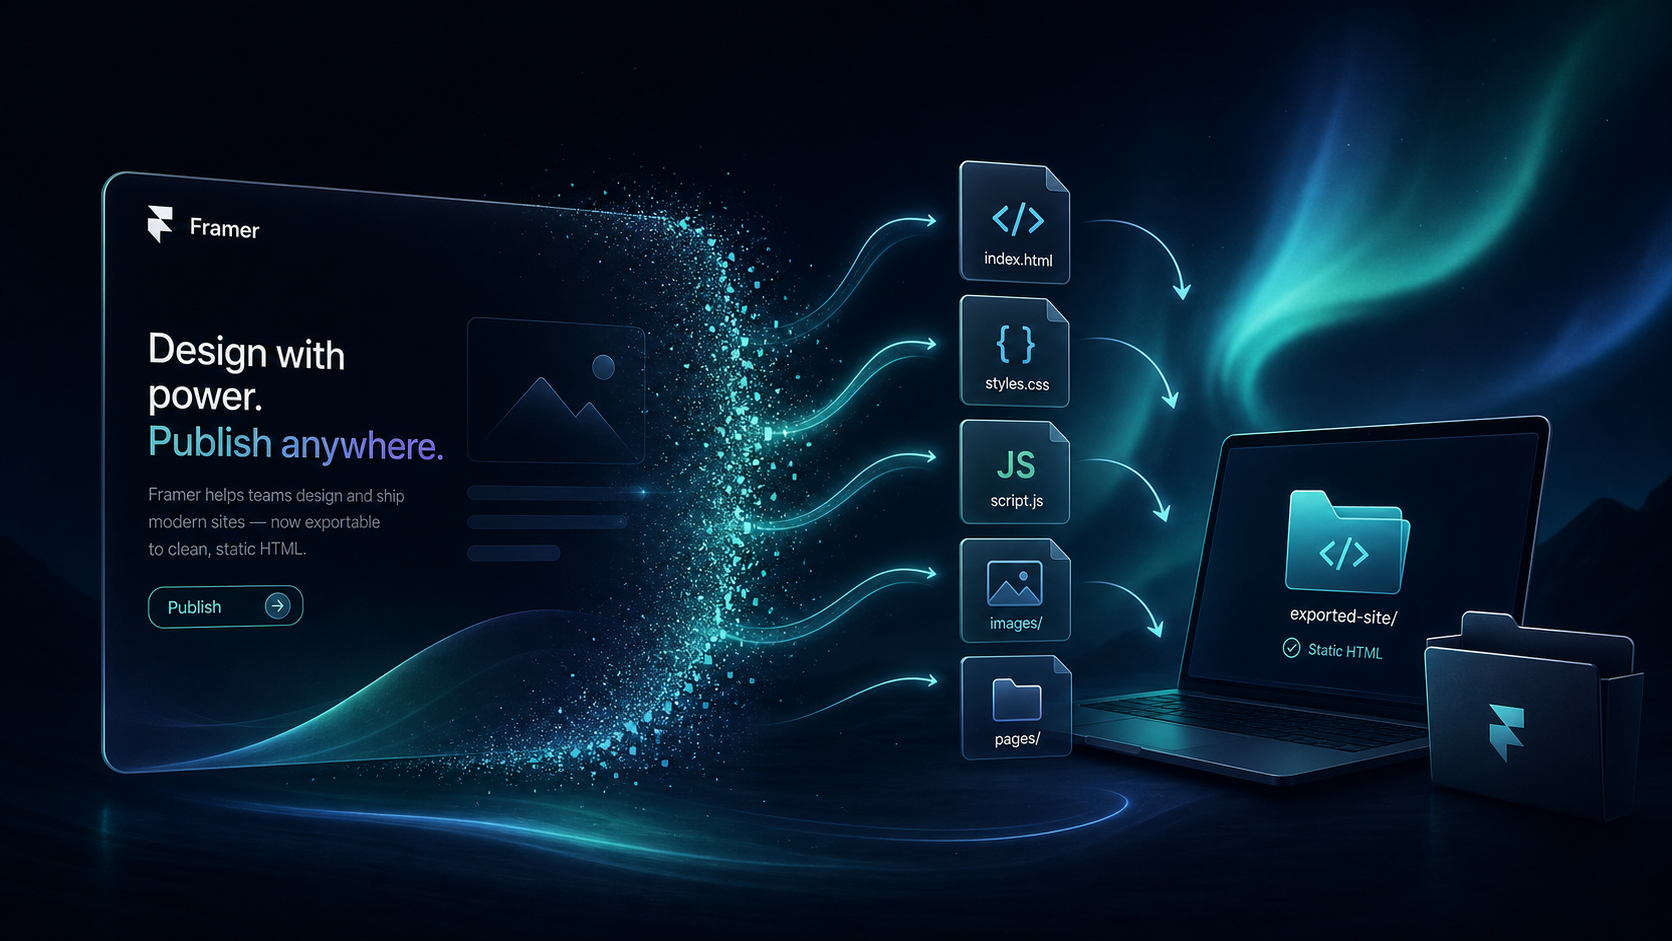
1. Start With The Site URL
Open ExFlow.site and paste the live Framer URL you want to export. The exporter works from a URL, so you do not need to manually reconstruct pages first.
Expected result: ExFlow recognizes the site and prepares the export options for that Framer project.
If you are comparing Framer against other site movers, I also recommend keeping How to Download a Framer Site as HTML and Self-Host It open as a reference. It covers the same basic move from a different angle.
2. Choose The Export Settings
Pick the settings that match the destination you actually plan to use.
- Export CSS Files
- Export JS Files
- Export Images / Media Files
- Export All Pages
- Remove “Made with Framer” Badge
If you only need a quick archive, you might skip some options. If you want a real deployable mirror, keep the full set on. The important detail is that pages export with .html extension, so the output behaves like a normal static site.
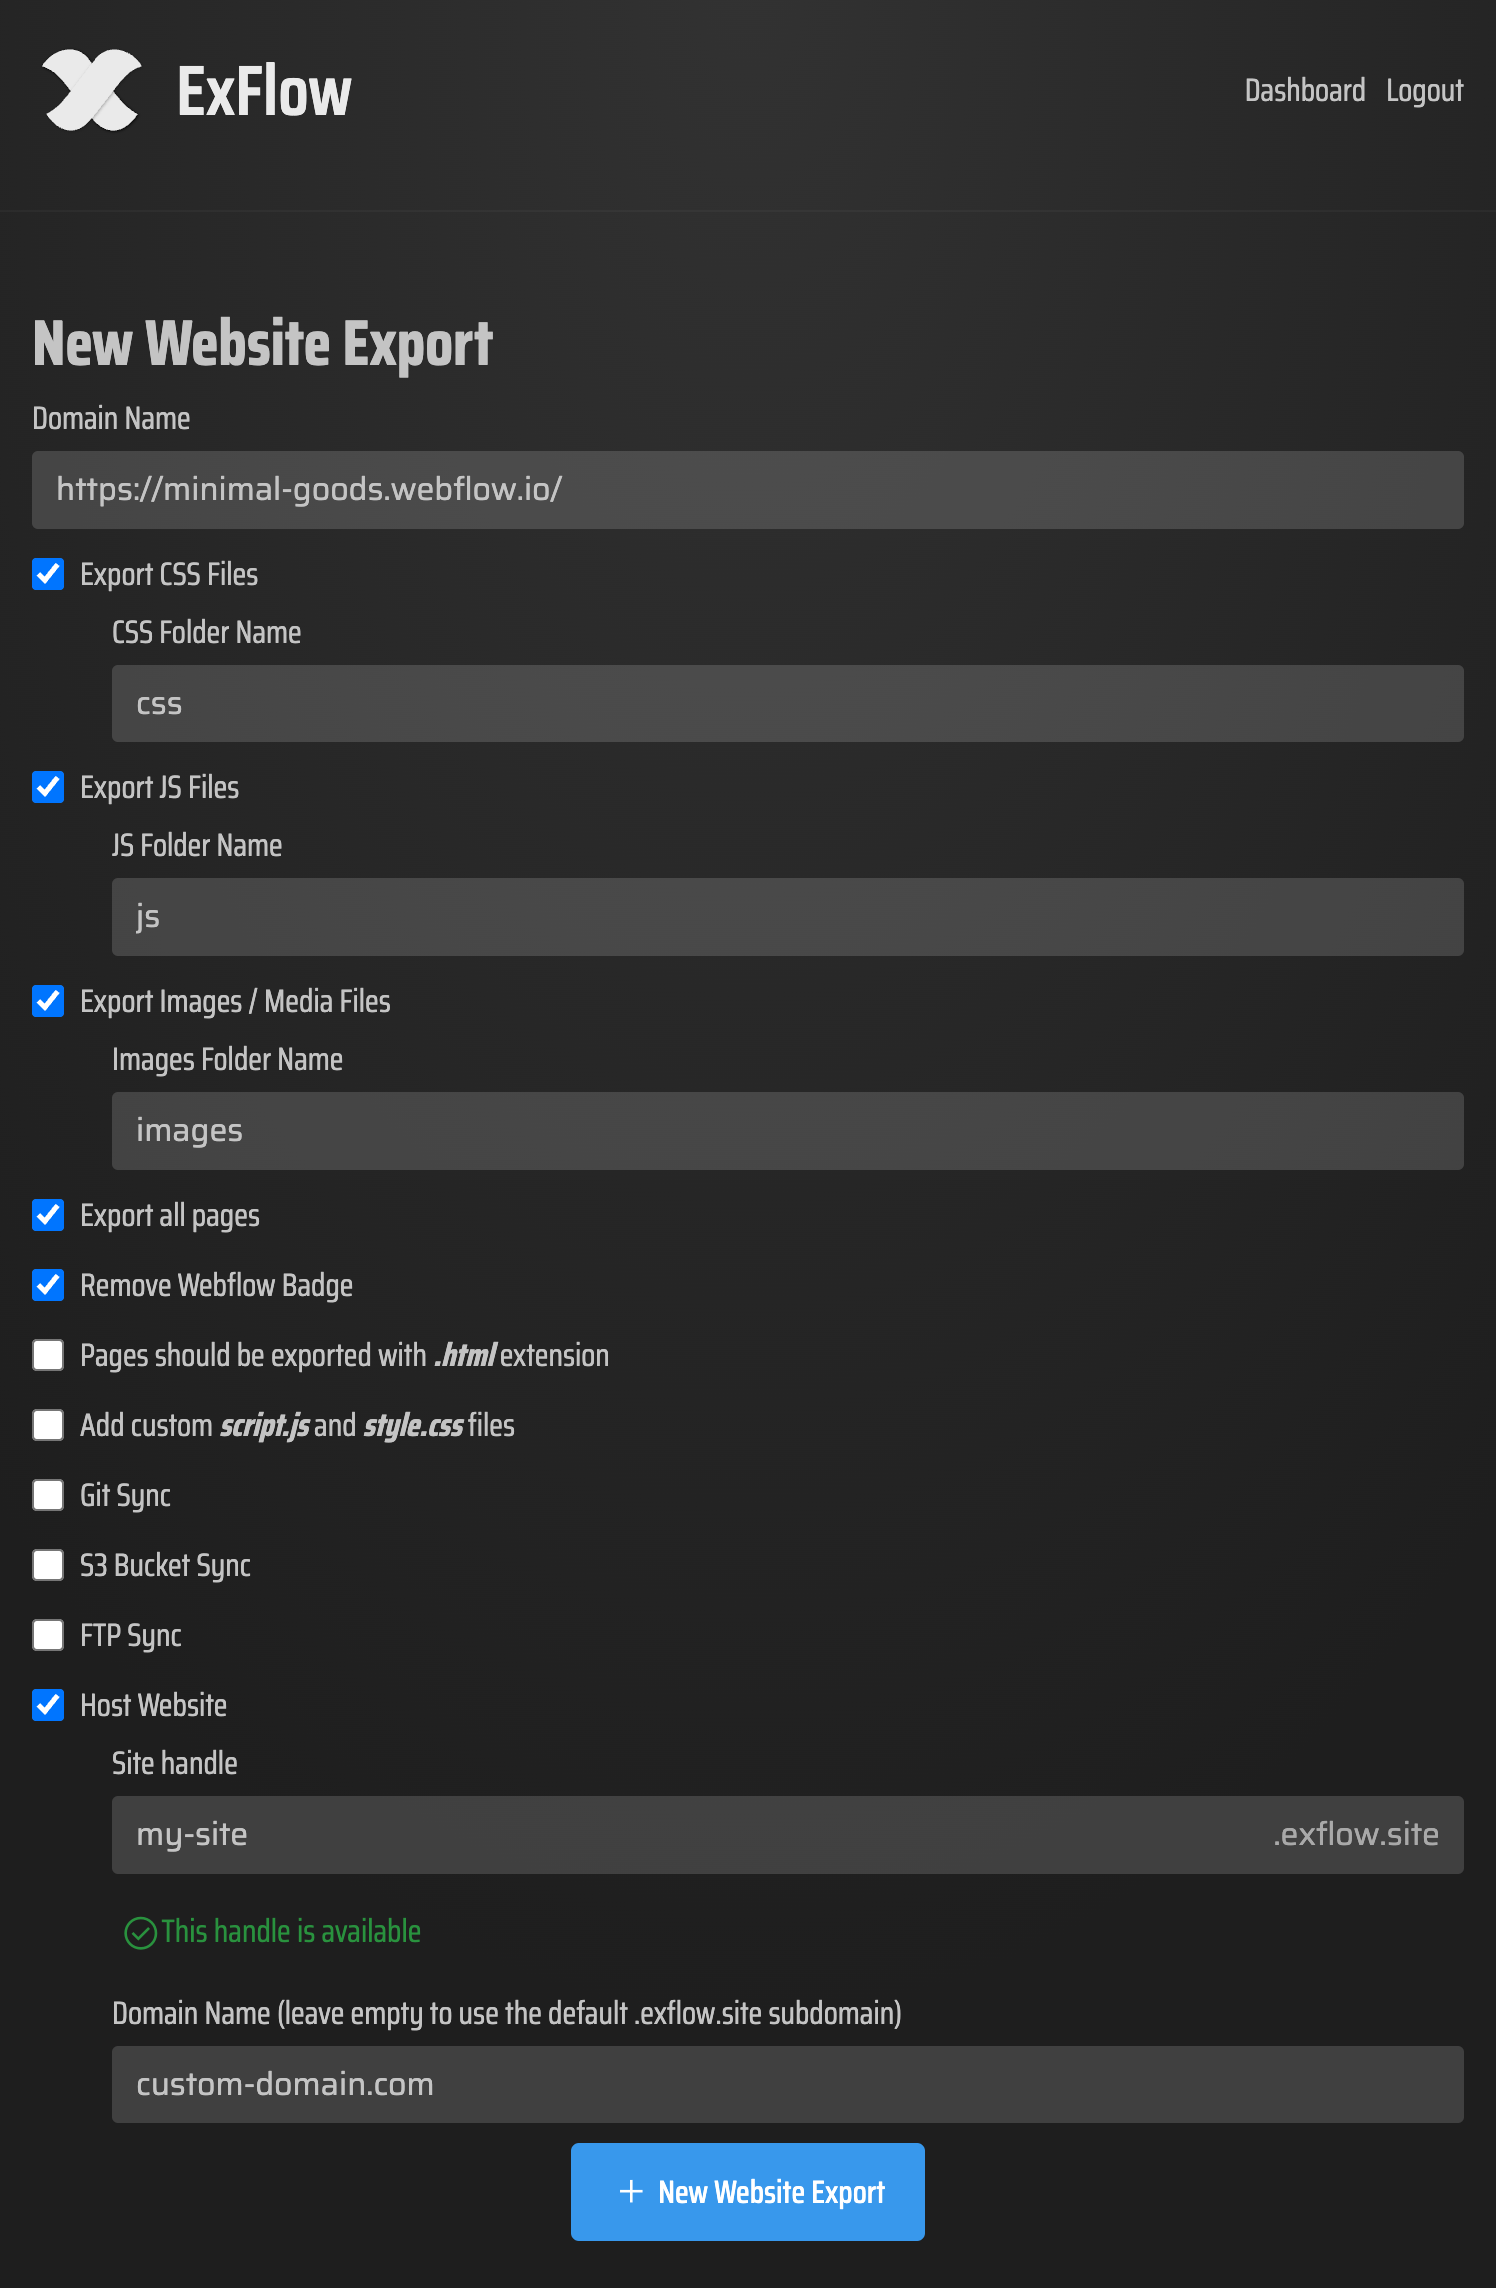
Expected result: you can tell whether the export will be a partial download or a full static snapshot before you run it.
If you are also weighing a Webflow or Squarespace migration, How to Export a Webflow CMS Site Without Losing Dynamic Content and How to Download a Squarespace Site as HTML Without Losing Dynamic Content are good comparisons for the same self-hosting mindset.
3. Export The Whole Site
Run the export once the settings look right. ExFlow can export all pages and package the supporting files the site needs to render outside Framer.
You can also add script.js and style.css if you want small custom overrides in the exported output. That is useful when you need a post-export tweak without reopening the original design.
Expected result: you end up with a downloadable static package rather than a Framer-only project.
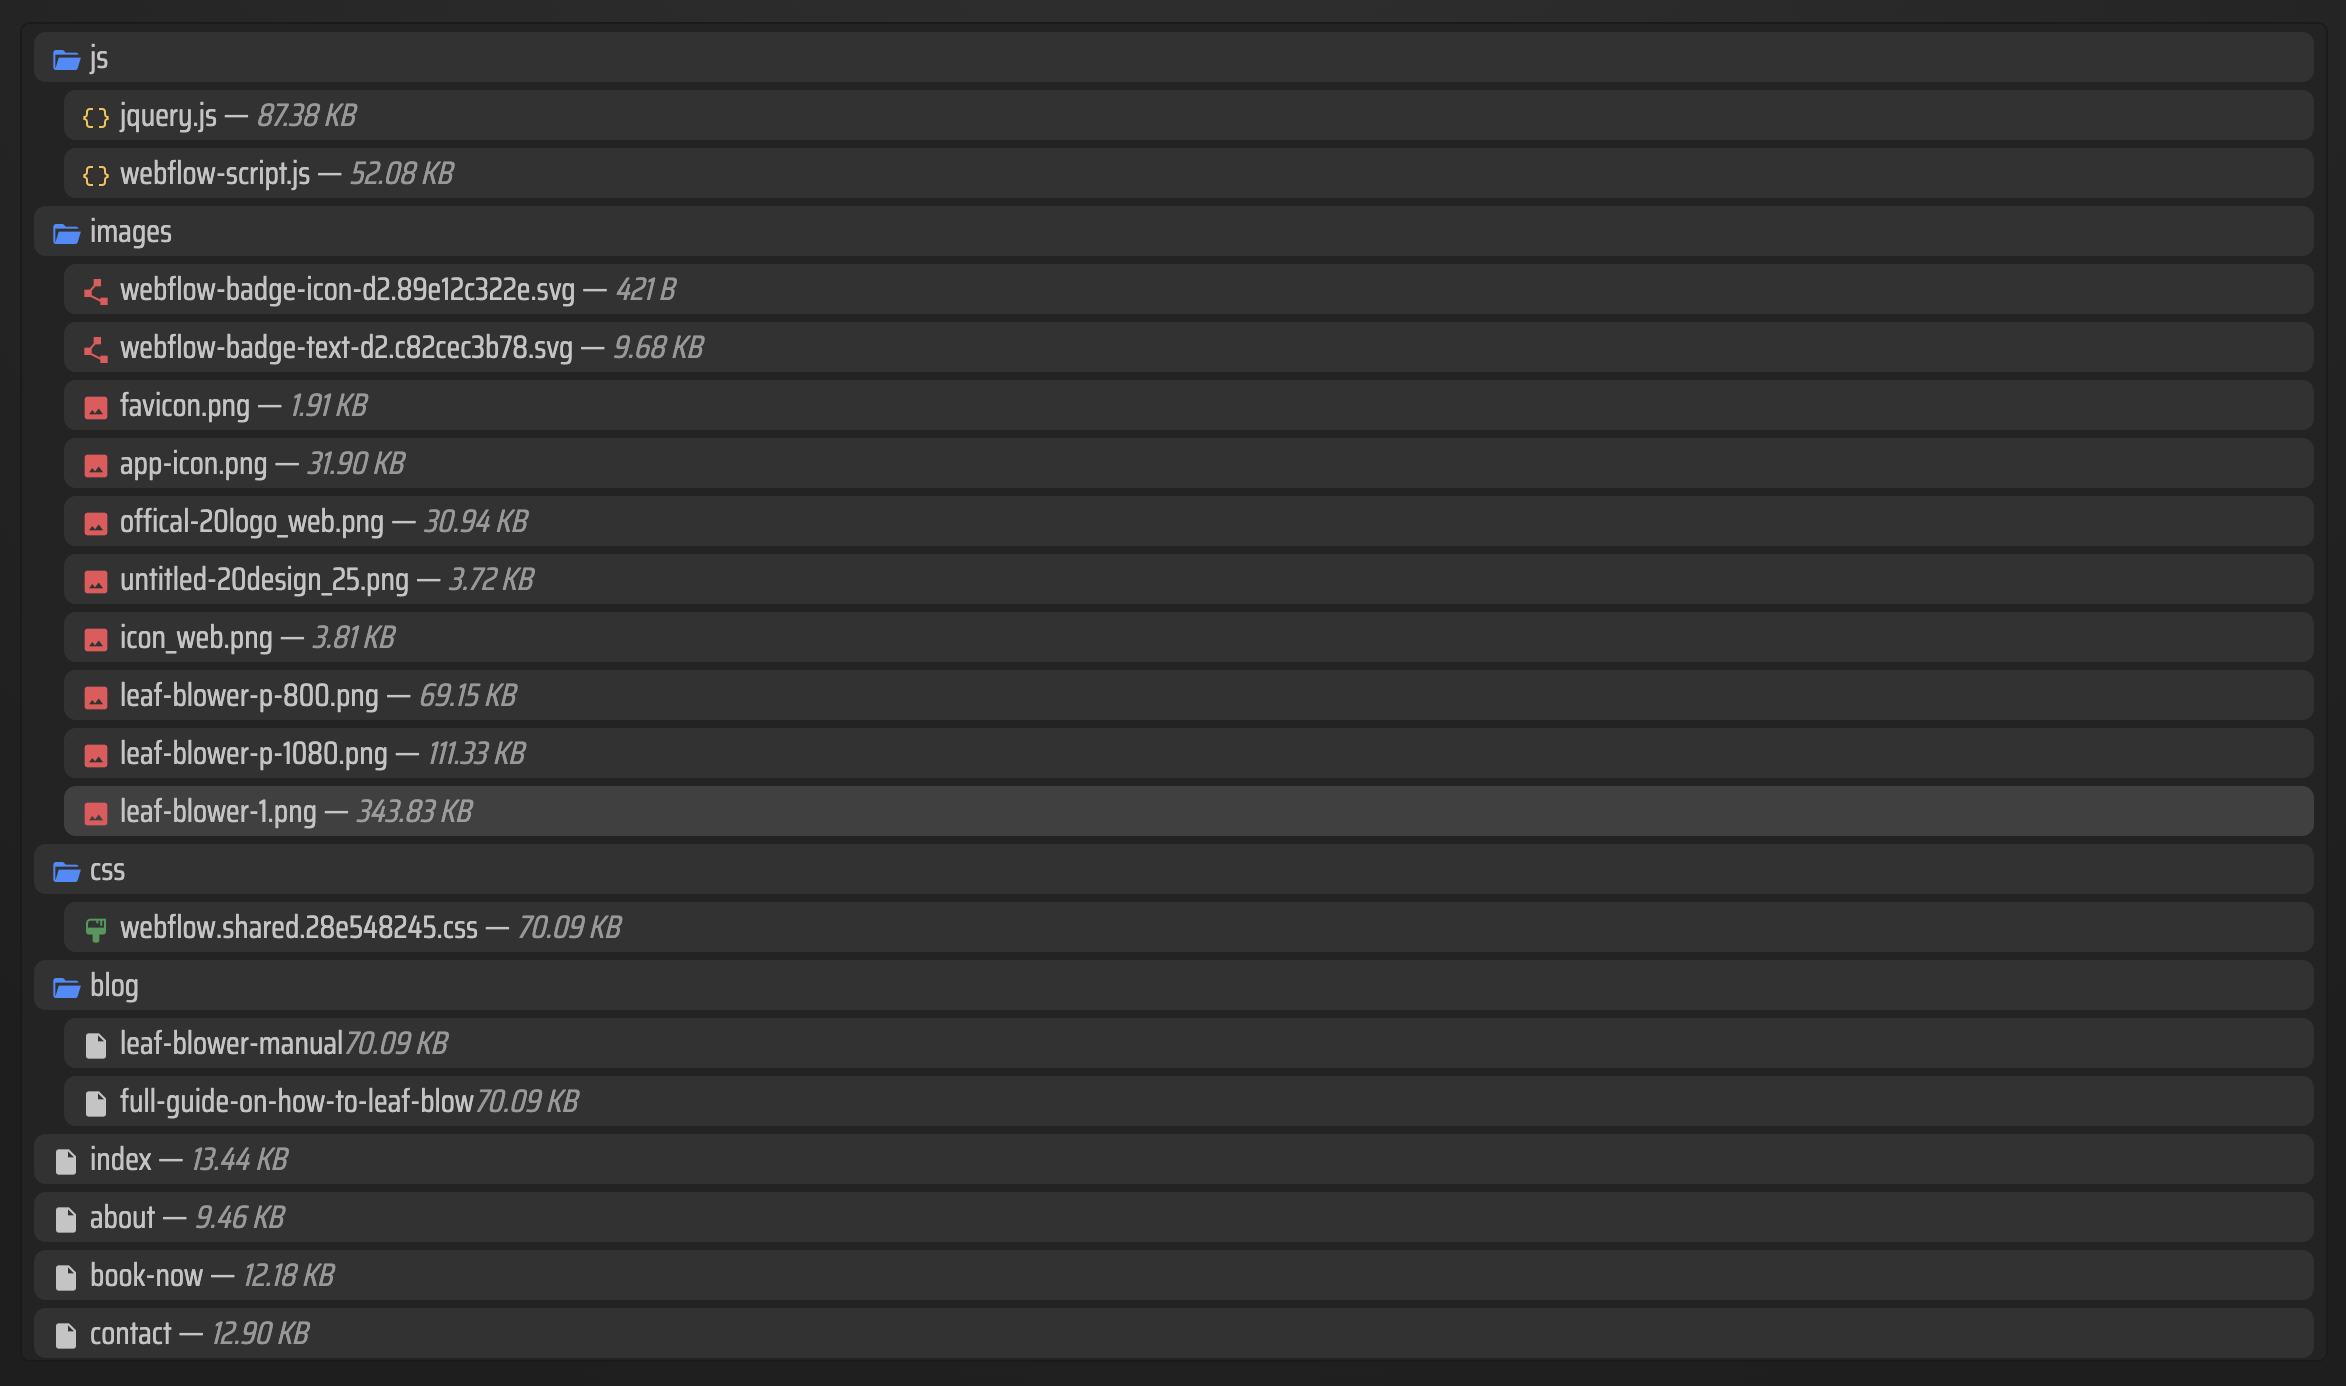
The file list matters because it tells you whether the export actually captured the pieces you need. I want to see page files, CSS, JS, and media assets before I trust the result.
4. Decide Where The Site Should Live
Once the site is exported, choose the hosting path that matches your workflow.
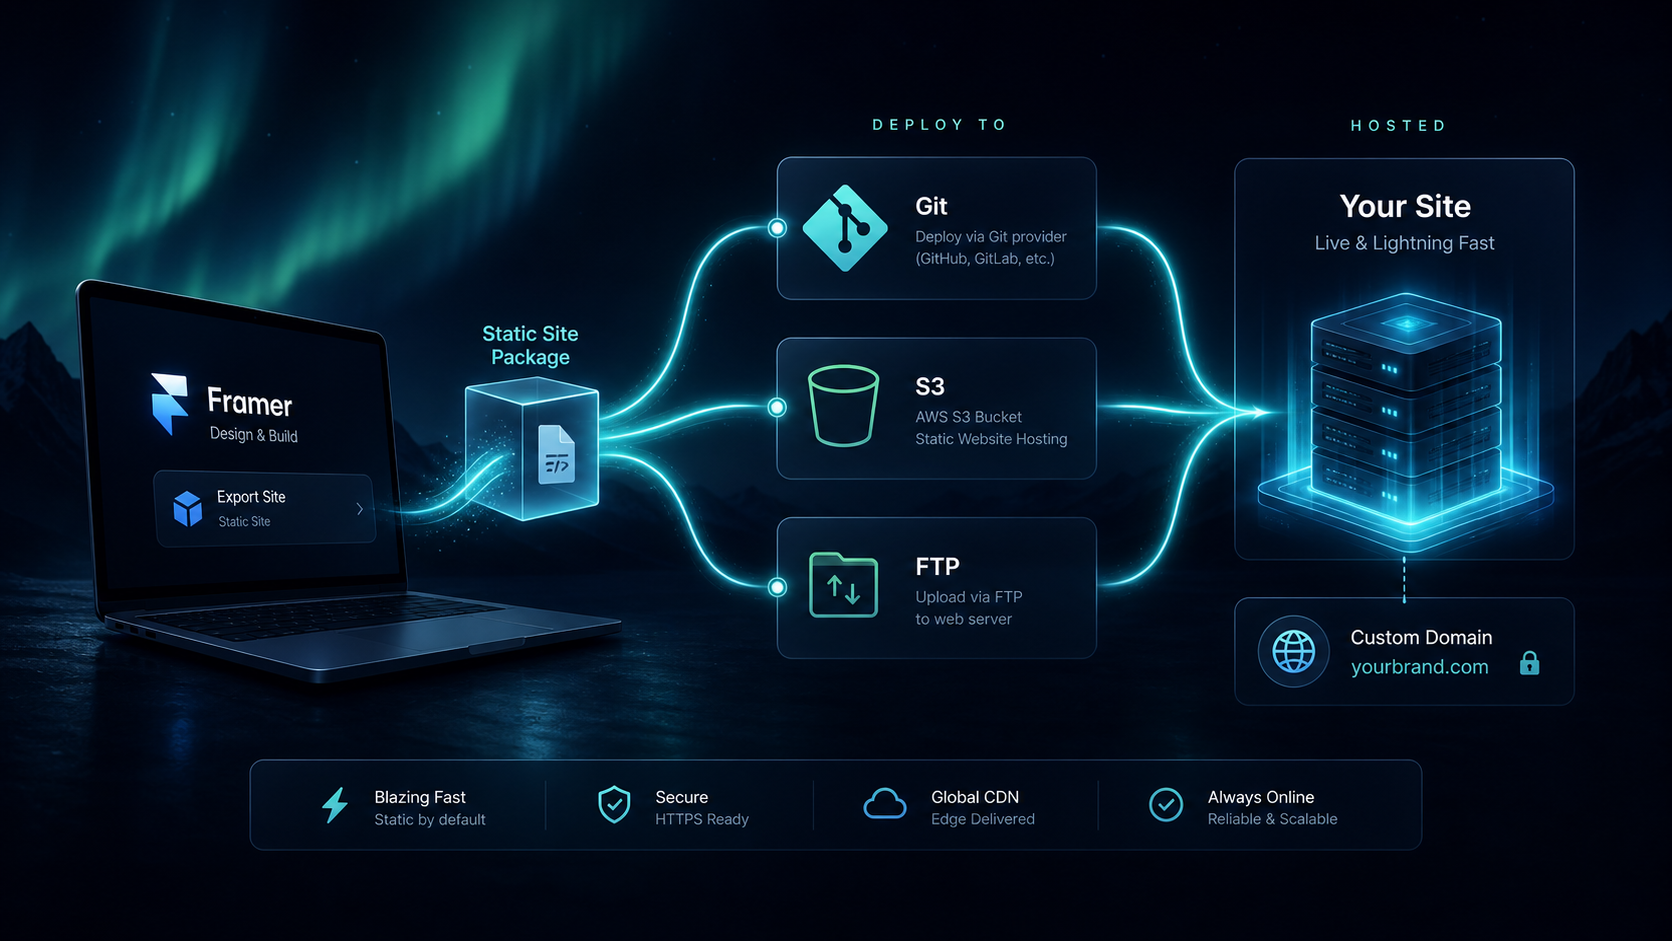
You have a few options:
- host it on ExFlow’s servers if you want the simplest path;
- sync it to Git if you want versioned deployments;
- sync it to S3 if you want object storage and static hosting;
- sync it through FTP if you already have a traditional server.
Expected result: the exported site is no longer trapped inside Framer; it lives in a host you control.
One practical note: Git, S3, and FTP syncing require you to enter credentials. Treat that as part of the deployment setup, not a casual afterthought.
5. Add Custom Files Only When They Earn Their Place
Use script.js and style.css sparingly. The point of a Framer export is to preserve the site, not turn the export into a new rebuild project.
I would only add custom files when I needed one of three things:
- a small behavior fix after export;
- a style override that does not belong back in the design file;
- a deployment-specific integration.
Expected result: the exported site stays maintainable instead of turning into a second codebase.
6. Verify The Result Before You Switch Traffic
Before you point any real traffic at the export, open the static version and check the essentials:
- each page loads as .html;
- the main styles are present;
- the key interactions still make sense as static output;
- images and media files resolve correctly;
- the exported site still looks like the Framer version you meant to keep.
Expected result: you catch missing assets or broken paths before users do.
If you want a broader picture of why static export matters, How to Download a Framer Site and Host It Yourself with ExFlow is a useful companion read, and How to Export a Framer Site to Static HTML and Self-Host It shows the deployment side in more detail.
Bottom Line
If you like designing in Framer but want your site to live somewhere else, export first and rebuild later only if you have to. ExFlow gives you the practical route: URL in, static files out, then host the result on the system that fits your setup.
The next step I would take is simple: export one Framer site, confirm the .html pages and asset folders look right, and only then move the whole site into Git, S3, FTP, or ExFlow hosting.