
July 16, 2026
How to Build a Shopify Creative Testing Loop From One Product Photo
A step-by-step workflow for turning one Shopify product photo into lifestyle, try-on, and UGC-style video variations with Supra AI Photo Studio.
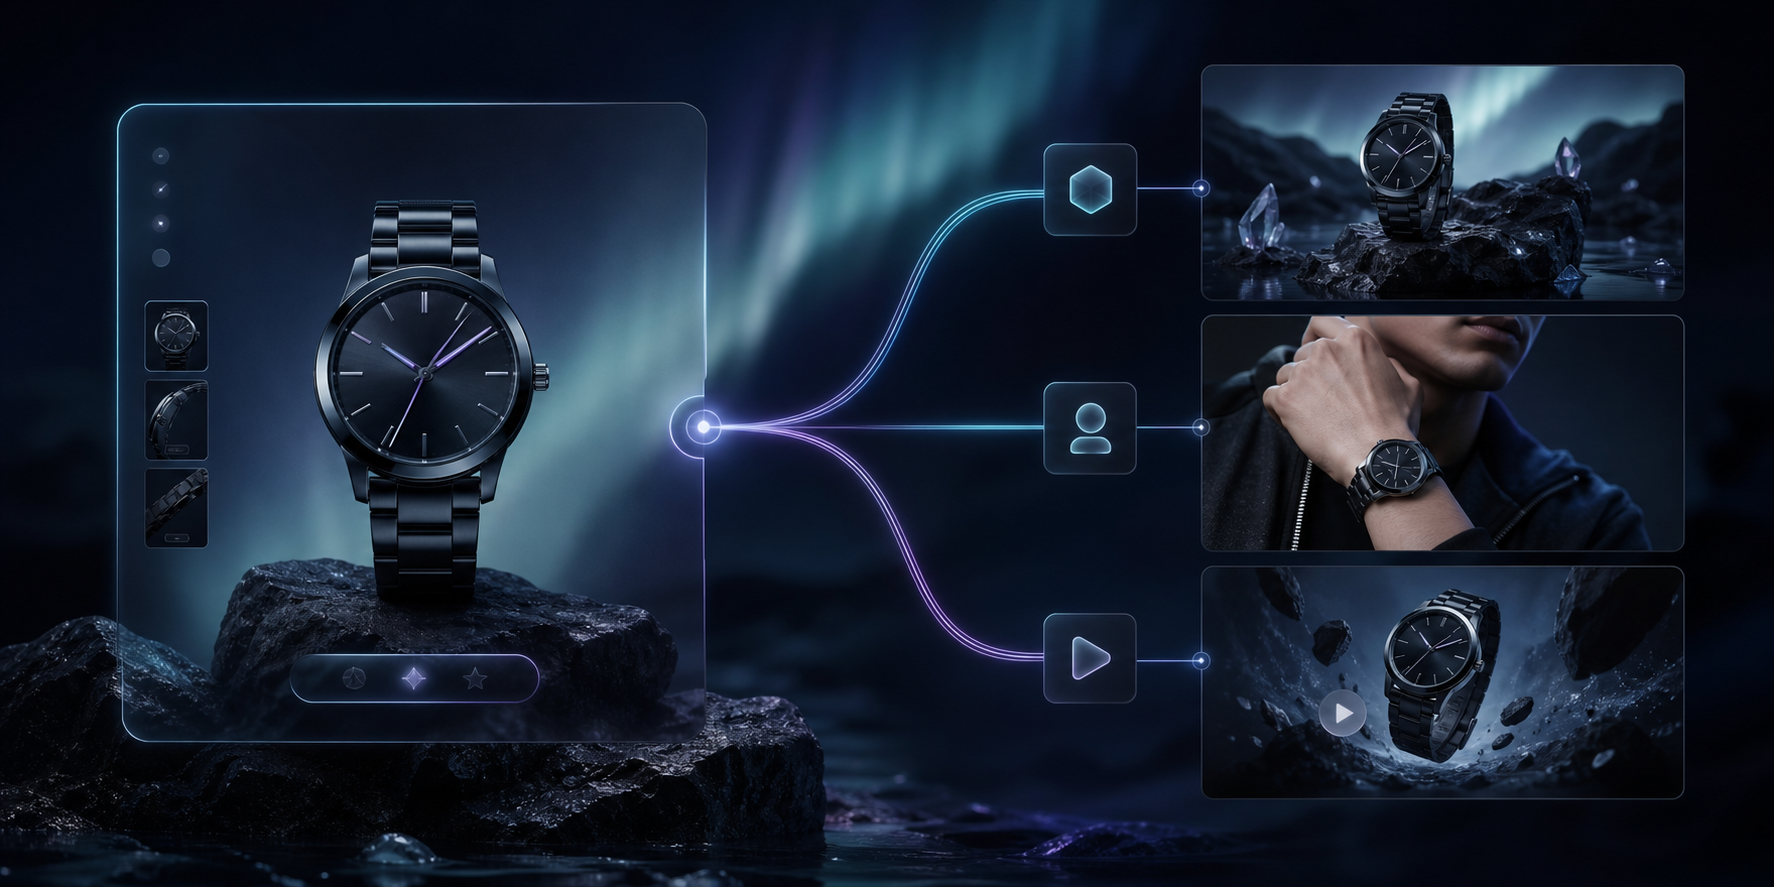
If you already have one usable product photo, you do not need a new shoot to test fresh creative. Supra AI Photo Studio can turn a single source image into cleaned-up product photos, lifestyle scenes, model try-ons, and UGC-style videos. The practical goal is a repeatable loop: make one base asset, generate a few variants, review them, then keep the best performer and move on.
If you want the broader planning view before you start, the same decision tree shows up in How I Build a Shopify Product Photo Pipeline That Feeds Every Channel, How I Turn One Product Photo Into a Channel-Ready Shopify Asset Set, How I Decide Whether a Shopify Product Photo Needs Try-On, Placement, or Video, and How to Build a Shopify Creative Stack From One Product Photo.
TL;DR
- Start with one sharp source photo.
- Fix the base image before you add context.
- Make one static variant and one motion variant.
- Check accuracy before you publish.
- Reuse the winning setup across ads, product pages, and email.
1. Start With the Cleanest Source Photo
The best results start with a photo that already shows the product clearly. If the image is blurry, badly lit, or cropped too tightly, the AI will spend its effort repairing the source instead of creating useful variations. That is usually the first mistake people make when they try to generate new product creative too fast.
A good starting file should do three things:
- Show the product from a clear angle.
- Preserve the shape, edges, and important details.
- Leave enough room to place the product into a new scene or on a model.
If your product photo has a messy background, isolate it first. If the image is technically fine but looks dull, start with enhancement. The point is to give Supra AI Photo Studio a clean base so the next outputs stay consistent.
2. Clean the Base Before You Add Context
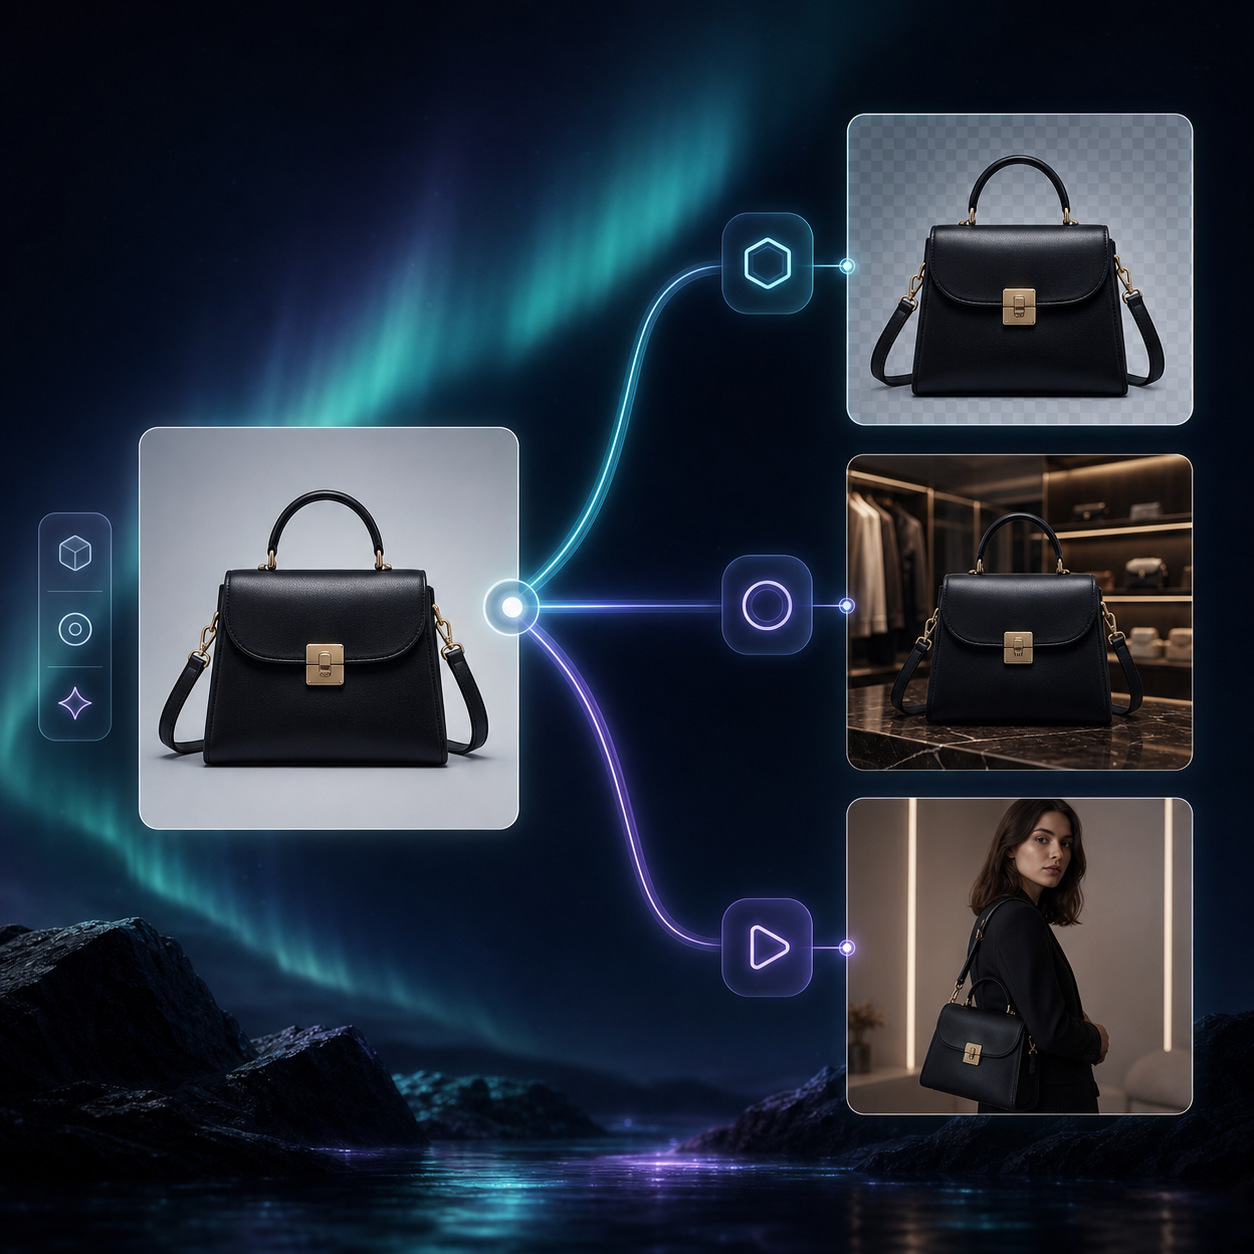
Supra AI Photo Studio is most useful when you treat it as a sequence, not a single button. Start with the basics: background removal, upscaling, and auto-enhance. That gives you a cleaner asset to reuse in the next steps.
In practice, this is where you fix the issues that kill conversion before they spread into every variant:
- Correct uneven lighting.
- Remove distractions behind the product.
- Improve sharpness so the product still reads in a thumbnail.
- Keep colors close to the real item.
The Shopify App Store listing and the landing page both show the same basic promise: take an existing product image and turn it into something more usable for merchandising and marketing.
3. Make One Static Variant for the Product Page
Once the source image is clean, create one static lifestyle version. For apparel, that might mean a try-on on a realistic AI model. For home goods, cosmetics, accessories, or packaged products, object placement usually makes more sense.
The goal is not to make ten scene variations right away. It is to make one believable version that helps a shopper understand the product faster. A product that looks good in a boutique setting, on a clean studio surface, or in a natural environment often performs better because the customer can imagine it in use.
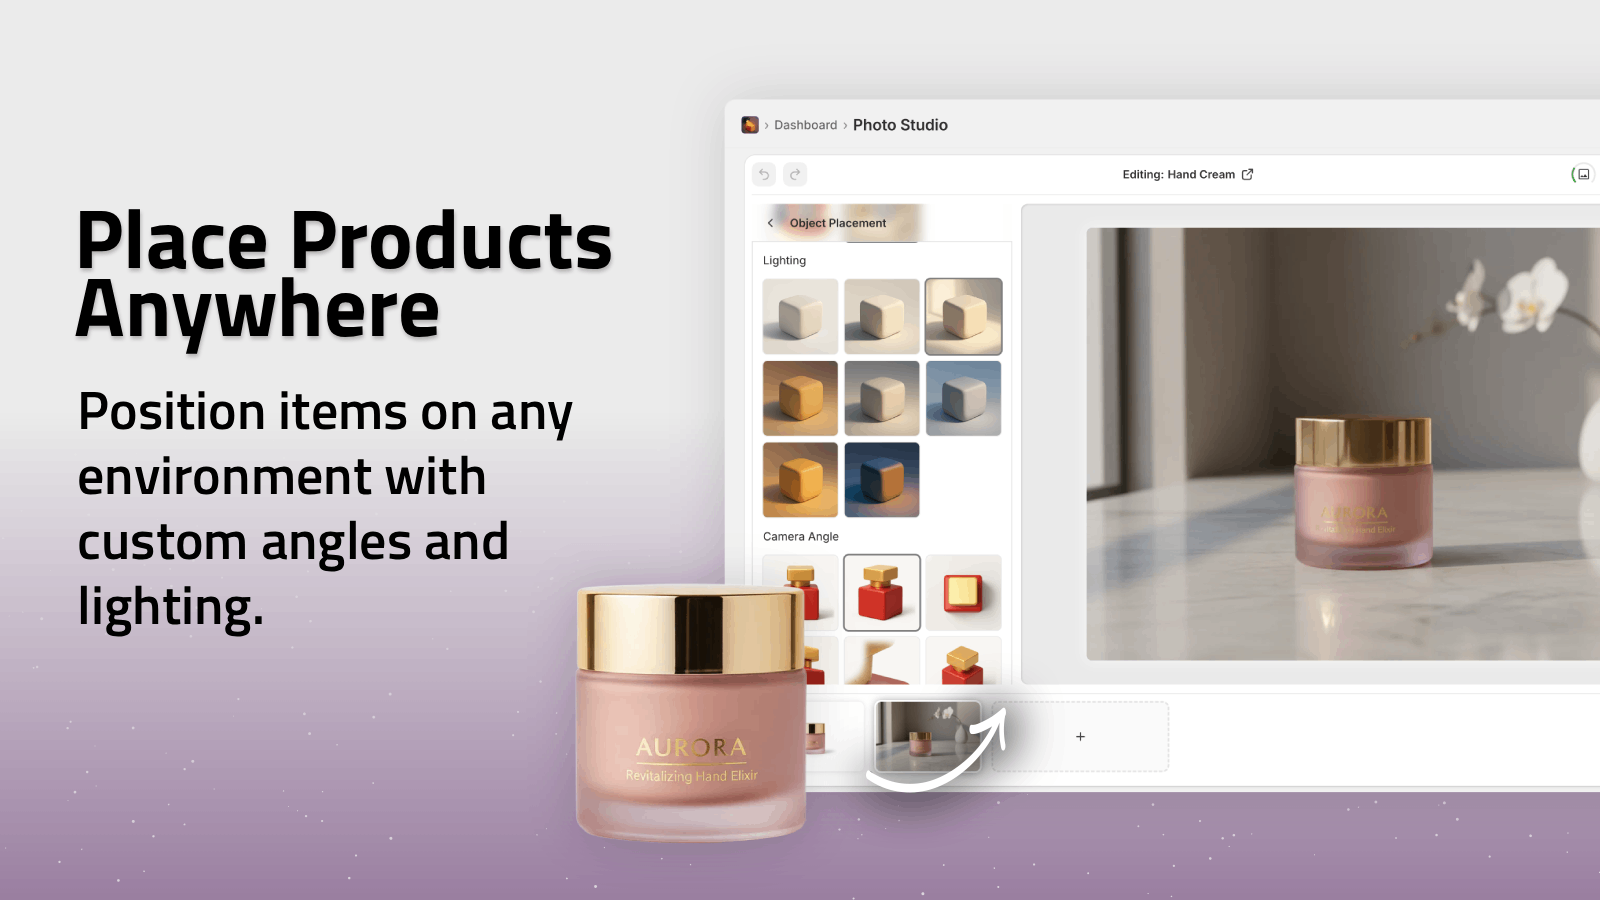
A simple rule helps here: if the product itself is what sells the item, keep the context subtle. If the use case matters more than the object alone, lean into the scene and let the environment do some of the selling.
4. Turn the Same Photo Into a Motion Asset
The motion version is where the loop becomes valuable. Instead of stopping at a better still image, use the same product to generate a short UGC-style clip or b-roll sequence. That gives you something you can test in ads, product pages, and social placements without waiting for a separate video shoot.
A useful UGC script usually follows this pattern:
- State the problem the shopper has.
- Show the product as the obvious fix.
- Mention one specific benefit.
- End with a simple call to action.
You do not need a long script. You need a clear one. If the first two seconds do not show the product or communicate the use case, the clip is probably too vague to test.
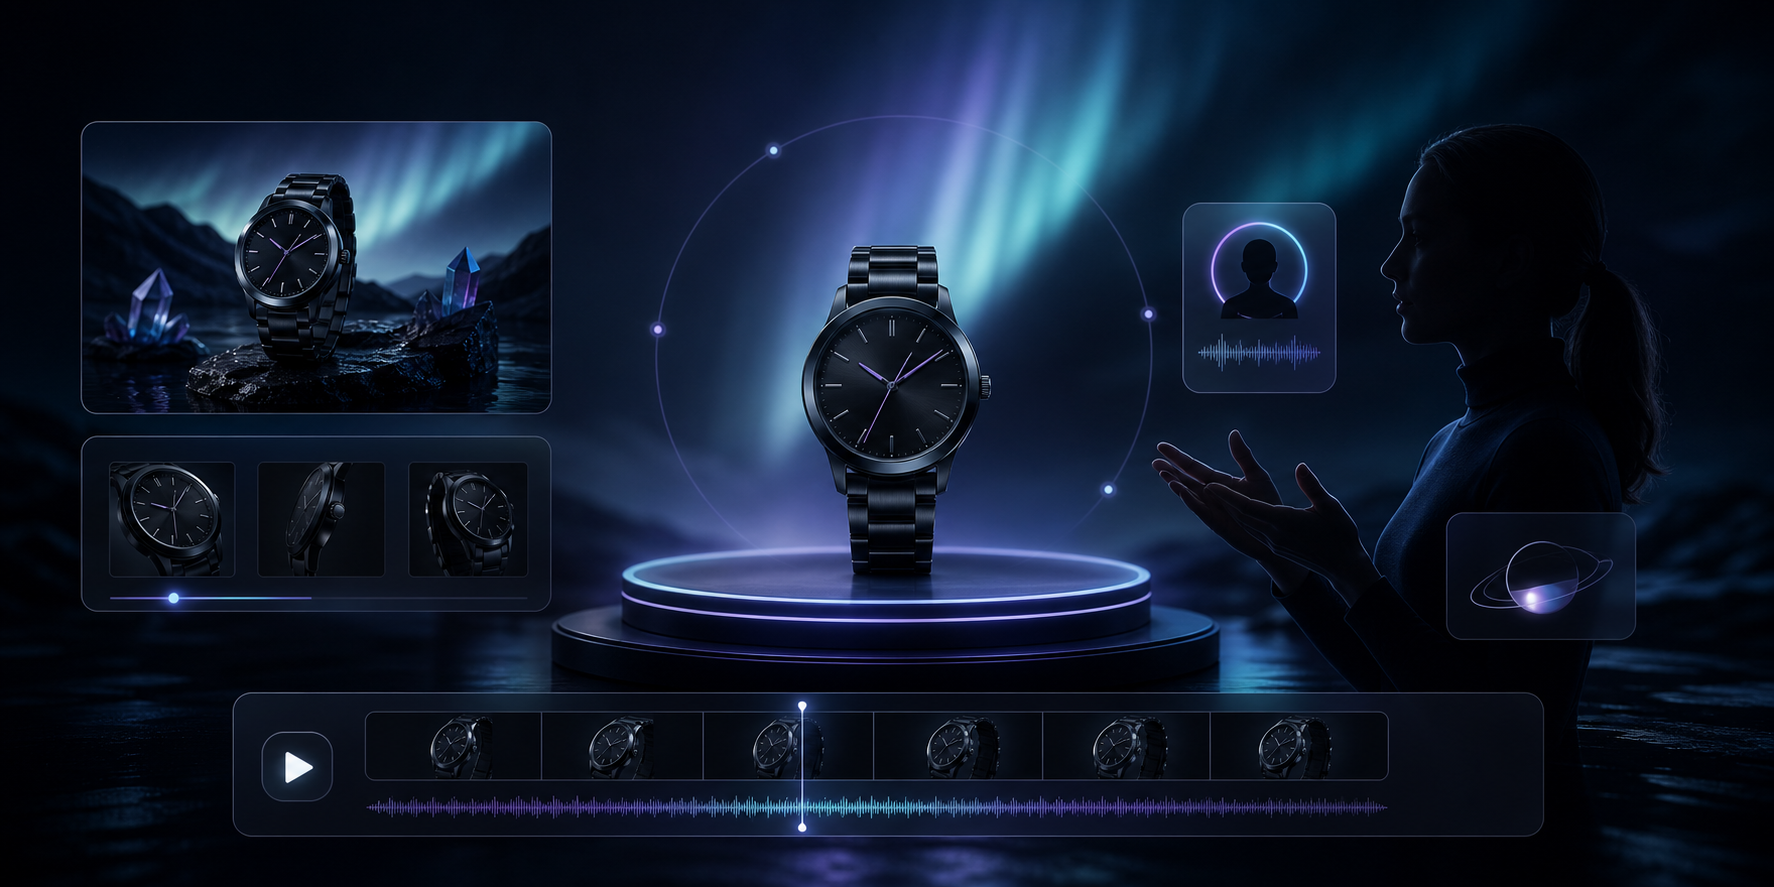
Supra AI Photo Studio also lets you work with different models, scenes, and product references, so you can build multiple video angles from the same original image. That is the point of the loop: one source asset, several tests, one winner.
5. Review the Variants Before You Publish
AI speeds things up, but it does not remove the need for review. Before you ship a new asset, check four things:
- The product shape still looks accurate.
- The colors still feel close to the real item.
- The scene matches the audience you are targeting.
- The image or video still reads clearly at small sizes.
If the try-on is slightly off, regenerate it. If the placement scene makes the product look too decorative, simplify it. If the motion clip buries the product under effects, strip the effects back. The strongest output is usually the one that looks like it belongs on the storefront, not the one that looks most dramatic.
6. Reuse the Winning Setup Across Channels
Once you find a version that works, do not trap it in one channel. Use the static image on the product page, the motion asset in ads, and the same visual direction in email. That is where the workflow starts saving real time, because you are no longer rebuilding creative from scratch every time a campaign changes.
A small store can get a lot of mileage out of this approach because it keeps the product pages, ads, and social content visually coherent inside the same admin workflow. That coherence matters more than novelty when the goal is to make the product easier to buy.
If you want to see the app in motion, the demo trailer is a good next stop.
The Shortest Repeatable Workflow
Start with one good product photo. Clean it up. Make one lifestyle or try-on version. Make one short video. Review both, keep the winner, and reuse that direction anywhere the product needs more convincing visual proof.
If you want to test the workflow on a real product, the app has a free plan, so you can run one item through the loop before you commit to a bigger creative pass.