
July 19, 2026
How to Automate Claude Code From a Local Script With dash-p
A practical guide to scripting Claude Code from the terminal with dash-p, while keeping the real TUI, local session, and TypeScript workflow intact.
Claude Code is easy to use by hand and awkward to automate if you want to stay inside the real terminal session. dash-p exists for that gap: it launches the official Claude command, drives the rendered TUI programmatically, and gives you a CLI plus a query() API for scripts and TypeScript.
If you want the earlier bridge-oriented explanation, read How I Build a Local Bridge to Claude Code’s Real TUI. This post is the practical version: how to decide when dash-p is the right tool, how to smoke-test it, and how to keep it stable enough for local automation.
1. Start With the Workflow, Not the Wrapper
Use dash-p when you already trust Claude Code in your terminal and you want to script that same session from a shell script or a TypeScript helper. That is the key distinction. dash-p does not replace Claude Code, bypass authentication, or use an unofficial headless protocol. It wraps the real interface you already use.
The Claude help center now makes the billing split explicit: Claude Code in the terminal is part of the normal Claude Code workflow, while API-credit fallback is a separate path. If you want the broader context behind that split, How to Build Subscription-Aware Claude Code Automations Locally is the companion article that explains why this local bridge matters.
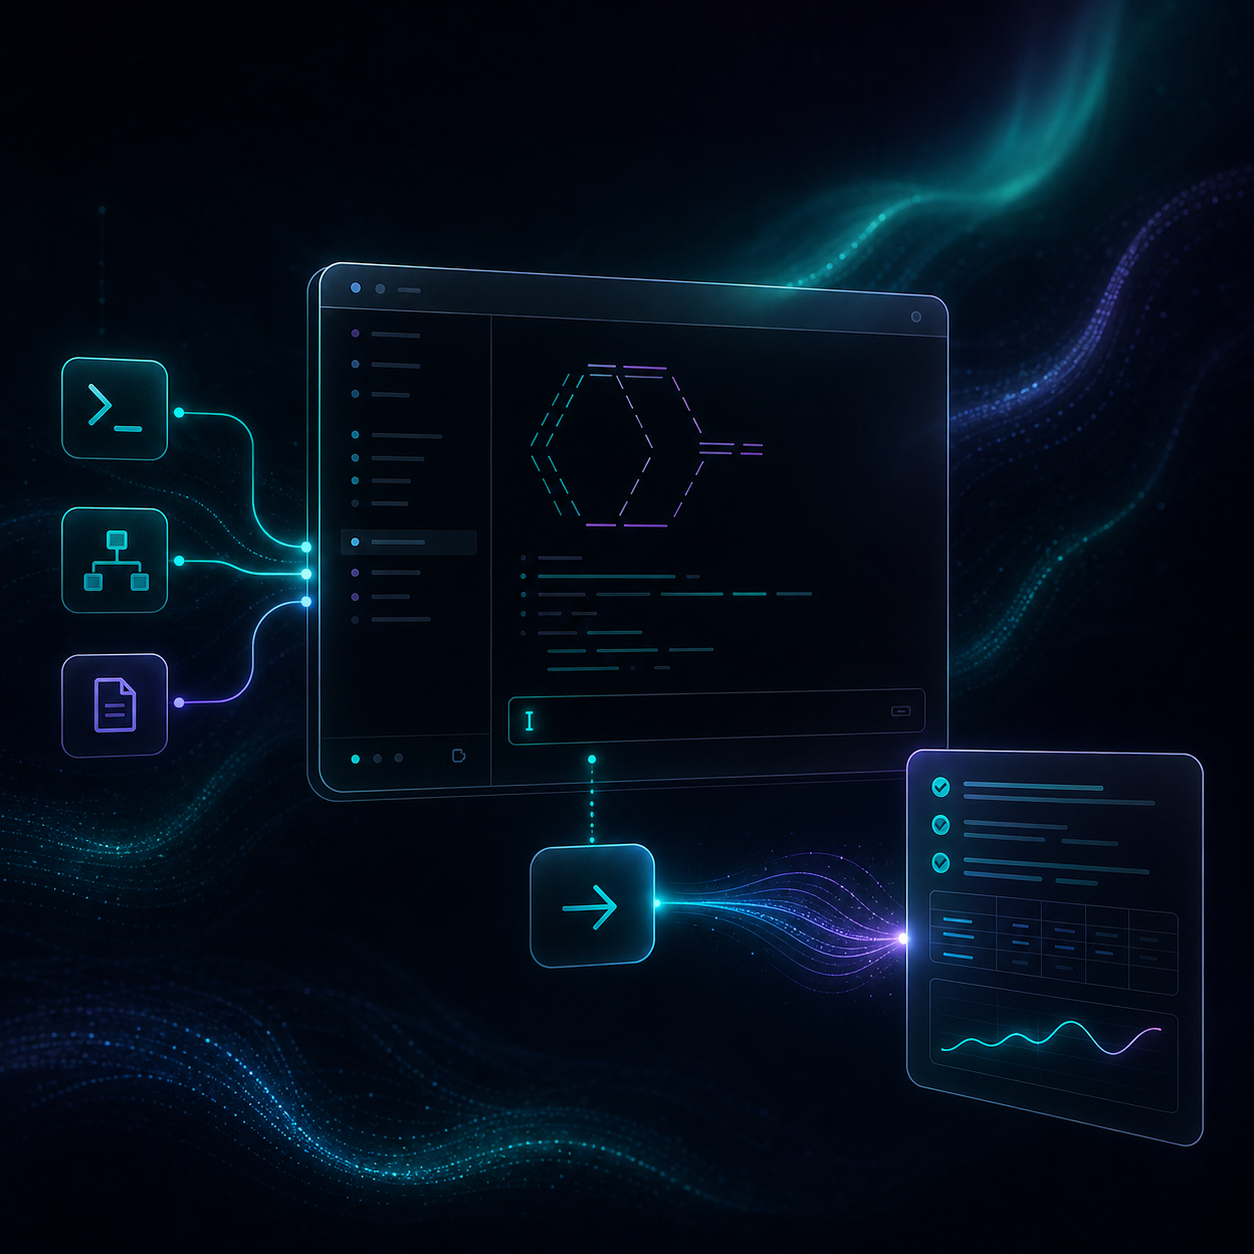
The practical result is simple: you can keep your local login, your current session, and your terminal-based workflow, then add a script layer on top.
2. Install It and Run a Smoke Test
Start with the smallest possible test. dash-p supports the CLI and the no-install npx path, so you can verify the setup before wiring it into anything larger.
npm install -g @ybouane/dash-p
dash-p "summarize this repo"
Or, if you just want to try it once:
npx @ybouane/dash-p "what color is the sky"
Expected result: Claude Code opens through the real terminal session, receives your prompt, and returns a normal answer instead of a separate headless abstraction.
You need the official Claude Code CLI installed, and Node.js 20 or newer. If the smoke test fails, check those two prerequisites first.
That first test is the point where you learn whether your environment is ready for scriptable use or whether you still have a setup issue to fix.
3. Use query() When You Want Reuse
The CLI is good for ad hoc commands. The TypeScript API is what makes dash-p useful in real automation.
import { query } from '@ybouane/dash-p';

for await (const msg of query({
  prompt: 'Summarize the current repo in 5 bullets.',
  options: { model: 'sonnet', includePartialMessages: true },
})) {
  if (msg.type === 'result') console.log(msg.result);
}
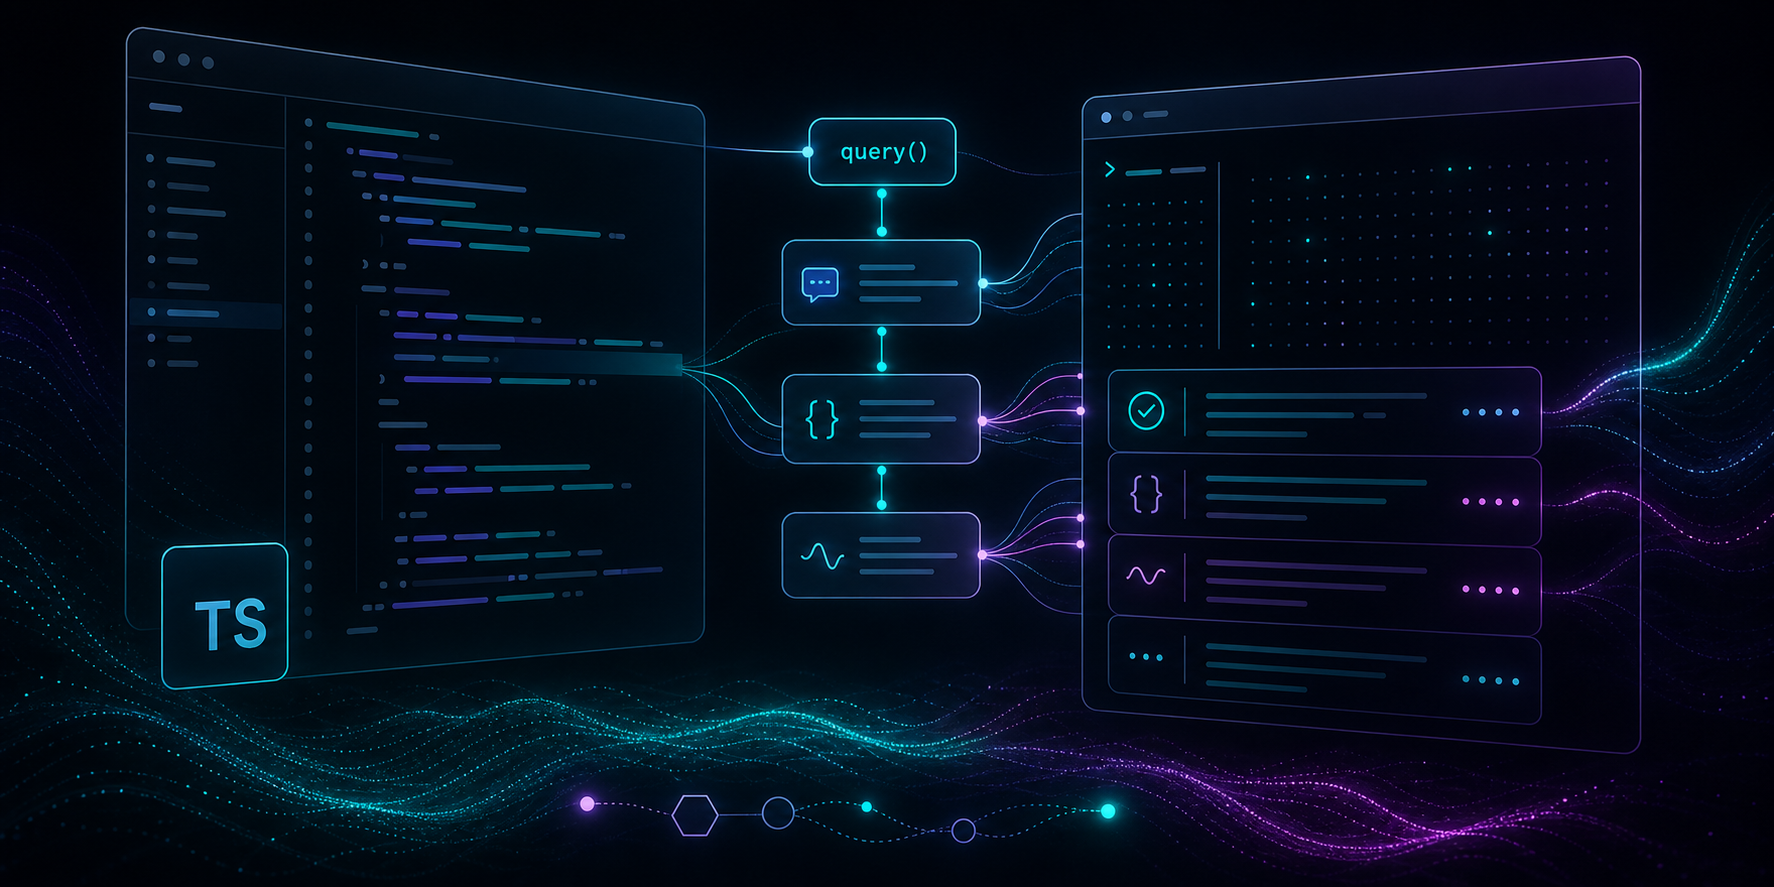
Expected result: your script gets a stream of messages, not just a blob of terminal text. That makes it much easier to log results, forward summaries into another script, or stop on the final answer without manual parsing.
This is where dash-p feels familiar to anyone who has used an SDK-shaped interface, but the important detail is that it is still driving the real Claude Code TUI underneath.
4. Keep the Inputs Boring
The strongest scripts are the least clever ones. Use an explicit working directory, a short prompt, a predictable terminal size, and one responsibility per call.
dash-p also supports output shapes that mirror Claude’s non-interactive styles, including text, JSON, and stream JSON. If another script needs machine-readable output, choose the shape it can consume directly instead of parsing prose after the fact.
That discipline is the same one I use in other automation work. How I Built a Shopify AI Agent With Scoped Permissions is a good example of keeping the agent narrow enough to trust.
Expected result: the script stays readable, the output stays predictable, and you do not have to guess which part of the system is responsible when the run changes.
5. Treat the TUI as the Risk Surface
This is the tradeoff. dash-p is powerful because it uses the real interface, and fragile for the same reason. If the rendered Claude Code screen changes, if terminal sizing shifts, or if the session behaves differently than expected, the scraping layer can drift.
That does not make the tool bad. It means you should use it for local workflow automation, not for a service that needs a contract as rigid as a hosted API. Keep prompts small, validate the result, and avoid stacking too many hidden assumptions into one run.
If you want another example of keeping one automation stable across changing environments, How I Keep One Video Template Working Across Browser, Server, and Editor shows the same discipline in a different stack. For the original bridge idea, How I Build a Local Bridge to Claude Code’s Real TUI remains the clearest companion read.
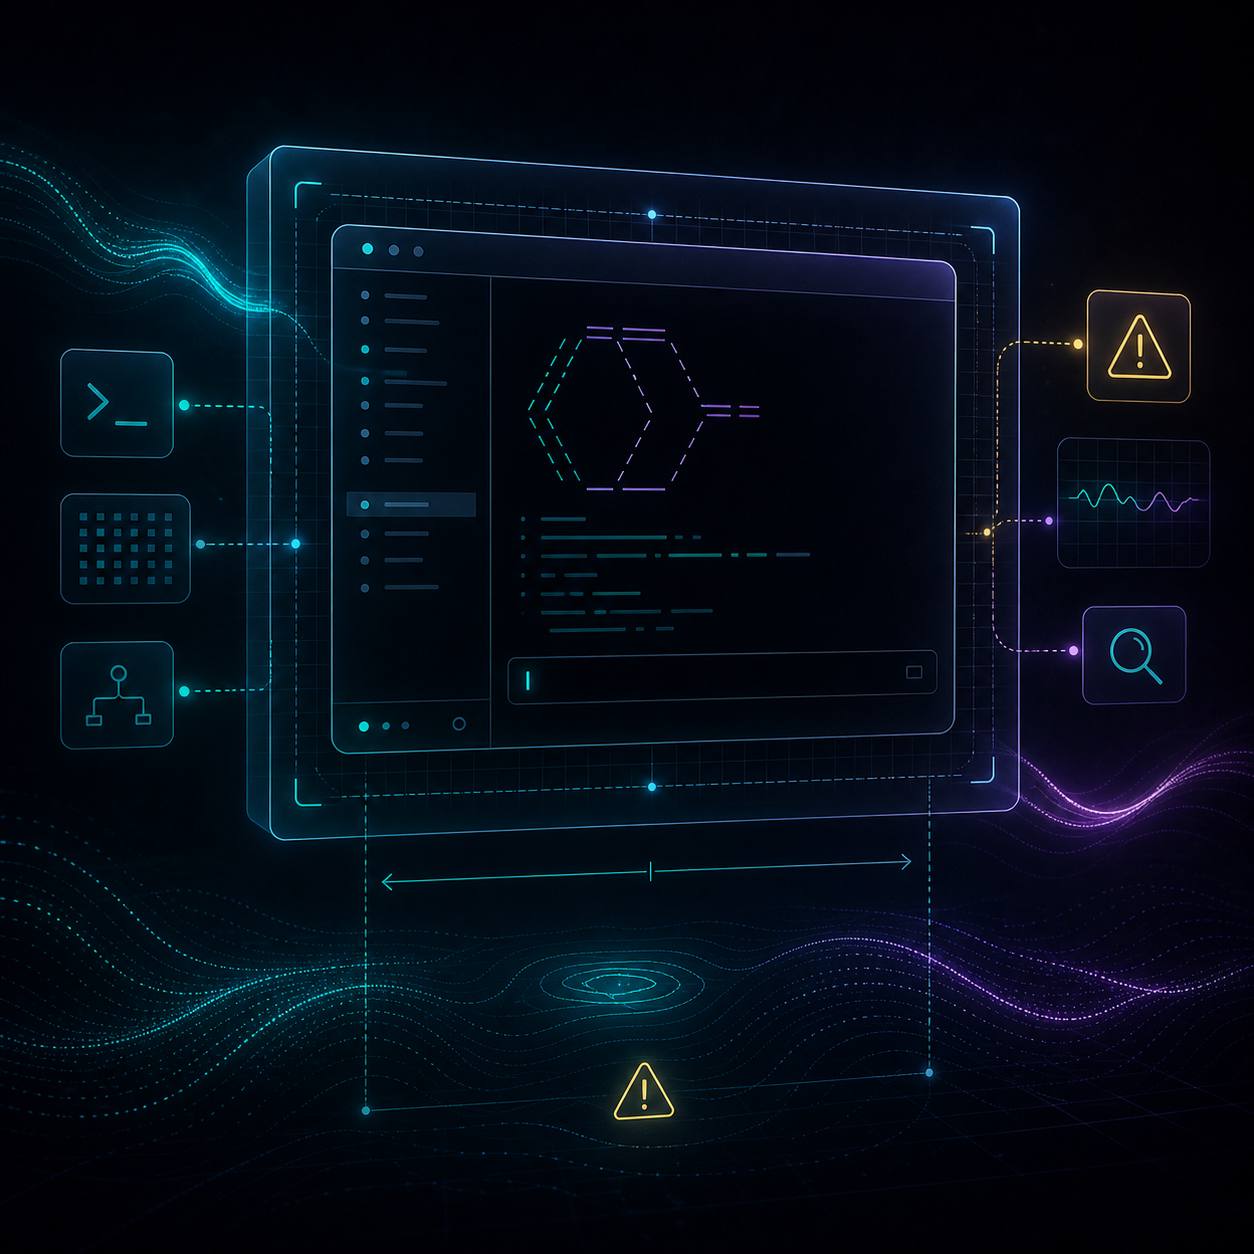
Expected result: you know the failure mode before you lean on the script too hard.
6. Decide What It Is For
Use dash-p for repo summaries, quick analysis runs, local refactors, prompt pipelines, and other personal automation that should stay close to your terminal session. Use Anthropic’s official help center and pricing pages when you need the current billing rules or API rates:
[Use Claude Code with your Pro or Max plan](https://support.claude.com/en/articles/11145838-use-claude-code-with-your-pro-or-max-plan)
[Manage usage credits for paid Claude plans](https://support.anthropic.com/en/articles/12429409)
[Pricing - Claude Platform Docs](https://docs.anthropic.com/en/docs/about-claude/pricing)
That is the practical answer to the product’s pitch: use the Claude Code subscription workflow you already have for local automation, and keep the separate API path for cases that really need it.
If you want the tool itself, start with the GitHub repository. That is enough to test the workflow on one real task and decide whether the terminal bridge earns a place in your own automation stack.