
July 28, 2026
How to Build a Local Query API for Claude Code With dash-p
Build a local, subscription-aware scriptable layer around the real Claude Code TUI with dash-p and a TypeScript query() loop.
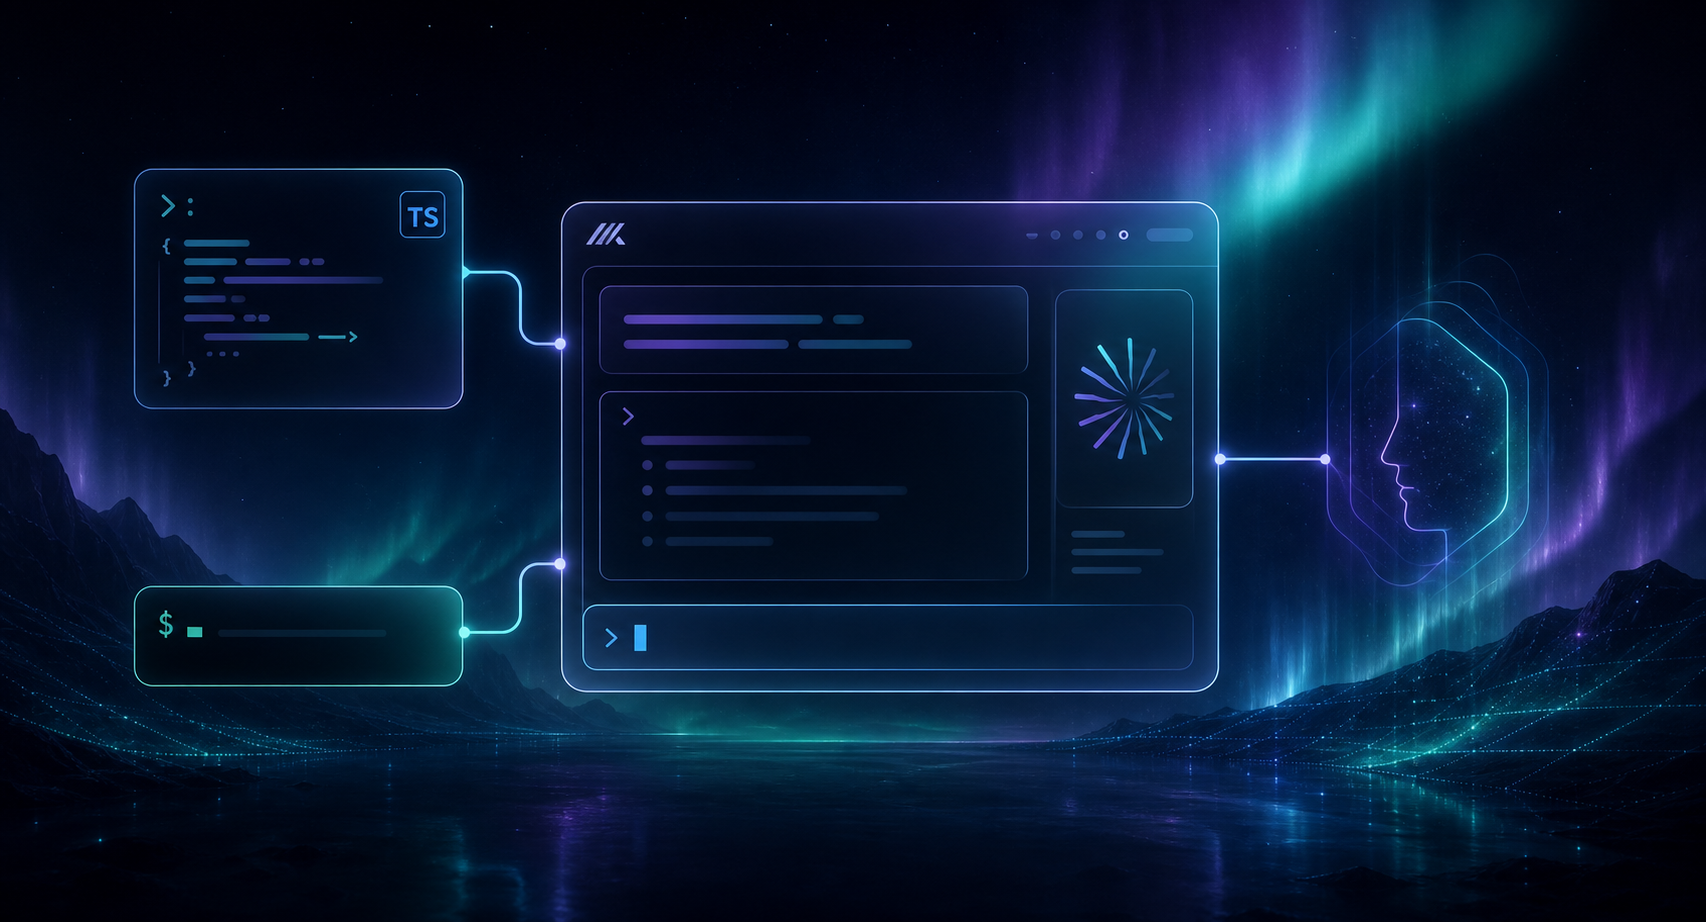
If you already use Claude Code in the terminal, the useful question is not “How do I replace it?” but “How do I script the same session I already trust?” dash-p answers that by launching the official claude TUI, driving the real interactive process, and exposing the result as a small CLI and a TypeScript query() API.
It is a good fit when you want to:
- run repeatable local prompts from Bash
- wrap Claude Code in a script without inventing a separate protocol
- keep your current Claude login and session model
- move one-off automation into TypeScript later
It is not trying to be a hosted API wrapper. Anthropic’s docs still treat Claude Code as the terminal CLI, and they note that if ANTHROPIC_API_KEY is set, Claude Code uses API billing instead of subscription authentication. If you want the billing context behind this pattern, see How to Automate Claude Code Without Switching to the Agent SDK and How to Build Subscription-Aware Claude Code Automations Locally.
1. Confirm Claude Code is installed and logged in
Follow Anthropic’s Claude Code quickstart if you have not installed it yet. If you want to sanity-check how the terminal behaves, Anthropic’s terminal configuration guide is the right reference.
Before you rely on dash-p, confirm two things:
claudeopens in your terminal.ANTHROPIC_API_KEYis unset if you want the normal Claude subscription flow rather than API billing.
Expected result: you can launch Claude Code manually, type a prompt, and get a normal answer before adding any automation.
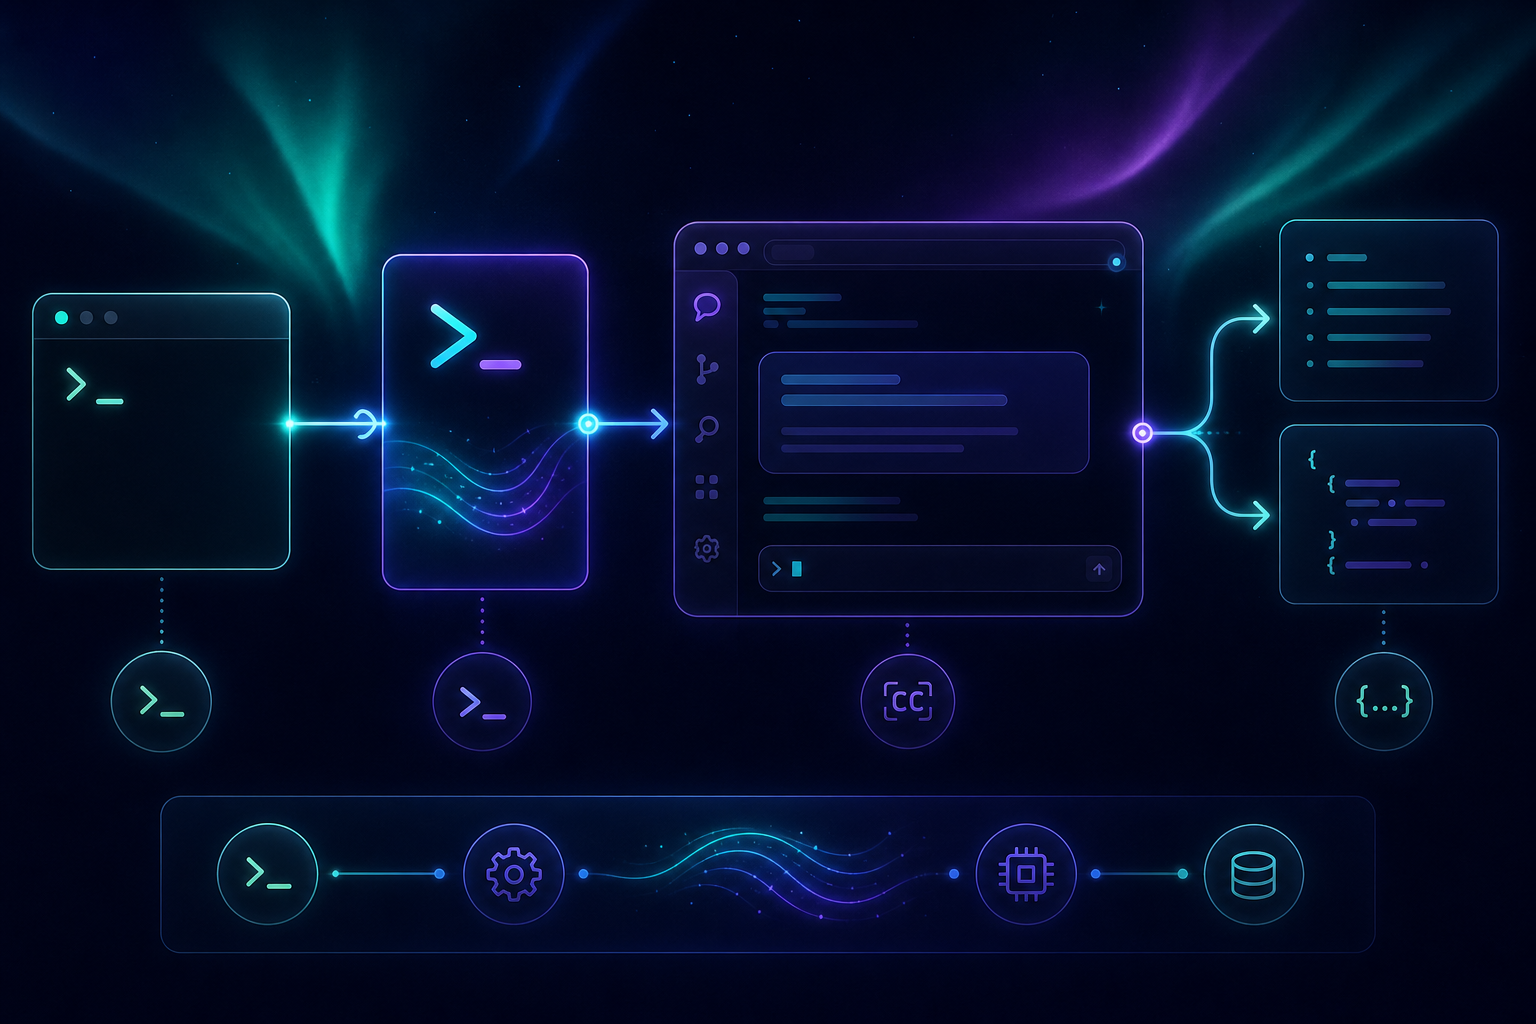
2. Install dash-p and run the first prompt
The package is published as @ybouane/dash-p, and the source lives in the dash-p repository.
npm install -g @ybouane/dash-p
dash-p "summarize this repo"
If you prefer not to install globally, use npx:
npx @ybouane/dash-p "summarize this repo"
Expected result: Claude Code opens in its real terminal UI, processes the prompt, and prints the final answer back into your shell. If that does not work, fix the Claude login or terminal setup first; do not start debugging dash-p until the underlying Claude session is healthy.
For another Bash-first framing of the same pattern, see How to Automate the Real Claude Code Terminal UI With dash-p and How to Turn Claude Code Into a Local Shell Pipeline.
3. Put the call inside a small shell script
Once the smoke test works, the useful next step is a repeatable shell wrapper.
#!/usr/bin/env bash
set -euo pipefail

repo_root=$(git rev-parse --show-toplevel)
cd "$repo_root"

summary=$(dash-p "summarize the last commit in five bullets")
printf '%s\n' "$summary" > /tmp/dash-p-summary.txt
Expected result: the script produces a text file you can hand to another command, commit message helper, or review step. This is the main reason dash-p exists for shell users: it lets the real Claude Code session sit inside the rest of your tooling instead of becoming a one-off manual step.
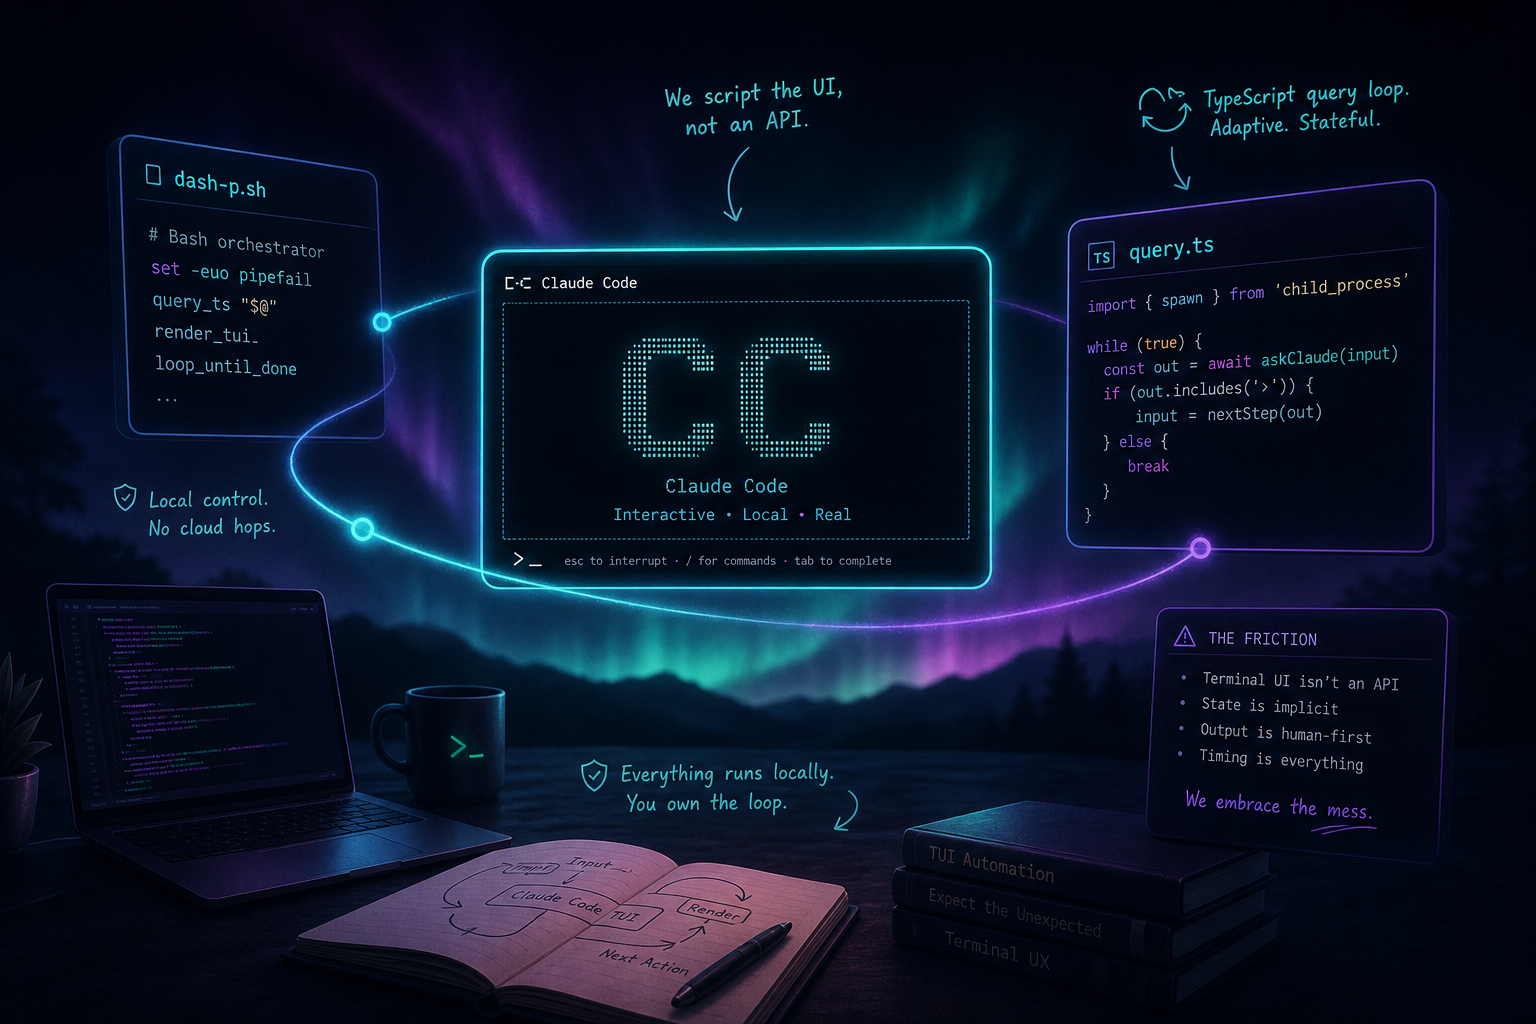
4. Switch to TypeScript when you want structured control
If you want a reusable helper instead of a shell wrapper, use the SDK-shaped query() API.
import { query } from "@ybouane/dash-p";

async function main() {
  const prompt = process.argv.slice(2).join(" ") || "Summarize this repo in three bullets.";

  for await (const msg of query({
    prompt,
    options: { model: "sonnet", includePartialMessages: true },
  })) {
    if (msg.type === "result") {
      console.log(msg.result);
    }
  }
}

main().catch((error) => {
  console.error(error);
  process.exit(1);
});
Expected result: your script can consume Claude Code as a local async iterator and stop when it receives the final result. That is a better fit than ad hoc shell parsing when you are building a longer-lived local tool.
For the original local scripting angle, see How I Script Claude Code Locally With dash-p.
5. Know where dash-p is the right tool
dash-p is strongest when the work is local, interactive, and repeatable:
- summarize a repo before you start a refactor
- draft a changelog note from the current diff
- turn a prompt into a local review note
- keep a developer-specific helper in Bash or TypeScript
It is weaker when you need a production-grade, fully headless API integration. In that case, use the Claude API or the Agent SDK directly. Anthropic’s billing docs still separate subscription access from API usage, and their help article on Claude Code notes that setting ANTHROPIC_API_KEY changes how Claude Code authenticates and bills.
The practical rule is simple: use dash-p when you want your own Claude Code session to become scriptable. Use the API when you need a server-side product boundary.
6. Troubleshoot the real TUI, not the wrapper
Because dash-p drives the actual terminal interface, the common failures are usually terminal or session problems first:
- If the output looks clipped, use a wider terminal or a more stable local terminal than a pasted-in IDE shell.
- If Claude suddenly asks for browser login, check whether your environment injected
ANTHROPIC_API_KEY. - If a newer Claude Code version changes the UI, re-test the manual
claudesession before blaming the wrapper. - If the prompt stalls, make sure the session is not waiting on a permission decision you did not see.
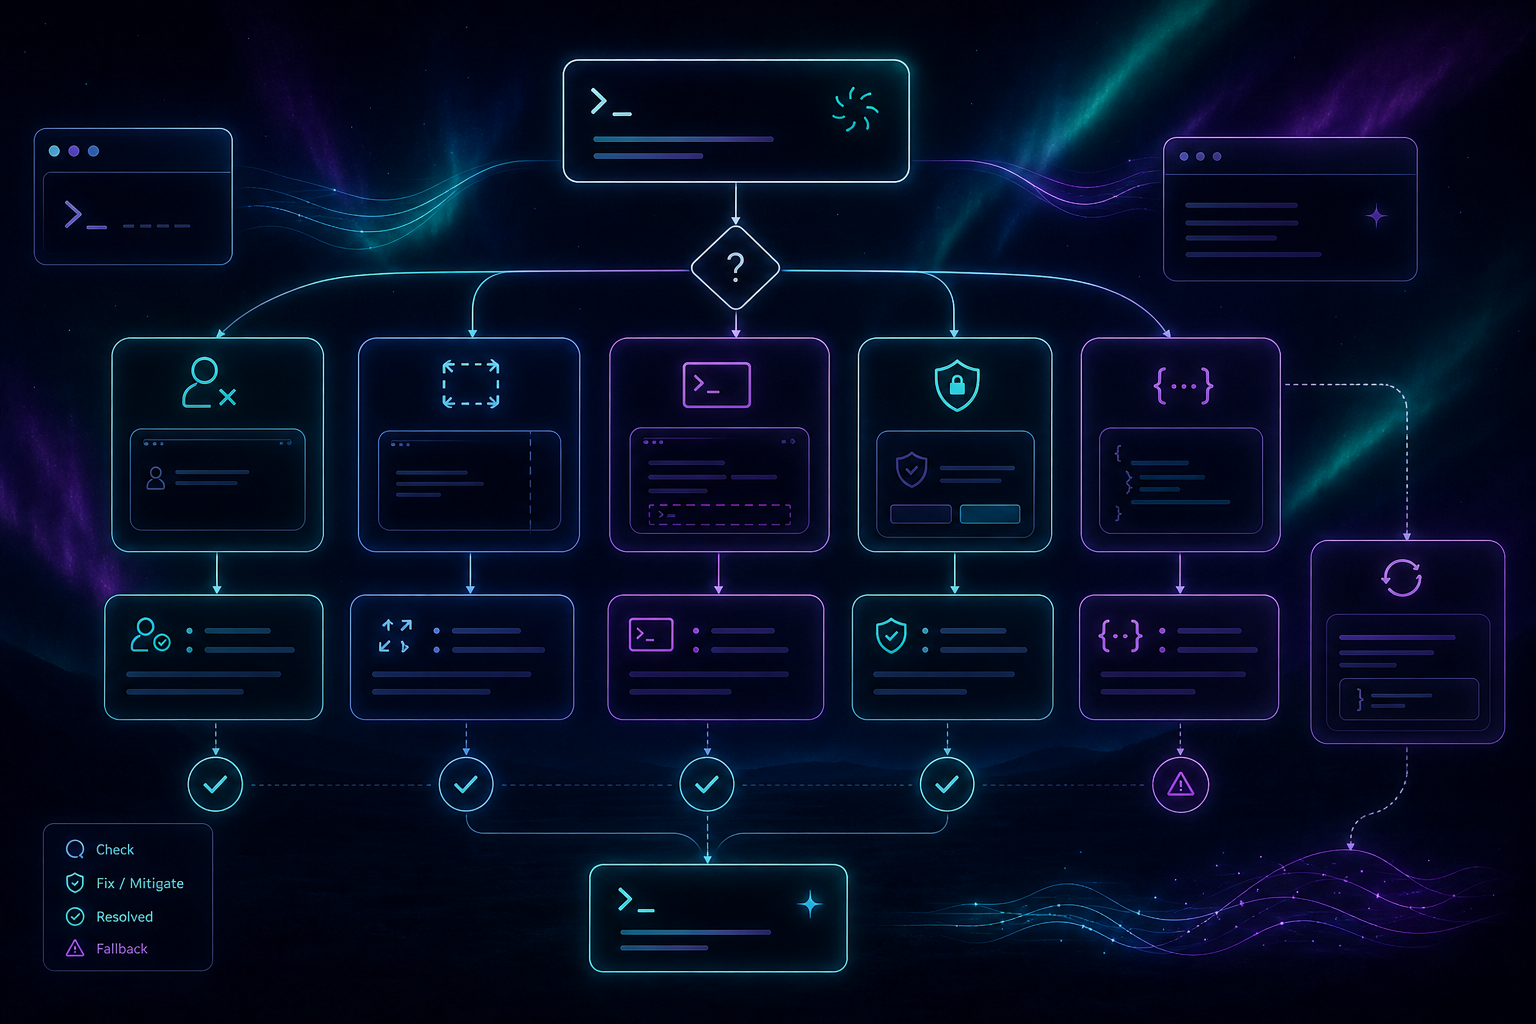
This is the same tradeoff that makes the tool useful: it stays close to the real session, so it inherits the real session’s quirks. If you want a broader overview of that framing, read How to Automate Claude Code Without Switching to the Agent SDK and How to Build a Scriptable Claude Code Workflow With dash-p.
Conclusion
If you already trust Claude Code in your terminal, dash-p lets you keep that setup and still automate it from Bash or TypeScript. Start with the global install, run one smoke test, and then move the same call into a local script only after the manual session is working.
Next action: run npx @ybouane/dash-p "summarize this repo" in a real Claude Code environment, then decide whether the next wrapper should be a shell script or a TypeScript helper.