
July 28, 2026
How to Build a Shopify Product Photo Workflow Around One Source Image
Turn one clean product photo into try-ons, lifestyle shots, mockups, and short videos with Supra AI Photo Studio.
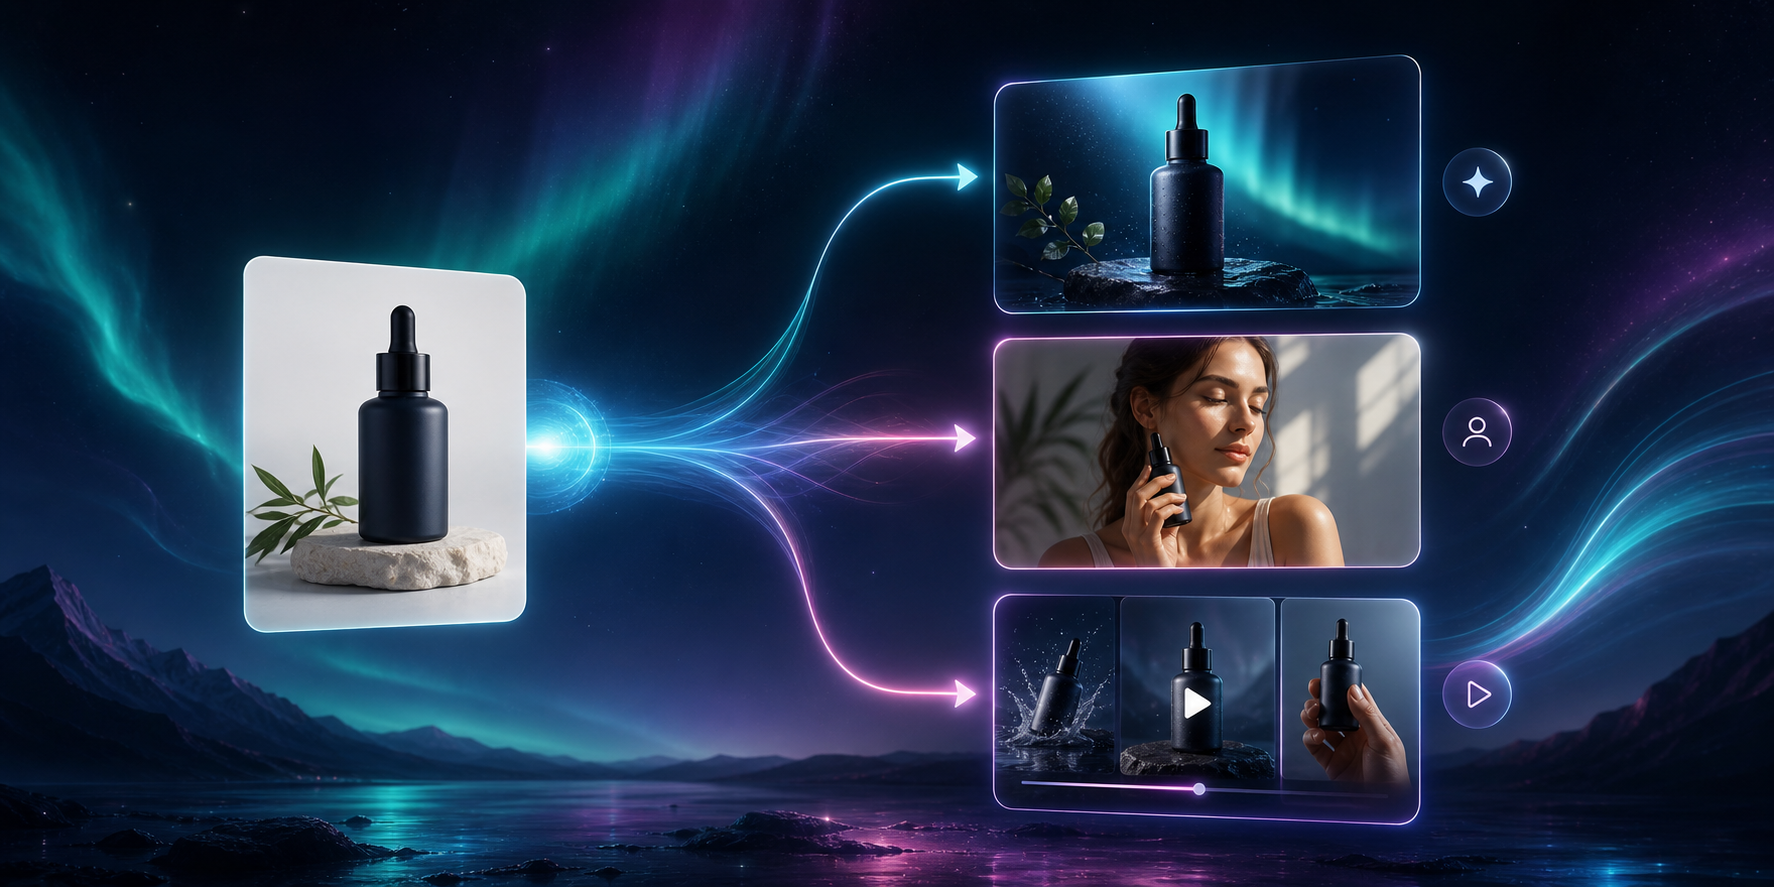
If you already have one clean product photo, you can turn it into a full set of Shopify visuals without rebuilding the same asset in five different tools. Supra AI Photo Studio is built for that kind of workflow: background removal, upscaling, auto-enhancement, model try-ons, object placement, mockups, and short product videos all live in the same app. You can start from the landing page or jump straight to the Shopify App Store listing if you want to compare plans first.
If you are still deciding which product shots deserve the effort, start with A Practical Shopify Product Photo Decision Tree for AI Editing. The point is to pick one source image that is already sharp, well lit, and cropped with enough breathing room to survive several rounds of editing.
1. Start With The Cleanest Source Image
Choose the photo that already shows the product clearly from the angle you would trust on a product page. Avoid heavy shadows, motion blur, and cluttered props. If a product has multiple candidate images, pick the one that keeps edges readable and materials visible.
The reason this matters is simple: AI editing works best when the base image is honest. You want the app to improve the image, not guess what the product looks like. That is also why How I Review a Shopify Product Photo Before I Generate Variants is useful as a companion read. It focuses on the same decision, but from the perspective of whether a photo is ready to branch into variations.
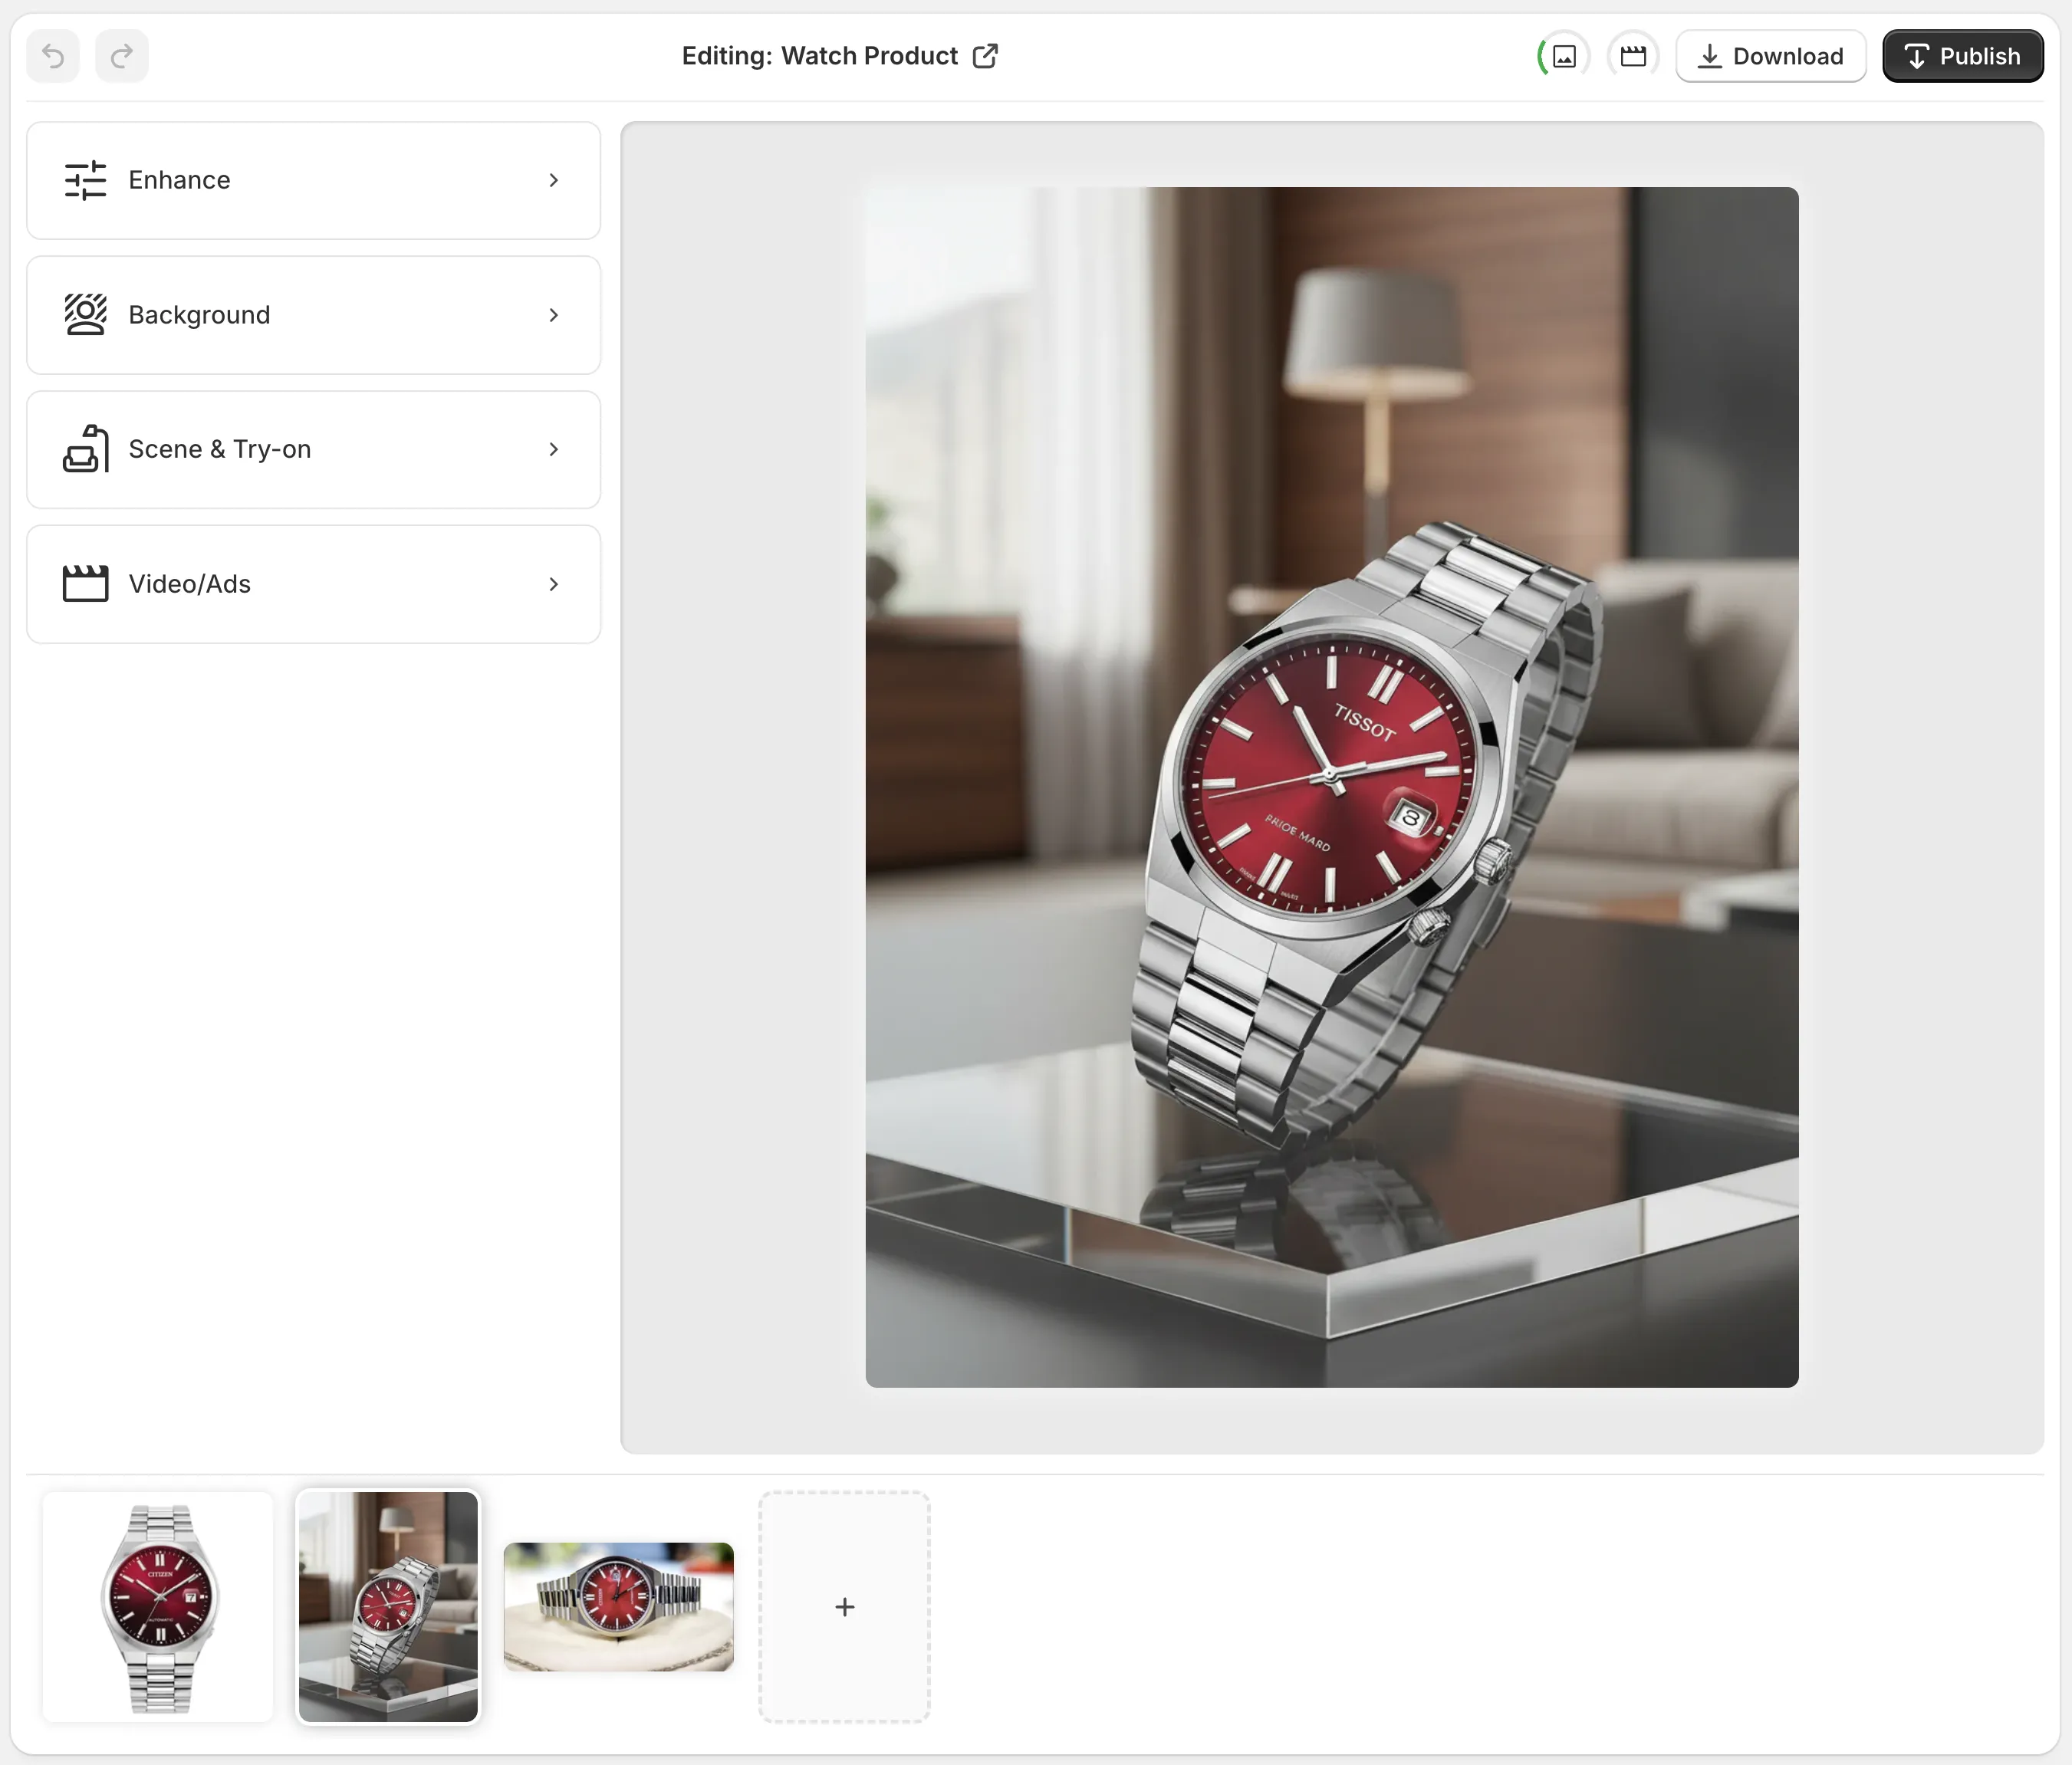
The editor screenshot helps because the workflow stays in one place. The top bar handles undo, redo, downloads, and publishing. The tools panel is where the image work happens. The canvas shows the current result, and the image gallery keeps the product set together.
2. Clean The Base Shot Before You Branch It
Use the background remover first if the original photo has distractions around the product. Then apply upscaling or auto enhancement only when the base image needs it. The goal is to make one polished master image that can serve as the starting point for every other output.
A common mistake is to jump straight into a lifestyle scene before the base image is stable. That usually creates avoidable artifacts, especially around edges, reflections, and transparent or glossy materials. When a product image is weak, How I Turn Weak Shopify Product Photos Into Studio-Grade Listings shows the same idea in a more listing-focused format.
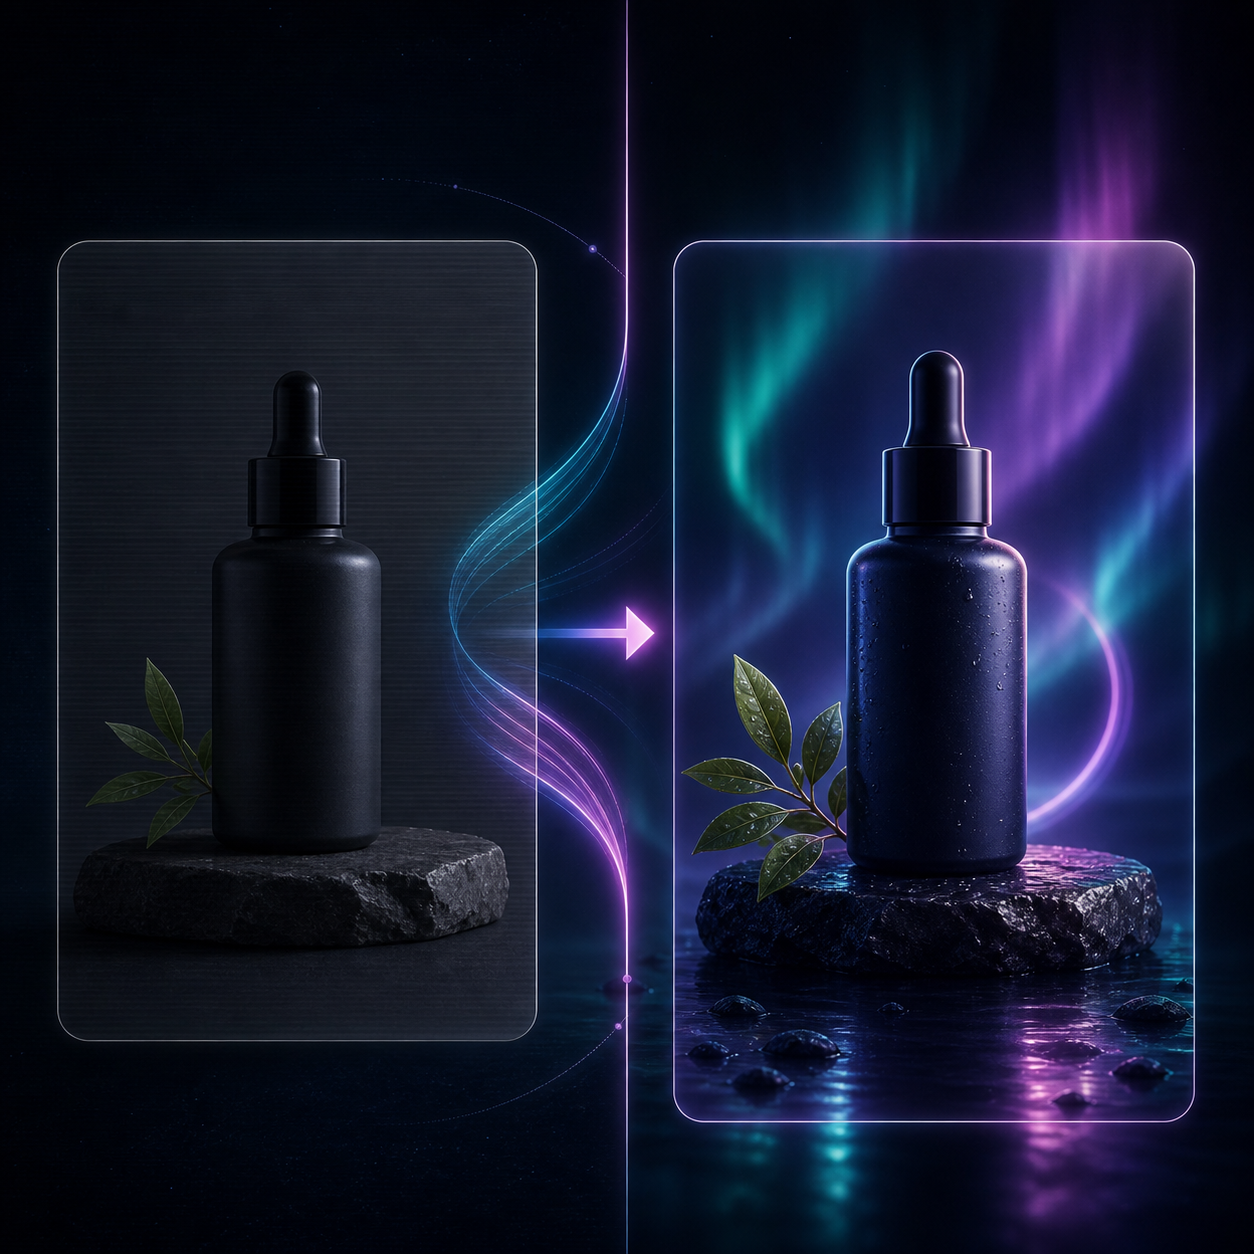
Use a before-and-after check like this to confirm the product still looks like the same product. If the edit made the item look cleaner but less recognizable, back up and simplify the settings.
3. Create Try-On Assets Only When The Category Benefits
Try-on is not for every catalog, but it is a strong fit for apparel, jewelry, accessories, and other products where the customer needs scale or fit context. If the product works on a person, create one version that answers the question, “What does this look like when someone wears it?”
Keep the try-on goal narrow. The app should show the product realistically, not redesign it. A good try-on image preserves shape, trim, and color while giving the buyer enough context to judge the item quickly.
If you want to compare the input image before you branch into multiple outputs, How I Review a Shopify Product Photo Before I Generate Variants is the right mental model. It helps keep the workflow reviewable instead of turning it into a one-click image flood.
4. Place The Product Into A Real Scene
Once the master image is clean, use object placement to create lifestyle versions for the homepage, product page, collection page, or campaign banner. The point is not to make every image look dramatic. The point is to answer the shopper’s context question.
A kitchen scene works when the product belongs in a kitchen. A studio counter works when the product needs a neutral premium setting. An outdoor scene works when the product gains credibility from environment. Keep the scene close to the product’s actual use so the final image still feels believable.
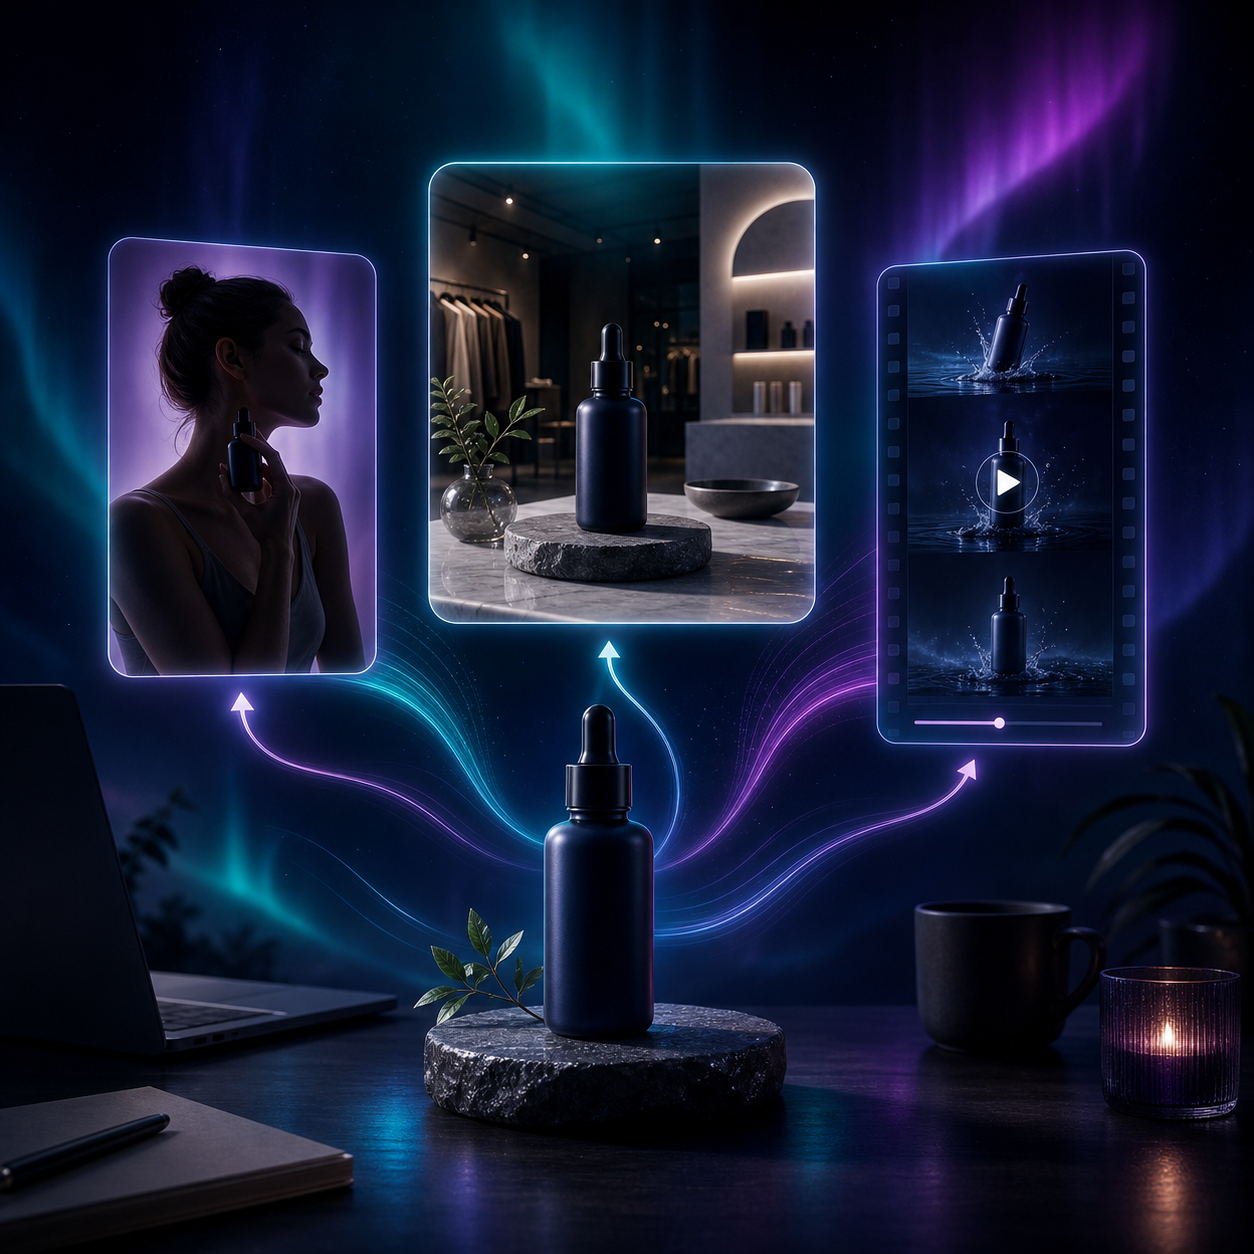
If you need to compare how the same source image behaves across different placements, How I Keep Shopify Product Photos Consistent Across Listings and Ads is a good follow-up. It is the right next read when you are trying to keep one visual system coherent across more than one channel.
5. Turn The Same Asset Into Video And B-Roll
Use the same source image again for short videos, UGC-style clips, or b-roll. This is useful when you need ad creative fast, but do not want to start from scratch for every format. A still product shot can become a motion asset for social media, retargeting, or a launch page.
Keep the motion simple. Short clips work better when they emphasize product detail, reveal, impact, or a small contextual action. The app’s video tools are most useful when the product remains the star and the motion just gives it a little more presence.
If you want to see the broader editing workflow that sits behind these outputs, compare this with How I Turn Weak Shopify Product Photos Into Studio-Grade Listings. The same judgment calls show up there, but the emphasis is on listing readiness instead of ad creative.
6. Keep The Workflow Reviewable And Reusable
The easiest way to lose time is to treat each output like a one-off. Instead, save the clean source image, the enhanced master, and the best variants as a small repeatable set. That makes it easier to revisit the product later for seasonal updates, campaign refreshes, or new ad angles.
That is also where the free plan matters. If you are testing the process, the app’s free tier is enough to validate whether a product can move cleanly from plain photo to try-on, lifestyle, mockup, or video. Once you know the workflow works for a category, you can decide whether it deserves broader use.
Troubleshooting Common Problems
If the product changes shape, start with a cleaner source image and reduce the amount of transformation you ask for in one pass.
If the scene looks too stylized, simplify the background and keep the product closer to a real retail environment.
If a try-on image looks off, check whether the original garment or accessory is clear enough to survive placement on a model.
If the outputs feel inconsistent across channels, use the same master image and the same enhancement settings as your baseline. The more the workflow changes between channels, the more likely the visual identity will drift.
What To Do Next
A useful first workflow is simple: pick one source image, clean it, create one try-on or placement variant, and then make one short video from the same asset. That gives you a complete mini library without overcomplicating the process.
If you want to build that system in Shopify, open Supra AI Photo Studio and start from one product image today. If you prefer to inspect the app listing first, use the Shopify App Store page and confirm the plan that fits your store.