
August 6, 2026
How to Plan a Shopify 3D Capture Day With a Phone
A practical setup-and-capture workflow for turning phone photos into Shopify-ready 3D product media.

If you want to add interactive 3D media to a Shopify product page, the hard part is usually not the model. It is creating a repeatable capture setup your team can run without turning every SKU into a production project.
This guide shows how to plan one simple 3D capture day with a phone, then turn the best captures into Shopify-ready product media with Supra 3D Capture. You will need a smartphone, a product that is easy to photograph, even lighting, and access to the relevant Shopify product. The expected result is a clean set of guided phone photos ready to process into a web-ready GLB.
1. Choose one low-risk product for the first session
Start with a product that has a clear shape, a matte or lightly textured surface, and enough visual detail to recognize from multiple angles. A ceramic planter, a sneaker, a small appliance, or a packaged item is usually easier than glass, chrome, transparent plastic, or fuzzy fabric.
Pick a SKU where a shopper would benefit from seeing depth, proportions, or surface details. That is the point of 3D product media: customers can drag and inspect the item rather than trying to infer its shape from a fixed gallery. If you are still deciding where to invest first, use this guide on which Shopify products are worth scanning in 3D and this 3D capture priority scorecard.
Expected result: one product that is visually stable, has a real product-page need, and will not make your first photogrammetry session unnecessarily difficult.
2. Build a small, consistent capture station
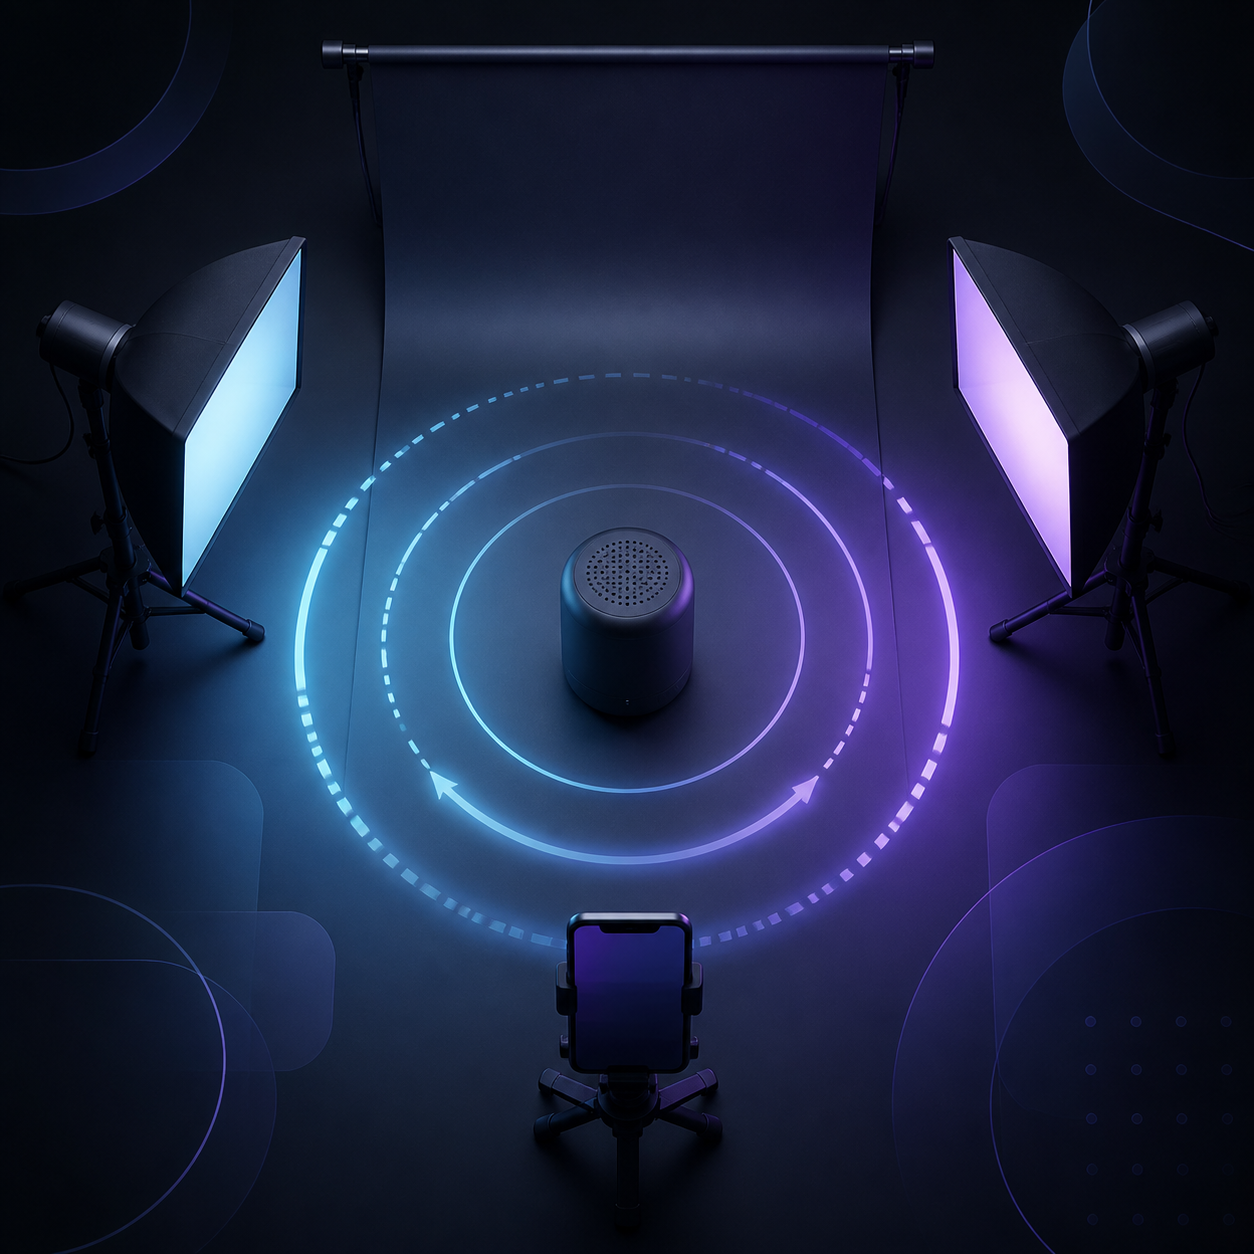
Use a stable surface and a plain background. Place the product where you can walk all the way around it without changing the light or bumping the setup. Then soften the light from more than one direction so shadows do not move aggressively from photo to photo. Window light can work when it stays even; two diffused lights are more predictable.
Keep the product still. Remove price stickers, dangling tags, and anything that will shift between shots. Do not use a glossy mirror surface beneath the item unless the reflection is intentional and stable. The goal is not a dramatic hero photo. It is a consistent visual record of the product.
Expected result: the product is evenly lit from every side, its outline stays readable, and the background does not compete with it.
3. Plan the orbit before opening the app
A capture session works best when you move the phone around the product in a deliberate orbit instead of collecting random close-ups. Begin at a comfortable distance where the whole item stays in frame. Move around the product at a steady height, then repeat at slightly higher or lower angles if the shape needs it. Keep overlap between consecutive photos so the reconstruction has visual continuity.
Supra 3D Capture guides the session as you take 10 or more phone photos. That is enough to make the workflow approachable, but do not treat ten as a target if the product needs additional angle coverage. The important check is whether every meaningful side, edge, and contour has been seen.
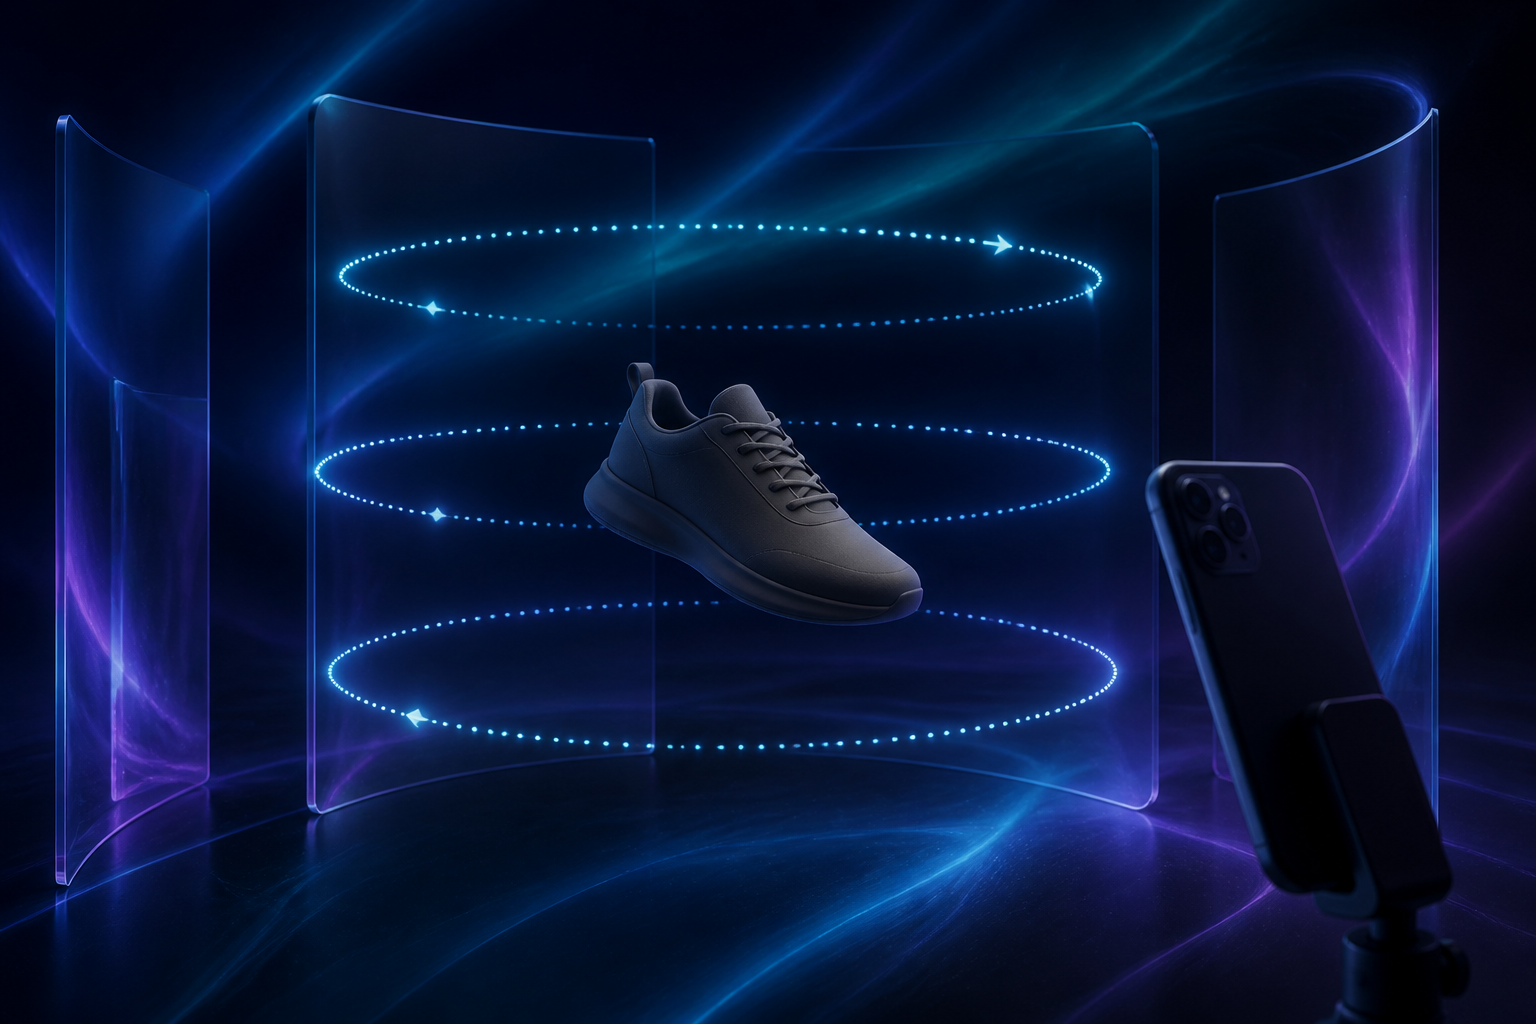
Expected result: you can point to the top, sides, back, and any defining feature and identify a photo that covers it cleanly.
4. Capture slowly and protect consistency
Open a guided capture session and follow the framing prompts. Keep your phone exposure and focus stable where possible. Walk around the item instead of spinning it between frames; changing both camera and product positions makes it harder to reason about coverage. If a shot is blurred, cropped, or catches a hand across the product, retake it immediately.
Avoid changing the lighting halfway through. If you need to pause, make a quick note of the phone height and light placement before restarting. For reflective, clear, or hairy items, begin with a simpler product and come back after the team has a baseline workflow; those materials are harder because they do not present stable visual features from angle to angle.
Expected result: a clean, overlapping image sequence with no obvious coverage gaps or one-off lighting changes.
5. Process the model and review the shopper view
Upload the capture set for processing. Supra 3D Capture reconstructs the photos into an optimized GLB, which is the web-ready 3D model format used for product media. Before publishing, inspect the model like a customer would: rotate it, check the silhouette, look for broken surfaces, and compare important details with the physical item.
Do not publish a model just because it processed. Ask whether it makes the buying decision easier. For a helpful companion perspective, see what makes a Shopify product worth scanning in 3D. That decision is where 3D becomes conversion-aware product media rather than a novelty.
Expected result: a model that preserves the product’s recognizable shape, proportions, and details from the angles a customer is likely to explore.
6. Publish through Shopify product media or an app block
Attach the approved GLB to the relevant Shopify product so it can appear in the native 3D viewer when your theme supports it. If the product page needs the model in a more intentional location, use Supra 3D Capture’s Online Store 2.0 theme app block. Test the page on both desktop and mobile: the viewer should load, rotate smoothly, and sit naturally beside the product information.

Check the product-page gallery, media order, and page speed after publishing. It is also useful to compare the 3D model with the photos you already use for merchandising; the two should reinforce each other. If you are improving broader product visual workflows at the same time, this Shopify photo routing system is a useful adjacent read.
Expected result: shoppers can interact with the model in the correct product-page context without losing the information they rely on to buy.
Common pitfalls to avoid
- Starting with shiny, transparent, or soft-textured items before proving the workflow on a stable SKU.
- Capturing under uneven light, then expecting the processing step to repair changing shadows.
- Taking too few angles around a distinctive handle, seam, underside, or back panel.
- Publishing before someone checks the model on the actual storefront and on a phone.
A capture day does not need specialist gear or a 3D artist to be useful. Start with one practical SKU, create an even photo orbit, review the resulting GLB, and publish only when it adds genuine product-page confidence. Your next action: open Supra 3D Capture and schedule a 30-minute test session for one low-risk product.