
August 26, 2026
How to Capture Your First Shopify 3D Model With a Phone
A practical phone-photo workflow for turning the right Shopify product into native interactive 3D media.
If your product gallery still leaves shoppers guessing about depth, shape, or texture, native Shopify 3D media can be a useful next test. You do not need a 3D artist or special capture gear to begin. With a suitable product, consistent phone photos, and Supra 3D Capture, you can turn a guided photo orbit into a web-ready GLB and attach it to a Shopify product.
This guide walks through the first capture in order. The goal is not to make every SKU 3D-ready today. It is to publish one model that shoppers can actually rotate and inspect.
Before You Start
Have a regular smartphone, a product you can move around, and a clean, evenly lit place to work. You will also need a Shopify product selected for the model. Supra 3D Capture guides the photo session, processes the images into a GLB, and can publish it as Shopify product media or through an Online Store 2.0 app block.
Your expected result: you will have a first model that is easy to judge on the product page, rather than an ambitious scan that is difficult to rescue.
1. Choose an Easy First Product
Start with a single, compact item with visible shape and texture: a shoe, bag, bottle with a non-reflective finish, ceramic object, or boxed product. Pick an item that is already selling enough to make its page worth improving. It should be clean, complete, and able to stay still during the session.
Avoid treating the first run as a stress test. Clear, mirror-like, very shiny, fuzzy, or extremely thin products can be harder for photogrammetry to reconstruct. They are good follow-up experiments, not the baseline for a first model. If you are deciding among several candidates, use the same prioritization mindset from how to pick the first Shopify SKU for a 3D pilot: favor a product where rotation answers a real shopper question.
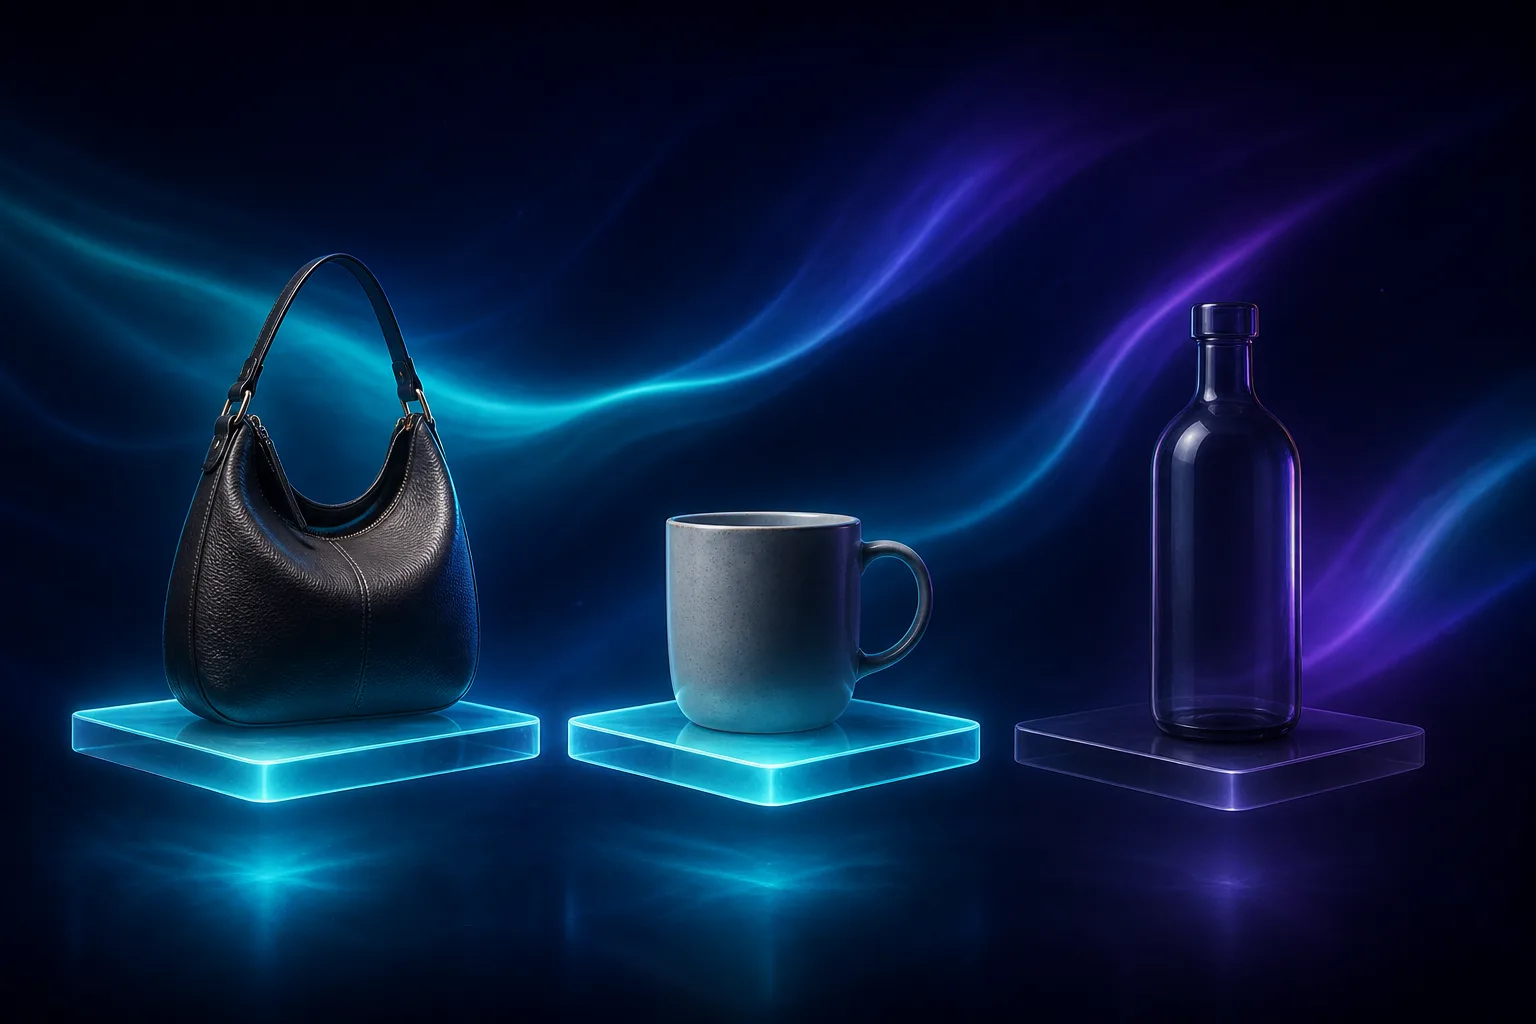
Your expected result: a product whose silhouette, sides, and material are understandable from multiple angles.
2. Set Up Stable, Even Light
Place the product on a plain, non-reflective surface. Use broad, even light from a window or soft indoor lights. The aim is consistency, not drama: harsh shadows and changing reflections can make two sides of the same object look unrelated. Remove loose props and make sure the product is not rocking, spinning, or shifting as you move.
Wipe fingerprints from glossy areas, straighten straps or laces, and check that every included component is present. A 3D viewer makes omissions more obvious than a single hero image because shoppers can inspect the object from every direction.
Your expected result: the product looks the same in every phone frame except for its viewing angle.
3. Capture One Deliberate Orbit
Open a guided capture session in Supra 3D Capture and keep the product centered. Move around it in a calm circle, taking the 10+ guided photos the app requests. Keep a similar distance and height from frame to frame. Overlap is useful: each new view should share enough visible detail with the last view for the processing pipeline to understand that it is the same object.
Do not rush to collect dramatically different angles. A steady orbit at one height, followed by a second slightly higher or lower pass when prompted, is more reliable than jumping from the front to the top to the back. Let the guidance tell you when the subject is in frame.

Your expected result: a complete ring of consistent images with the product fully visible and no accidental hand, table edge, or lighting change dominating a frame.
4. Let the Model Process, Then Review the Important Details
Upload the capture and let the photogrammetry pipeline produce the optimized GLB. When the model is ready, rotate it like a shopper would. Check the most expectation-sensitive areas first: the front, side profile, closure, sole or base, texture transitions, and any part that makes the product feel larger, smaller, thicker, or more complex than photos suggest.
Use this review as a product-page check, not a 3D-engineering exercise. If one detail is soft or incomplete, decide whether a cleaner recapture is faster than publishing a model that introduces uncertainty. The simple 3D model handoff card approach is useful here: record the product, owner, publish destination, and final checks so the model does not become an orphaned file.
Your expected result: a model you are comfortable inviting a customer to inspect.
5. Publish It Where Shoppers Will Find It
Attach the finished GLB to the matching Shopify product so it appears in the native 3D viewer when your theme supports it. If you need a more intentional placement, use the dedicated Online Store 2.0 theme app block. Then preview the product page on desktop and phone. Make sure the model is associated with the right product, the viewer is visible near the media gallery, and the first interaction feels obvious.
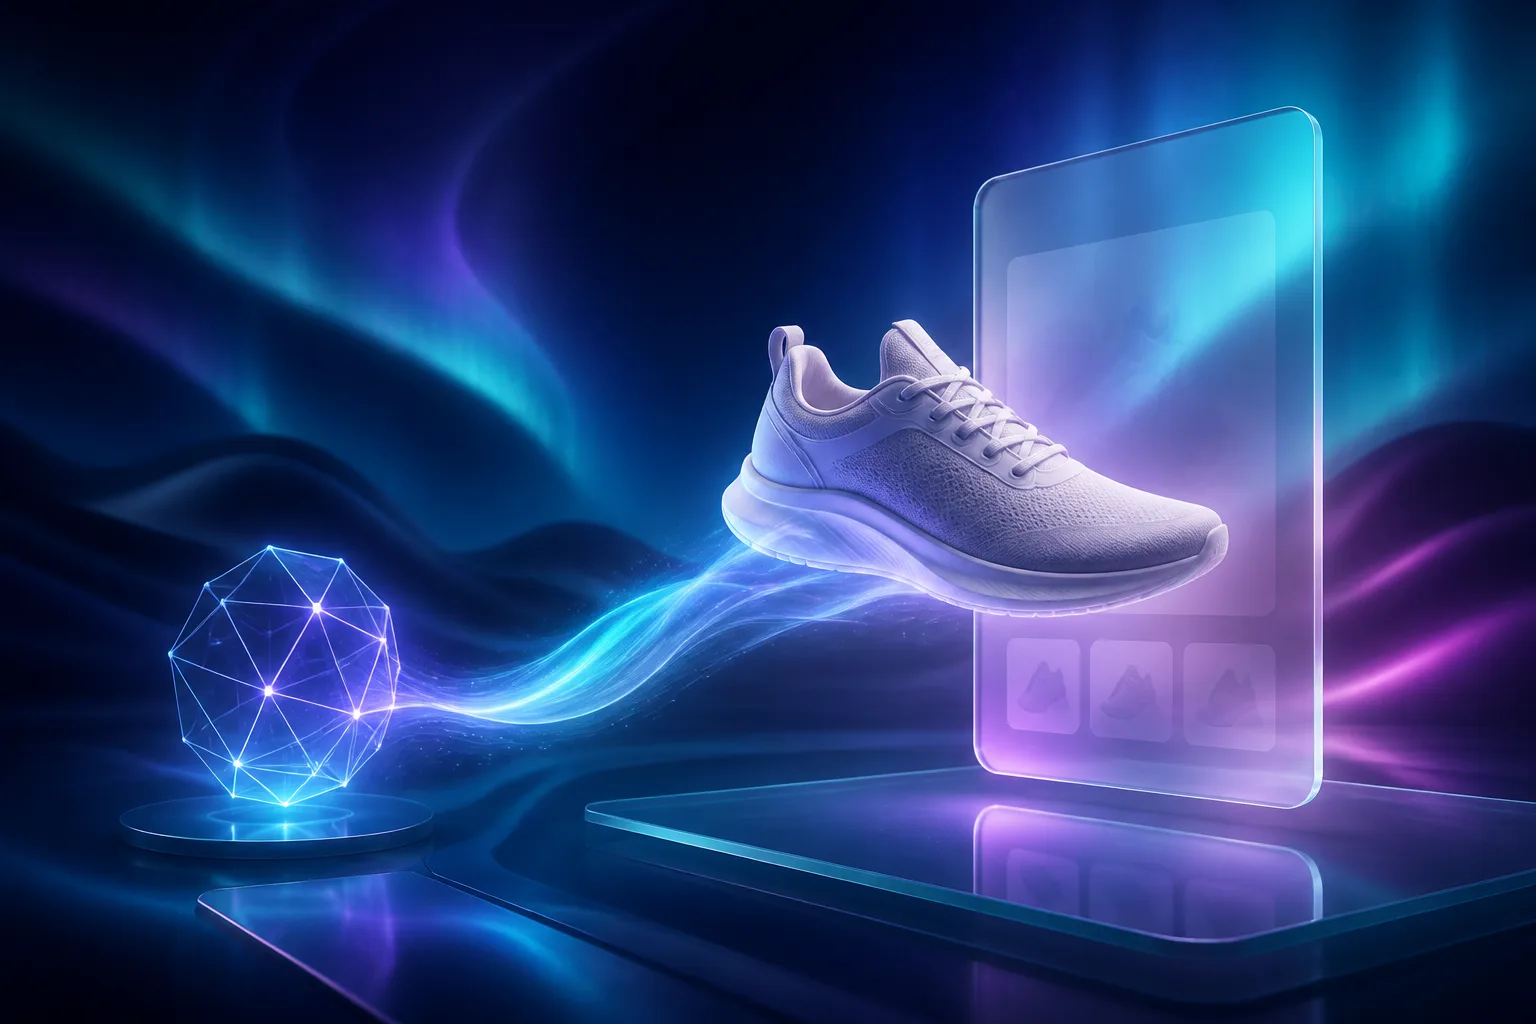
A real model changes the shopper’s role: they choose the angle instead of waiting for you to include it in a gallery. That is why it can be a stronger product-page test than another heavy 360-spin GIF; this comparison of a spin GIF and real Shopify 3D explains the difference.
Your expected result: an interactive object in Shopify product media that loads cleanly and can be rotated without leaving the product page.
6. Run a Small Customer-Confidence Check
After publishing, check the product page with the same questions a customer has: Can I understand the side profile? Can I see the base or closure? Does the model make size, shape, or material easier to judge? Keep your existing photos; 3D should complement the photo gallery, not replace useful close-ups, scale shots, or detail images.
If the first product proves the workflow, repeat it on the next SKU where flat images create an expectation gap. For a practical publishing checklist, see how to add a Shopify 3D model shoppers can actually use.
Start With One Product Page
A useful Shopify 3D program starts with one clear product, steady phone photos, and a review before publishing. Start a Supra 3D Capture session for the SKU that most needs a better angle, then use that first model to decide where interactive 3D adds the most customer confidence next.