
October 15, 2026
How to Clean Up a Product Photo in Your Browser Without Changing It
Use ImageFlow to clean up a product photo with masks, layers, and careful export checks—without changing what customers receive.

You do not need to rebuild a product photo to make it ready for a listing. A better goal is smaller: remove distractions, correct the presentation, and keep the product customers will receive exactly recognizable. This guide shows how to do that in a browser with ImageFlow, an editable image editor with layers, masks, adjustment layers, PSD support, and on-device selection tools.
You will need one original product image, a clear idea of the listing crop you need, and a few minutes to inspect details at full size. If your source is a PSD, keep a copy of it before you begin; ImageFlow can import and export PSD and PSB files, but complex production files are still worth testing in your own workflow.
1. Define the edit you are allowed to make
Before opening the editor, write a one-line boundary for the image. For example: remove the countertop reflection, retain the bottle color, label, cap, and proportions. This prevents a cleanup task from becoming a product redesign.
For a storefront image, normal edits include removing a distracting object, placing a real product on a clean background, and correcting exposure. Do not alter color, texture, size, included accessories, or the evidence a shopper needs to decide. The same discipline helps when you are building a Shopify UGC creative test system: make the creative variable clear before you evaluate it.
Expected result: you know what must remain true when you export.
2. Open the original and make the first correction non-destructive
Open your image in ImageFlow. If you are starting with a layered file, inspect the Layers panel first and duplicate the working layer before you retouch. For a flat image, keep the original as the bottom layer and do corrective work above it when possible.
Use adjustment layers for exposure or color balance rather than permanently changing pixels. ImageFlow lists non-destructive adjustment layers, smart objects, smart filters, masks, and 27 blend modes, so you can revisit a choice when the image looks too bright on another screen. Keep each correction narrow: solve the lighting problem before touching anything else.
If your product needs more structure than one image can provide, start by mapping product types to Shopify size-chart rules instead of trying to make the photo carry every buying detail.
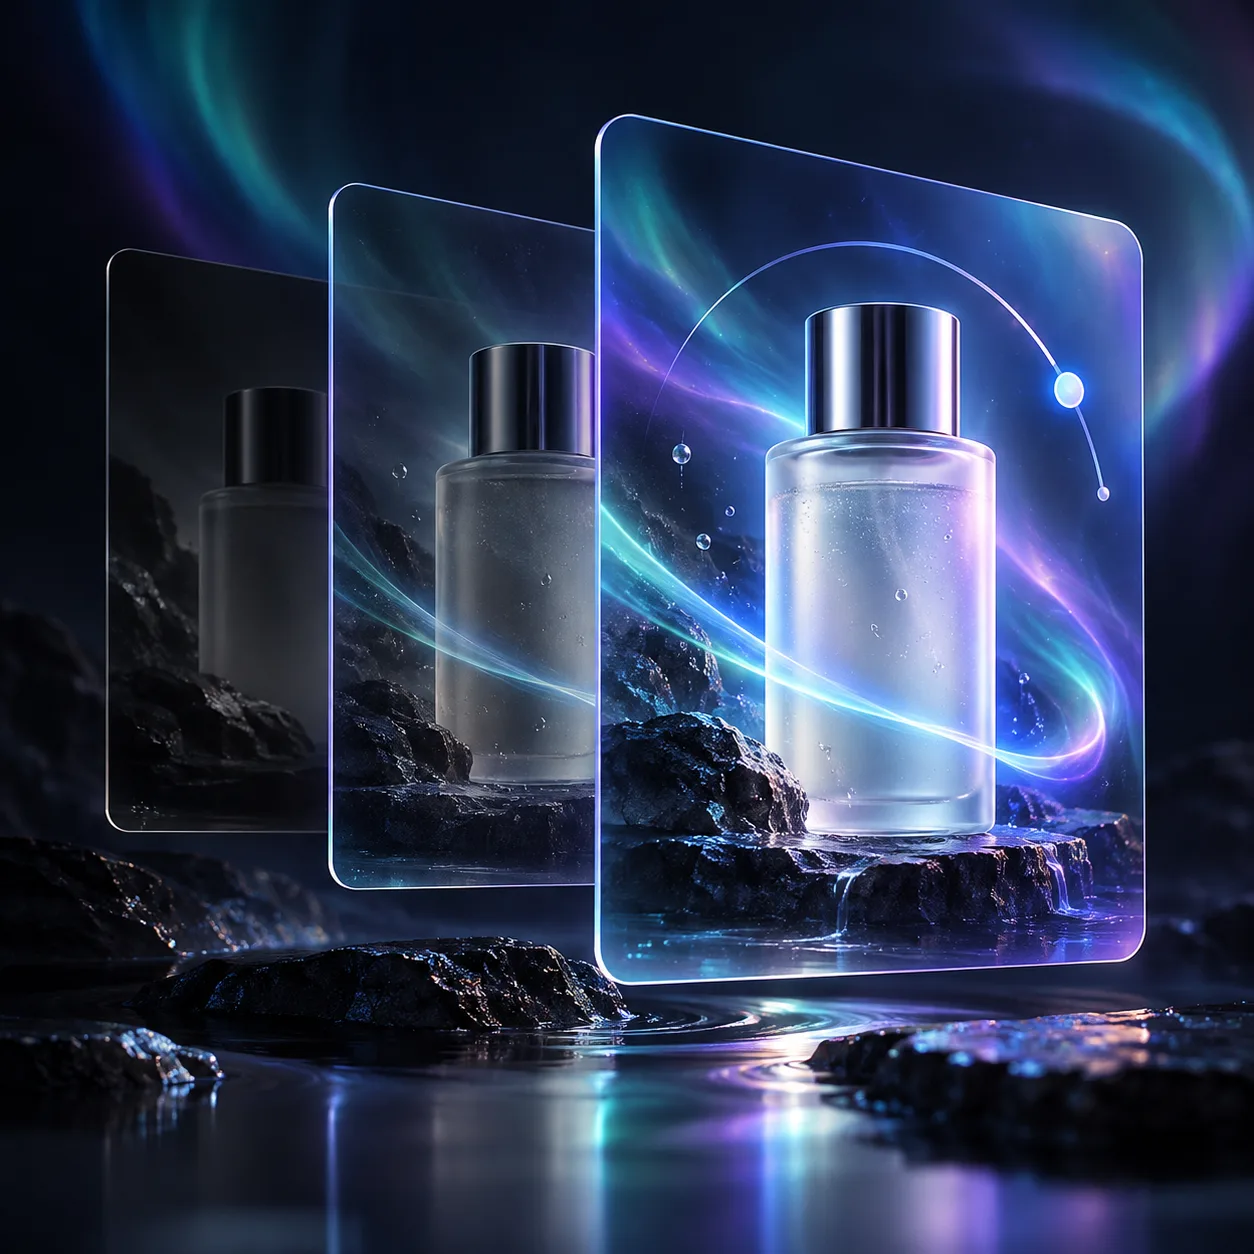
Expected result: toggling your changes off restores the original source intact.
3. Select the product, then inspect the edge before changing the background
Use ImageFlow’s object selection or on-device background removal as a starting point. Do not treat the first selection as final. Add a layer mask, zoom in, and inspect the edge around text, logos, reflective surfaces, translucent material, and fine details. Refine the mask manually where the selection cuts into the product or leaves obvious background halos.
This is the point where a clean cutout either earns trust or quietly loses it. Product shapes with hair-like fibers, glass, reflections, or soft shadows need extra care. If the edge cannot be made believable, retain more of the original background or reshoot rather than hiding the problem. For a focused primer, see how to create clean ecommerce product cutouts without installing Photoshop.

Expected result: the product edge looks natural at 100% zoom, without clipping labels, corners, or real shadows.
4. Remove one distraction at a time
If a stray cable, dust spot, or background object pulls attention away from the product, make a selection around only that item and use content-aware fill. Work on a new layer if your workflow permits it, then inspect the repaired area at full size. A generated-looking texture, bent seam, or repeated pattern is a signal to undo and use a smaller selection.
For a broad scene change, use a new background layer behind the masked product rather than painting over the source. Keep contact shadows plausible. The purpose is a clearer listing image, not evidence that the product was photographed somewhere it was not.
Expected result: the viewer notices the product first, while the image still looks physically consistent.
5. Make a listing-specific crop and export a review copy
Duplicate the document before you make a square collection thumbnail, a marketplace crop, or a social variant. Keep the master uncropped. This is especially useful when you need product images as swatches: test Shopify swatches before an international color launch with an intentional image rather than an arbitrary crop.
Export one review copy in the format and dimensions your storefront needs. Name it clearly, such as serum-bottle-main-1600.jpg, and avoid overwriting the master. If the deliverable belongs in a launch workflow, pair it with the same review discipline used to create a Shopify blog approval checklist that scales.
Expected result: you have a channel-ready file and an editable original you can reopen.
6. Run a truthfulness check before publishing
Put the export beside the original and answer four questions: Is the product’s color still accurate? Are its proportions unchanged? Are labels and included parts present? Would a buyer recognize the product when it arrives? Review at full size and at the smaller size used in the product grid.
If you used a background-removal or fill tool, zoom in one final time around the outline. This short check catches most artifacts before they reach a product page.
A small first edit is the right next step
Browser editing is most useful when it keeps you in control of a real, editable working file. Start with one image, one allowed correction, and one careful export. Open ImageFlow with a real product photo and try the smallest useful edit first. When the image needs more than cleanup, preserve the master, document the change, and keep the listing honest.