June 24, 2026
How to Build a Shopify 3D Capture Checklist That Works
A practical checklist for turning phone photos into Shopify-ready 3D models with Supra 3D Capture, from shot prep to native publishing.

image: “/assets/img/posts/2026-06-24-how-to-build-a-shopify-3d-capture-checklist-that-works/cover-0d925d88b0b4.png”
If you want to turn a normal product photo session into a Shopify-ready 3D model, the easiest way to make it repeatable is to work from a checklist. With Supra 3D Capture, you can capture a short orbit of phone photos, process them into a web-ready 3D model, and publish the result into Shopify product media or an Online Store 2.0 theme app block.
The point is not to make 3D feel technical. The point is to make the workflow predictable enough that a merchant, a content editor, or an operator can run it the same way every time.
1. Pick the right product first
Start with a product that has enough shape and surface detail to reward 3D. A solid, rigid item with visible edges, texture, and contrast is a much safer first scan than something glassy, hairy, or ultra-reflective.
If you want help deciding what to choose, use the product-selection logic from How to Tell If a Shopify Product Will Scan Cleanly in 3D and How to Choose the First Shopify Products for 3D Capture. Those are the fastest ways to avoid wasting time on a SKU that was never a good candidate.
Expected result: you know which product is worth scanning before you open the capture flow.
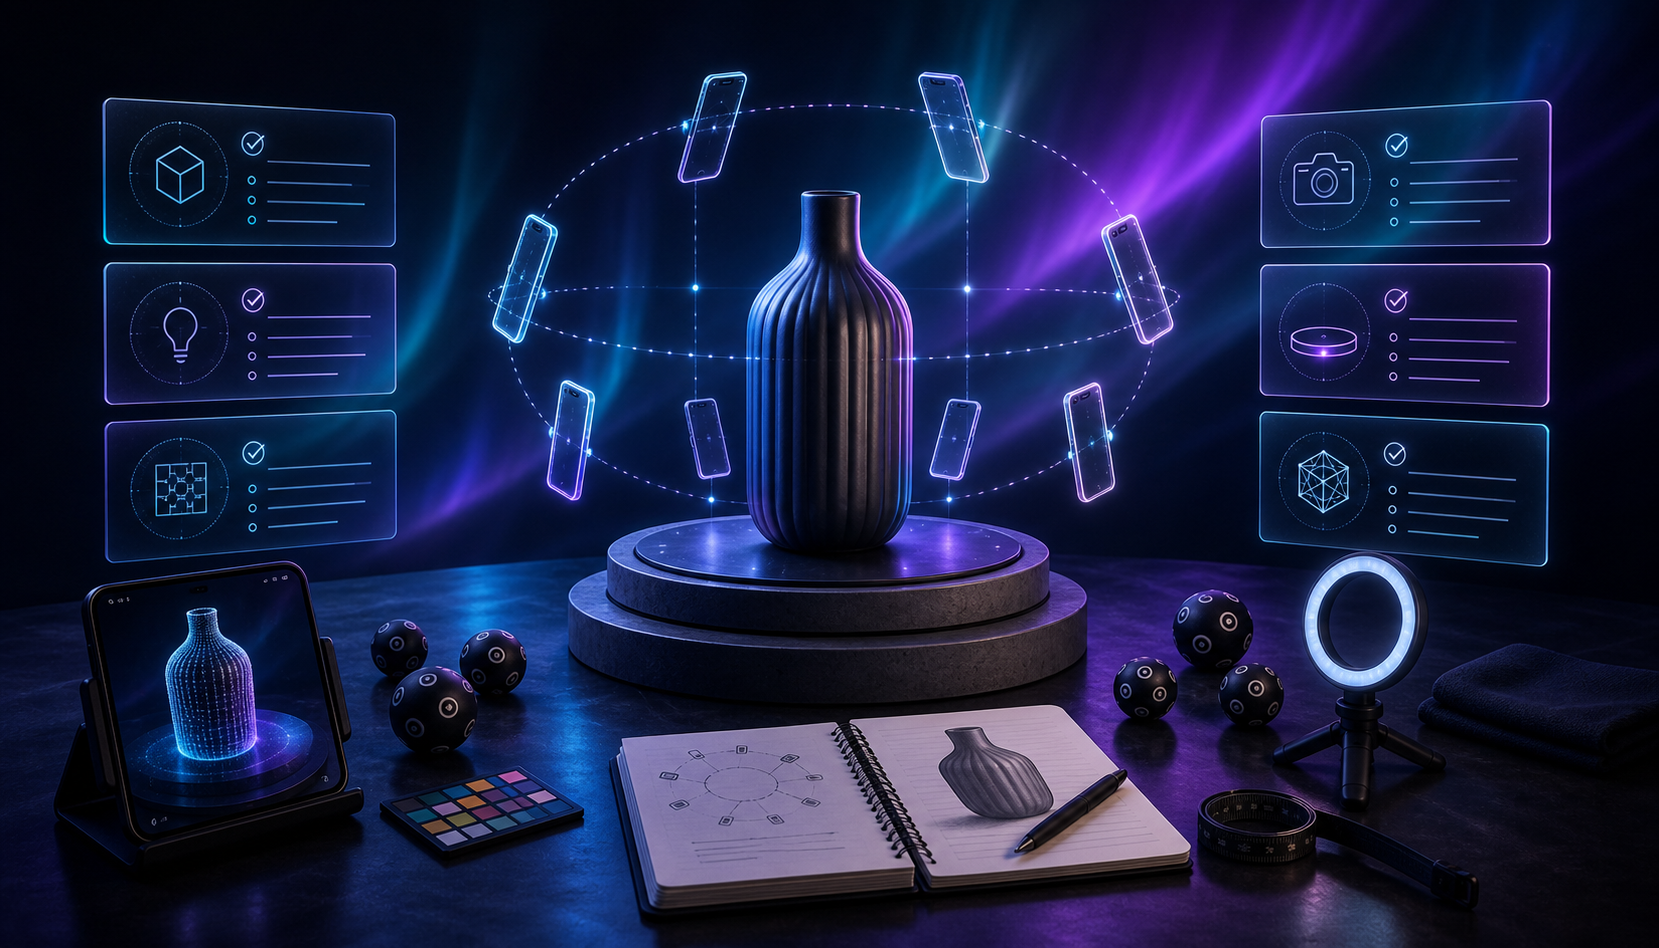
2. Set up the scene before you open the app
A good 3D result starts with a boring setup. Clean the product, remove tags or loose packaging, and place it against a simple background with enough separation from the surface underneath it. Then make the lighting even enough that the object stays readable from all sides.
A practical setup usually means:
- A stable table or pedestal.
- Even light from both sides, or soft natural light without harsh shadows.
- Enough empty space around the object for a full orbit.
- No clutter that could be mistaken for part of the product.
If you want a more detailed capture-plan view, How to Build a Shopify 3D Capture Shot List is the right companion read. It helps you think through the sequence before the first photo is taken.
Expected result: the object is isolated, lit consistently, and ready for a guided orbit.
3. Lock your orbit path before you start shooting
Do not improvise the camera path while you are taking photos. Decide how far away you will stand, how high the camera should be, and how you will move around the product. The goal is steady overlap between frames, not artistic variety.
For a typical object, a simple orbit is enough:
- Start at one side of the product.
- Move around it in small, even increments.
- Keep the camera height consistent unless the object has a top surface that matters.
- Make sure the front, sides, and any useful top angles are covered.
If you need a more studio-agnostic view of the process, How to Capture a Shopify Product in 3D Without a Studio explains how to get good coverage with basic equipment.
Expected result: you have a repeatable camera path that leaves enough overlap for reconstruction.
4. Capture enough photos for reconstruction
Supra 3D Capture is built around guided phone capture, so the workflow stays approachable even if nobody on the team knows photogrammetry. The practical target is not a huge gallery; it is a clean, guided set of overlapping shots that the processing pipeline can turn into a polished 3D model.
For most products, aim for a short but disciplined capture session:
- Keep the object centered.
- Take one smooth orbit rather than many random photos.
- Avoid motion blur and accidental camera tilt.
- Capture enough angles for the app to understand the full form.
Expected result: the upload set contains enough consistent overlap for the cloud pipeline to reconstruct the product shape.
5. Review the first reconstruction before you publish
Once the photos are processed, inspect the result with the same standard you would use for a product photo gallery. Ask three questions: does the silhouette look right, do the surfaces read cleanly, and does the model still look like the product when rotated?
This is where the output should feel like a better version of the original object rather than a novelty effect. The viewer should understand scale, depth, and proportion at a glance.

Expected result: the 3D model is clean enough to publish, or you know exactly what needs another capture pass.
6. Publish the model where shoppers will actually see it
The value of the capture session only shows up when the model is attached to the product page. Supra 3D Capture supports Shopify-native publishing, so the GLB can live in Shopify product media and show through the native 3D viewer where the theme supports it. It can also be placed with the dedicated Online Store 2.0 theme app block.
That matters because the viewer should feel like part of the product page, not like a detached attachment. The best implementation is the one customers can discover without extra friction.
Expected result: shoppers can open the product page, rotate the model, and inspect the item without leaving the store.
7. Know which failures are normal
Some products are simply harder to scan well. Shiny surfaces, transparent materials, fur, and extremely low-contrast objects can all make 3D capture less forgiving. That does not mean 3D is impossible; it means you should expect to spend more time on lighting, background control, and object selection.
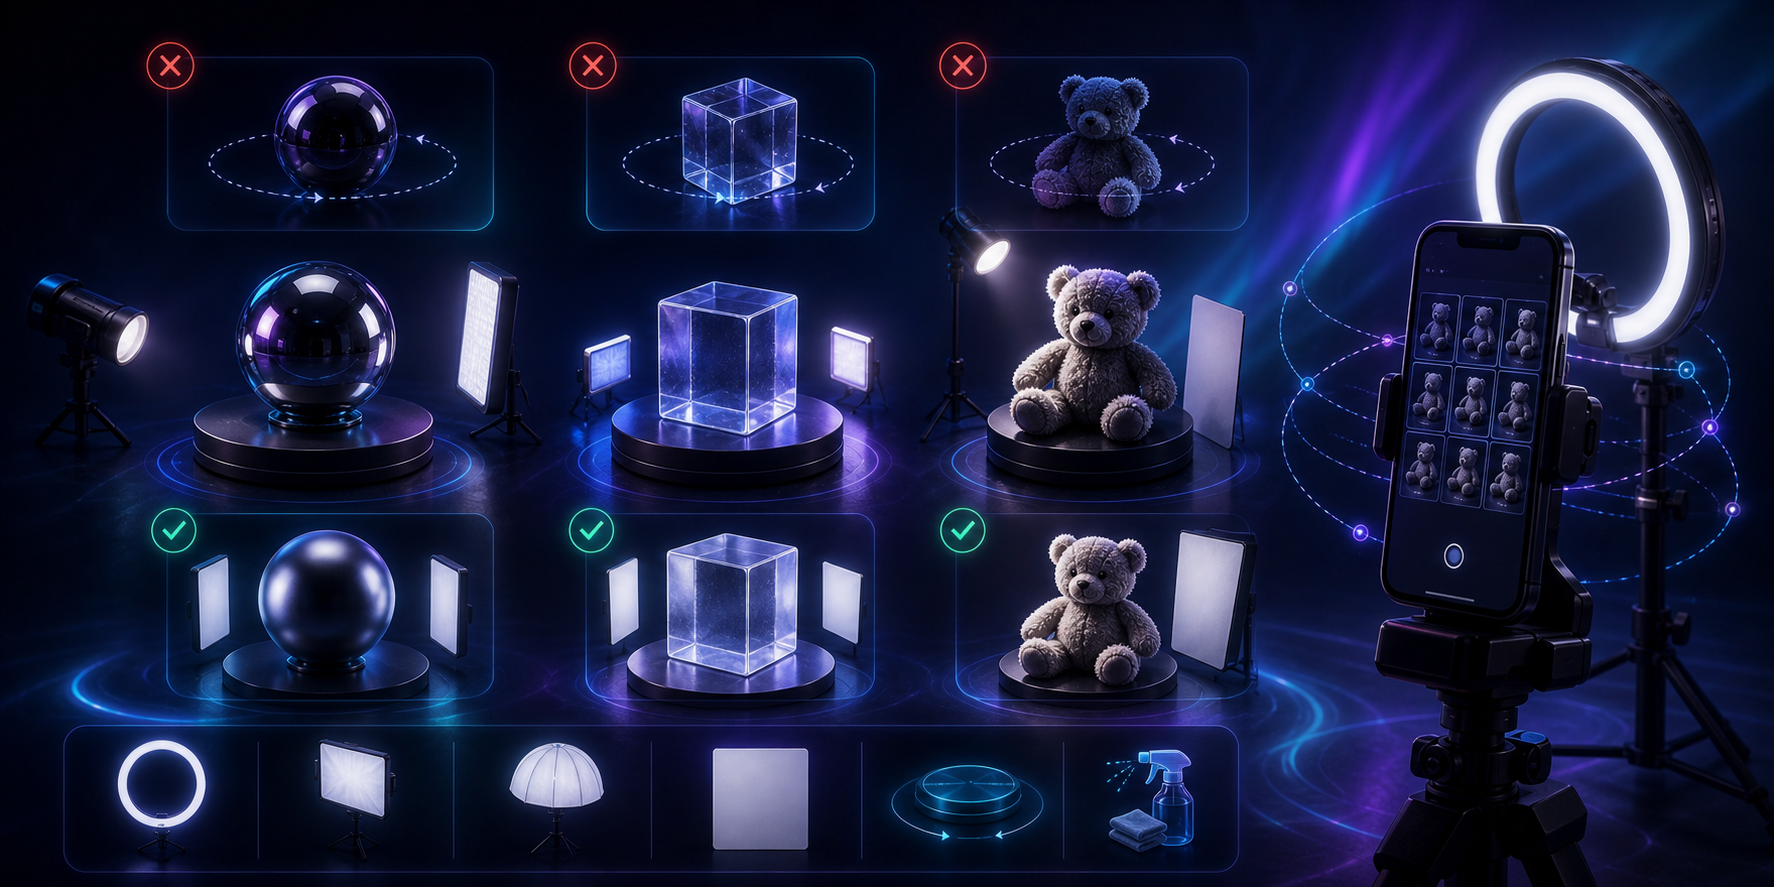
A useful rule is to separate product problems from process problems. If the item itself is difficult, choose a better first SKU. If the object is a reasonable candidate but the scan still looks weak, fix the capture setup before blaming the model.
Expected result: you can tell whether the issue is the product, the lighting, or the camera path.
Why this checklist is worth using
The practical benefit is not a promise of instant conversion lift. The real win is product-page confidence. A customer who can rotate a model usually has a better sense of size, shape, and material than a customer who only sees flat photos.
That can improve engagement, reduce expectation gaps, and make the page feel more memorable. It also gives you a cleaner internal process for deciding which SKUs deserve 3D media first.
If you want the broader decision framework, the recent posts on which products deserve 3D capture first, how to choose the first products, and how to plan the capture shot list are worth reading together.
Conclusion
Treat 3D capture like a production checklist, not a one-off experiment. Pick a suitable product, set the scene, capture a controlled orbit, review the reconstruction, and publish the model where shoppers can actually use it.
If you want to try it on a real product, start with the free plan on Supra 3D Capture or install it from the Shopify App Store.