June 30, 2026
How to Build a JSON-First Video Workflow With VideoFlow
A step-by-step guide to building a portable video workflow with VideoFlow, from TypeScript scenes to browser, server, and editor rendering.

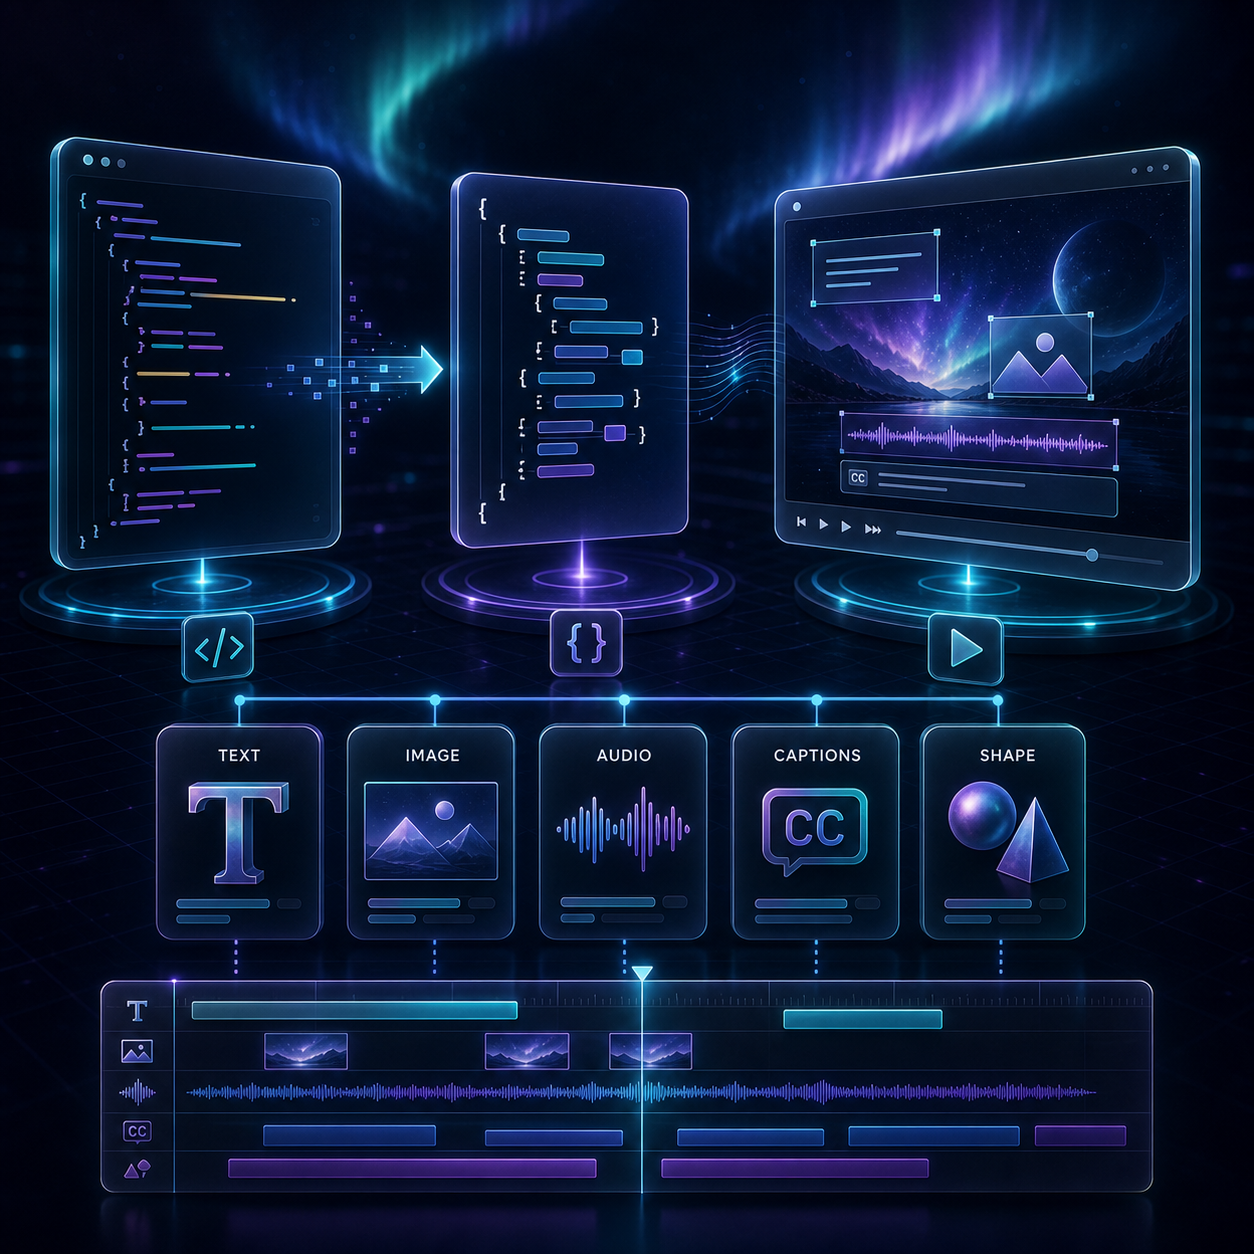
If you need a video workflow that stays portable when the output target changes, VideoFlow gives you a cleaner boundary: author the scene once, compile it to VideoJSON, and let different renderers turn that data into MP4 output. This guide walks through the core package, the browser/server renderers, and the optional React editor so you can start with one source of truth instead of three separate timelines.
You do not need to build everything at once. Start with the core package, confirm that the scene compiles cleanly, then add the renderer or editor that solves the next real problem.
1. Install the packages you actually need
The core package is enough to model scenes. Add the renderers and editor only when your workflow needs them.
npm install @videoflow/core
npm install @videoflow/renderer-browser @videoflow/renderer-server @videoflow/renderer-dom
npm install @videoflow/react-video-editor
If you want a quick overview of the ecosystem, the best entry points are the VideoFlow docs, the core docs, the renderers docs, the React video editor, the examples, and the GitHub repo.
2. Define the scene in TypeScript
The first real design decision is to keep the scene explicit. In VideoFlow, that means writing the video as code, not as a hidden timeline that only one tool can open.
A simple starting point looks like this:
import VideoFlow from '@videoflow/core';

const $ = new VideoFlow({
  name: 'Product Demo',
  width: 1920,
  height: 1080,
  fps: 30,
});

$.addText(
  { text: 'Hello, VideoFlow!', fontSize: 7, fontWeight: 800 },
  { transitionIn: { transition: 'overshootPop', duration: '500ms' } }
);

$.addShape(
  { shape: 'circle', size: 220, fill: '#7c5cff' },
  { start: '1s' }
);

const json = await $.compile();
That compiled JSON is the useful artifact. It is portable, diffable, and easier to hand to other parts of your stack than a manual timeline buried inside one renderer.
Use the scene builder to keep the meaning of the video close to the source. If a header changes, the PR should show a JSON or code change, not a hand-edited export hidden in a UI.
3. Render the same VideoJSON where the work happens
This is the main reason to choose VideoFlow. The same VideoJSON can render in the browser, on a server, and in a live DOM preview.
- Browser rendering is useful when export should happen client-side and you want to avoid sending the project to a server.
- Server rendering is the right fit for queues, batch jobs, APIs, and scheduled exports.
- DOM rendering is best when you need a live preview or an editor surface that feels immediate.

If you are trying to keep those paths aligned, compare this approach with How I Keep One Video JSON Working Across Three Renderers and How I Keep Video Preview, Editing, and Export in Sync With VideoJSON.
A practical rule helps here: do not let the renderer become the source of truth. Let the renderer consume the scene, and keep the scene data somewhere you can version, validate, and reuse.
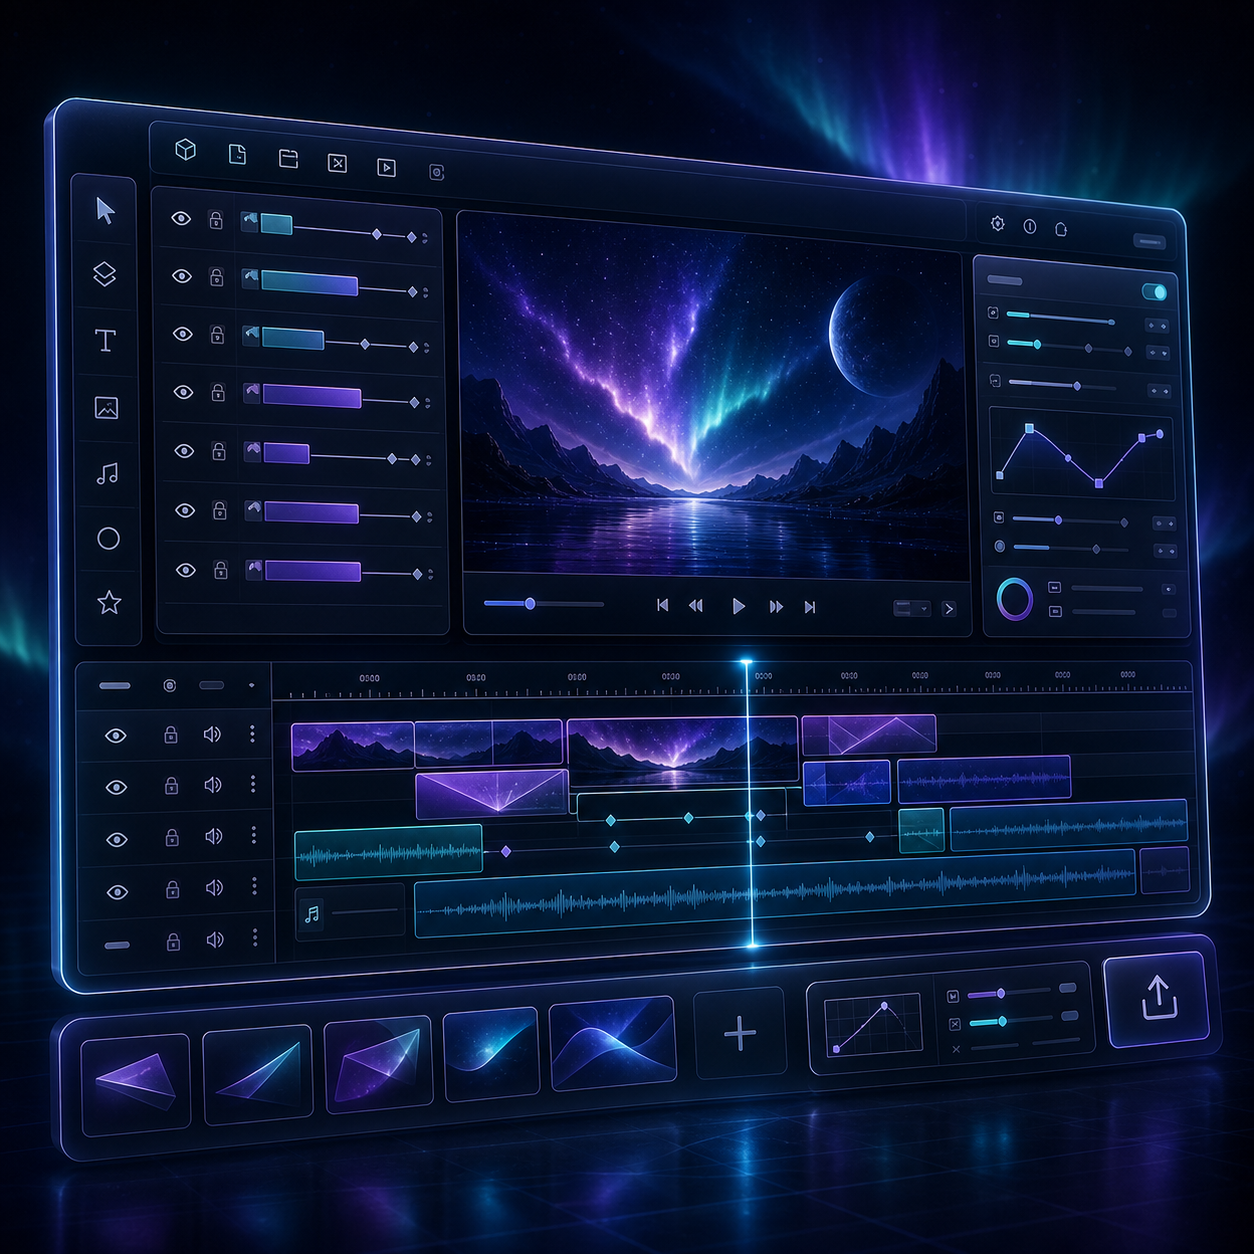
4. Add the React editor when humans need to touch the template
Once the code path works, the next question is whether a non-developer needs to adjust the template. That is where the optional React editor fits.
VideoFlow’s editor gives you a multi-track timeline, keyframes, transitions, undo/redo, uploads, and a live WYSIWYG surface driven by the same underlying model. It is a better fit than bolting a separate editor onto a rendering stack that was never designed to stay portable.
import { VideoEditor } from '@videoflow/react-video-editor';
import '@videoflow/react-video-editor/style.css';

export default function App() {
  return (
    <VideoEditor
      video={videoJSON}
      onChange={(next) => saveToServer(next)}
      onSave={async (next) => await persist(next)}
      onUpload={async (file) => await upload(file)}
      theme="dark"
    />
  );
}
The point is not to move all editing into the browser. The point is to keep the editor aligned with the same portable JSON that your automation and render jobs already understand.
If you want the next step from this section, How to Add a React Video Editor Without Rewriting Your Video Pipeline is the most direct follow-up.
5. Keep templates versionable in Git
The real win from a JSON-first workflow shows up when you commit the scene files and review them like code. That gives you a diff, a rollback path, and a place to store the template history.
VideoFlow is a good fit when you want the same template to power multiple outputs over time. You can keep the structure of the video stable while changing copy, media, transitions, or theme settings in a controlled way.

That is also why the open-source angle matters. The core and renderers stay available under Apache-2.0, so the workflow is not locked into one hosted editor or one rendering backend.
If you are designing the template layer carefully, How I Keep Video Templates Versionable Without Freezing the Editor and How to Build a Video Template System Around a Single JSON Source of Truth are worth reading next.
6. Know when this stack is the right choice
VideoFlow is strongest when the video needs to be repeatable, code-driven, or embedded inside a larger product. It is especially useful for:
- marketing videos generated from templates,
- personalized videos driven by product or CRM data,
- in-app video editors,
- batch rendering pipelines,
- and AI workflows where the model produces structured video data instead of manually editing a timeline.
It is not the right answer for every video job. If a project depends on fully manual creative editing, a traditional nonlinear editor still makes more sense. But when the goal is portability, versioning, and a clean boundary between scene data and rendering, VideoFlow is much easier to maintain.
Wrap-up
The simplest way to start is to define one scene in TypeScript, compile it to VideoJSON, and render it in one place before you wire in the others. Once that works, add the browser renderer, the server renderer, or the React editor as needed.
If your next step is architecture, start with the renderers. If your next step is collaboration, start with the editor. In both cases, keep the JSON as the source of truth.