
July 17, 2026
How to Tell Which Shopify Products Are Ready for 3D Models
A practical Shopify checklist for deciding which products are worth scanning before you spend time on 3D capture.
How to Tell Which Shopify Products Are Ready for 3D Models
I like 3D capture, but I do not like forcing it onto the wrong SKU.
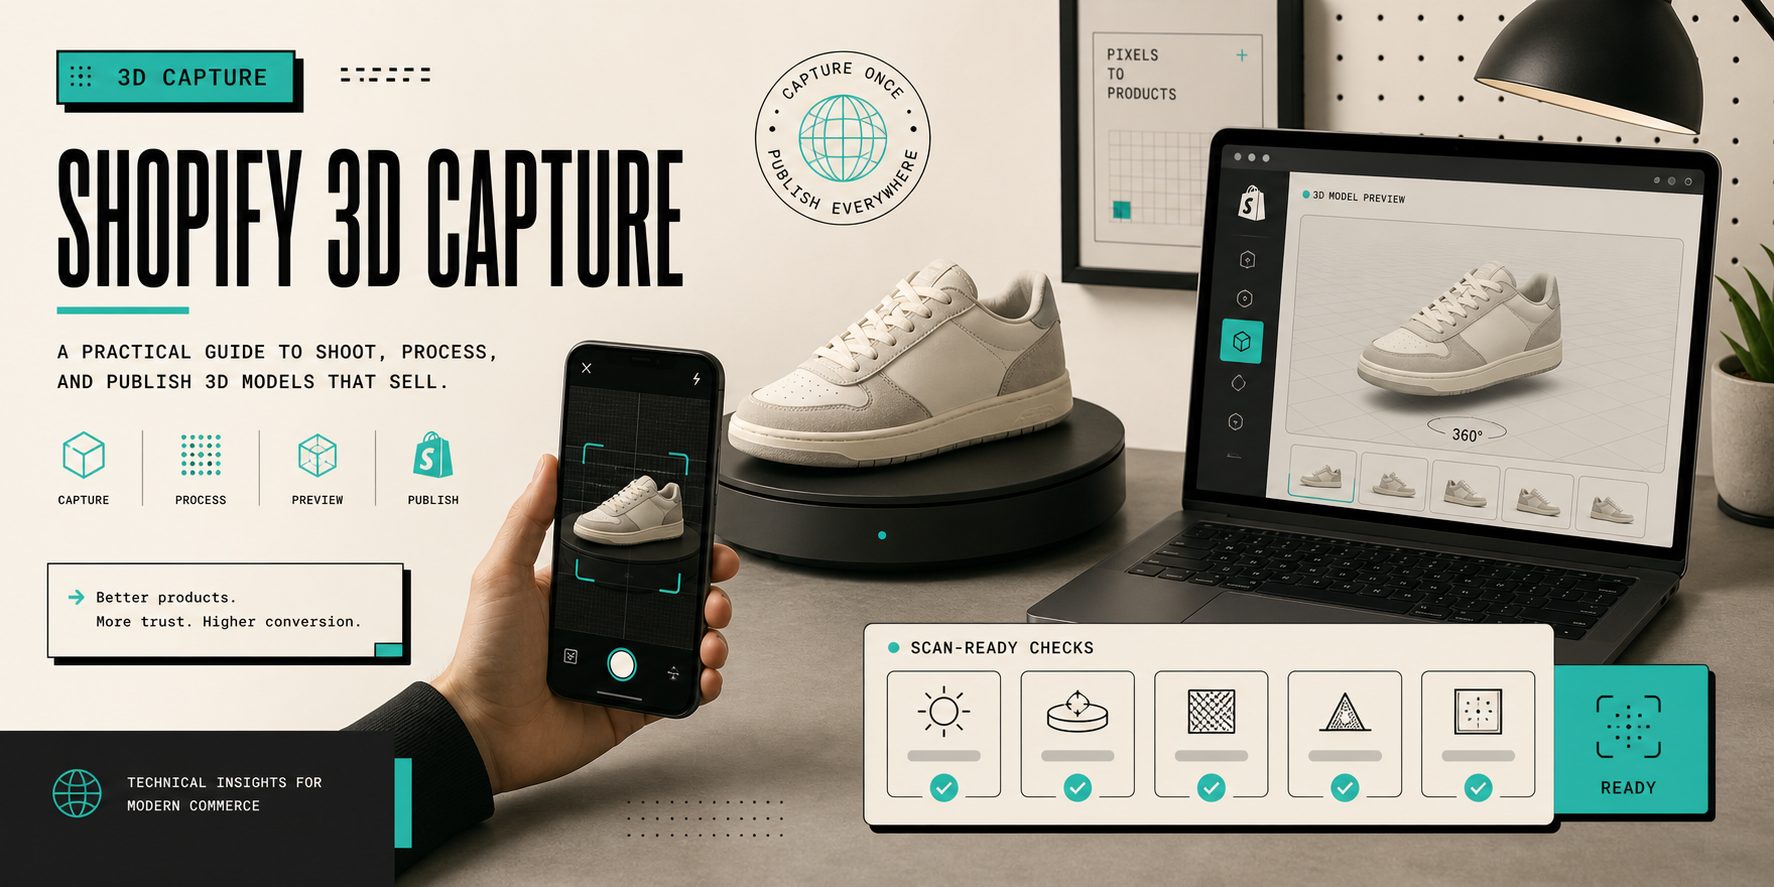
If a product is soft, tiny, reflective, constantly moving, or already explained perfectly by a normal gallery, 3D usually adds work before it adds value. The point of Supra 3D Capture and its Shopify App Store listing is to make phone-based 3D capture practical: guided photos, photogrammetry, GLB output, and publishing into Shopify’s native 3D media flow. That only pays off if you choose the right products first.
I think about scan readiness the same way I think about any ecommerce asset decision. The question is not “Can I scan it?” It is “Will a customer understand the product better if they can spin it?”
The filter I use before I scan anything
I run five checks before I start a capture session.
- Shape: does the product have a readable silhouette from multiple angles?
- Surface: is there enough visible detail to reconstruct without the scan turning mushy?
- Stability: can it sit still long enough for a guided orbit of 10+ photos?
- Size: is it large enough to capture detail, but not so large that the setup becomes awkward?
- Lighting: can I get even light without deep shadows or blown highlights?
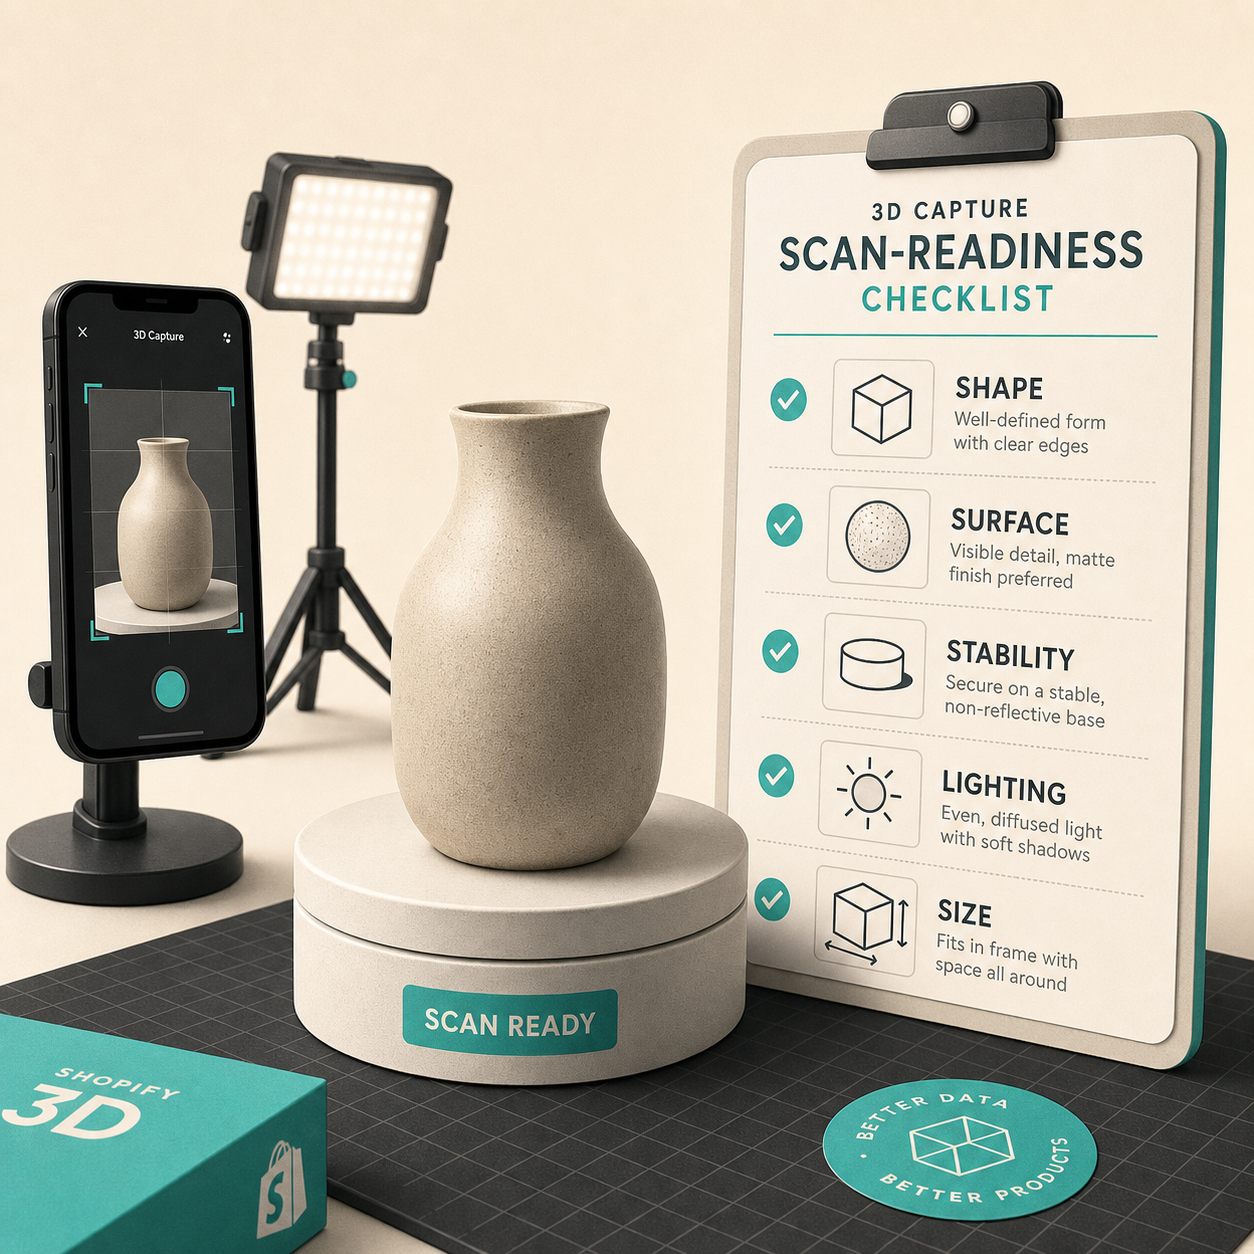
If I cannot answer “yes” to most of those, I usually stop there. That saves the team from spending an hour on a product that was never going to be a good 3D candidate.
The products that usually pass are the boring ones in a good way: rigid consumer goods, shoes, packaged products with clear edges, home objects, accessories, and anything where proportion matters more than style variation.
What makes a product worth the extra work
A good 3D model helps when the shopper needs to understand one of three things:
- proportion
- shape
- surface texture
That is why 3D often works better than a flat gallery for products that look different depending on angle. A shoe, a bottle, a small appliance, a handbag, or a hard-surface home object can benefit because the shopper gets a better sense of volume and finish.
The product does not need to be expensive. It needs to be confusing enough that extra visibility reduces doubt.
What I usually skip or defer
I am cautious with three categories.
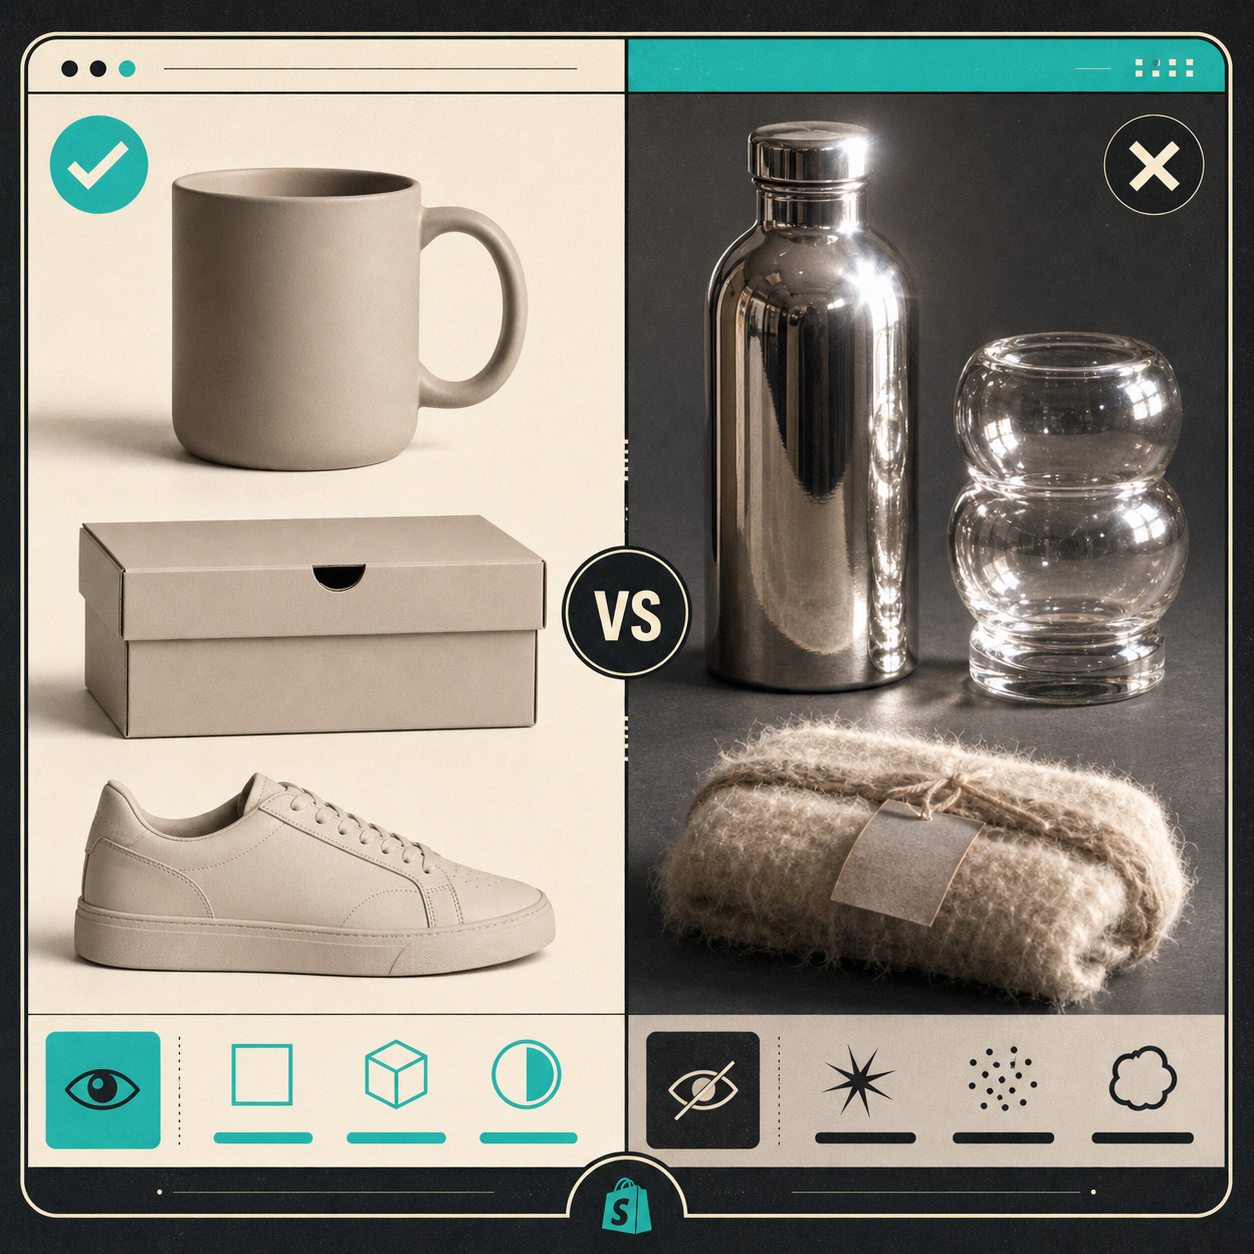
- Highly reflective products: chrome, mirror finishes, shiny metals.
- Transparent products: glass and clear plastics.
- Soft or deformable products: textiles, fur, loose garments, anything that changes shape while you move around it.
None of those are impossible, but they all make the scan harder. They can still be worth it if the product is strategically important, but I would not start the program there.
I also defer products that are tiny and detail-dependent. If the scan would capture the object but lose the thing that actually sells it, I would rather spend the time on better 2D imagery or a more deliberate photo workflow.
That is the decision point I see merchants miss most often. They assume 3D is a universal upgrade. It is not. It is a better explanation tool for the right kind of product.
How I would run the first pilot
If I were starting from scratch, I would not scan the whole catalog. I would pick three products and use them as a pilot, which is the same approach I wrote about in How to Start a Shopify 3D Capture Pilot With Three SKUs and How to Choose the First Shopify Products for 3D Capture.
My selection rule would be simple:
- Pick one rigid product that is easy to photograph.
- Pick one product where shape really matters.
- Pick one product that is similar to the rest of the catalog so the result is reusable.
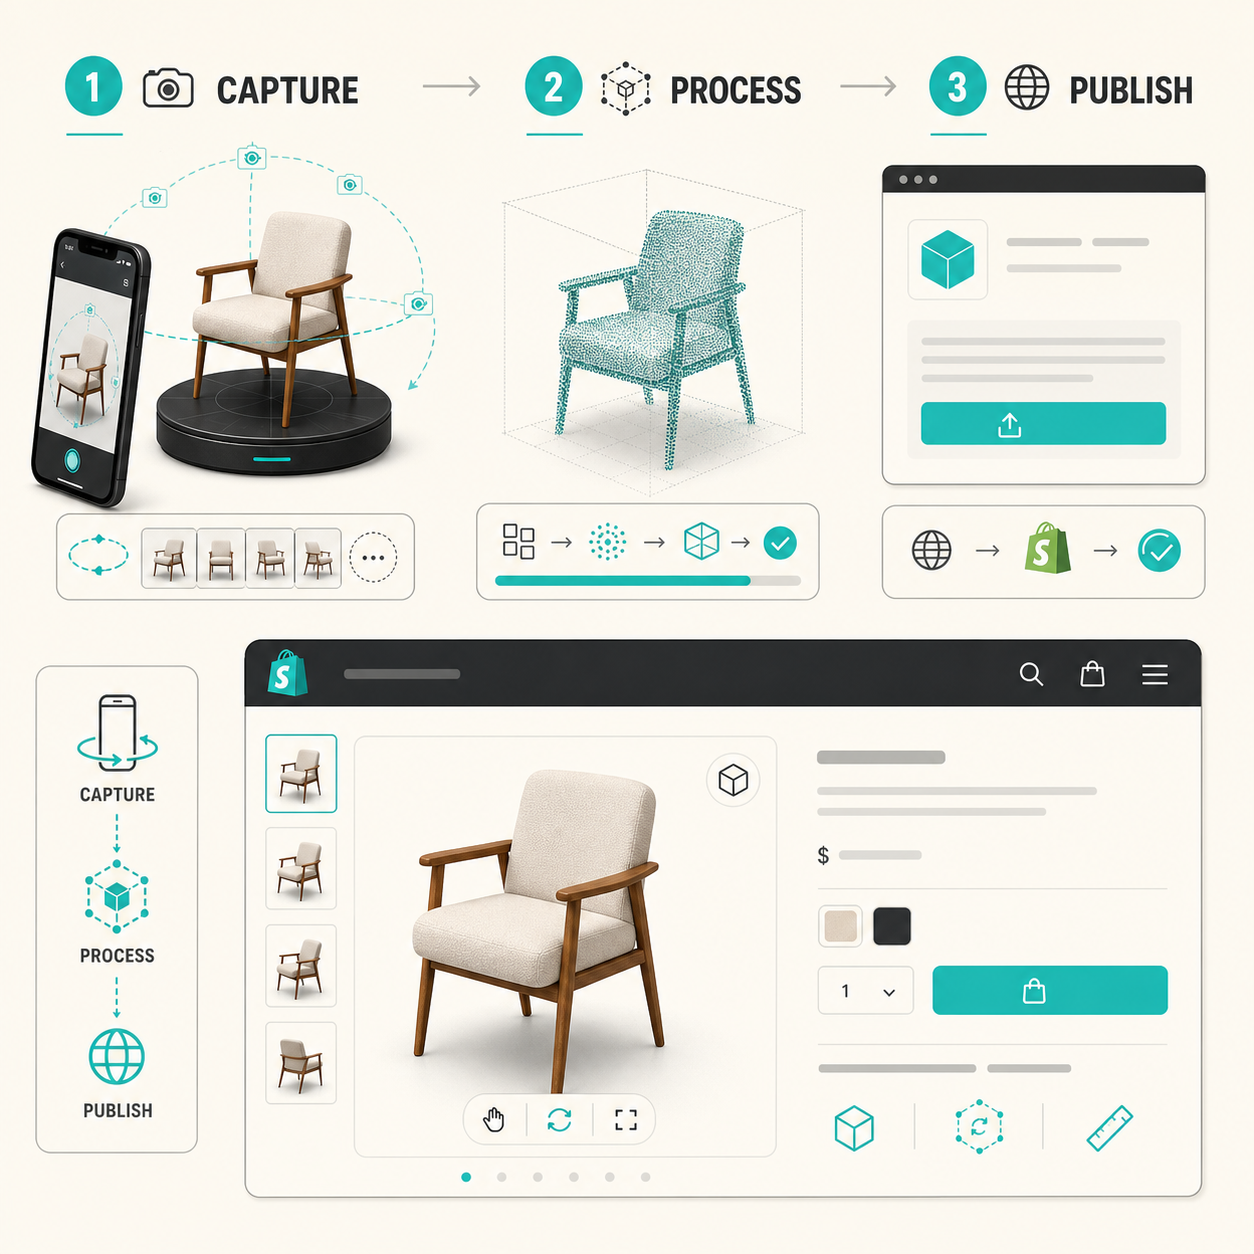
Then I would capture each one with a consistent setup: clean background, even lighting, a regular phone, and enough guided angles to give the photogrammetry pipeline a fair shot. Supra 3D Capture is designed around that workflow, which is why the pitch is so practical: no LiDAR, no special gear, no 3D artist, just a phone and a controlled capture session.
Once the model is built, I would publish it to Shopify and check it on the actual product page, not just in a preview. That matters because the viewer, the theme, and the mobile layout all affect whether the model feels useful or just decorative.
What I look for after the first publish
After the first scan lands, I ask three questions.
- Does the model make the product easier to understand?
- Does the 3D viewer fit the page without fighting the rest of the gallery?
- Would I rather have a model here, or just better 2D photography?
That last question is important. Sometimes the answer is still “better photos.” If so, I send the SKU back into the photo workflow instead of pretending 3D was the right answer.
That is where the other product-page workflows come in handy. If a product is a better candidate for context than for geometry, I would use the thinking from How I Decide Whether a Shopify Product Photo Needs Try-On, Placement, or Video or How I Build a Shopify Product Photo Pipeline That Feeds Every Channel. The point is to choose the format that answers the shopper’s question fastest.
My rule of thumb
If a product’s main job is to communicate shape, scale, or fit, 3D is worth testing. If the main job is to communicate mood, texture, or styling, I usually start elsewhere.
That is why 3D works best when it is selective. One good model on the right product page can do more than ten mediocre models spread across the wrong catalog.
If you want to go further, start with one scan-ready SKU, publish one GLB into Shopify, and compare the page against the old gallery after a week. If the model improves confidence, you have a repeatable pattern. If it does not, you just learned where 3D should not go.