
July 9, 2026
How to Start a Shopify 3D Capture Pilot With Three SKUs
A practical way to test Shopify 3D media on three products before you scale it across the catalog.
How to Start a Shopify 3D Capture Pilot With Three SKUs
If you want to test 3D product media without turning your catalog into a production project, start with three products, not thirty.
The goal is not to prove that every SKU deserves 3D. The goal is to learn whether 3D answers a question your flat gallery is leaving open.
For that kind of pilot, I would use Supra 3D Capture or its Shopify App Store listing. It turns a set of guided phone photos into a web-ready GLB you can publish into Shopify product media or place with an Online Store 2.0 app block. No LiDAR, studio gear, or modeling software is required.
1. Pick three products that answer different questions
The best pilot is a small set with variety. I would not choose three nearly identical products. I would choose three that test different kinds of uncertainty:
- One product where shape matters most.
- One product where texture or finish matters most.
- One product where size or depth is easy to misread.
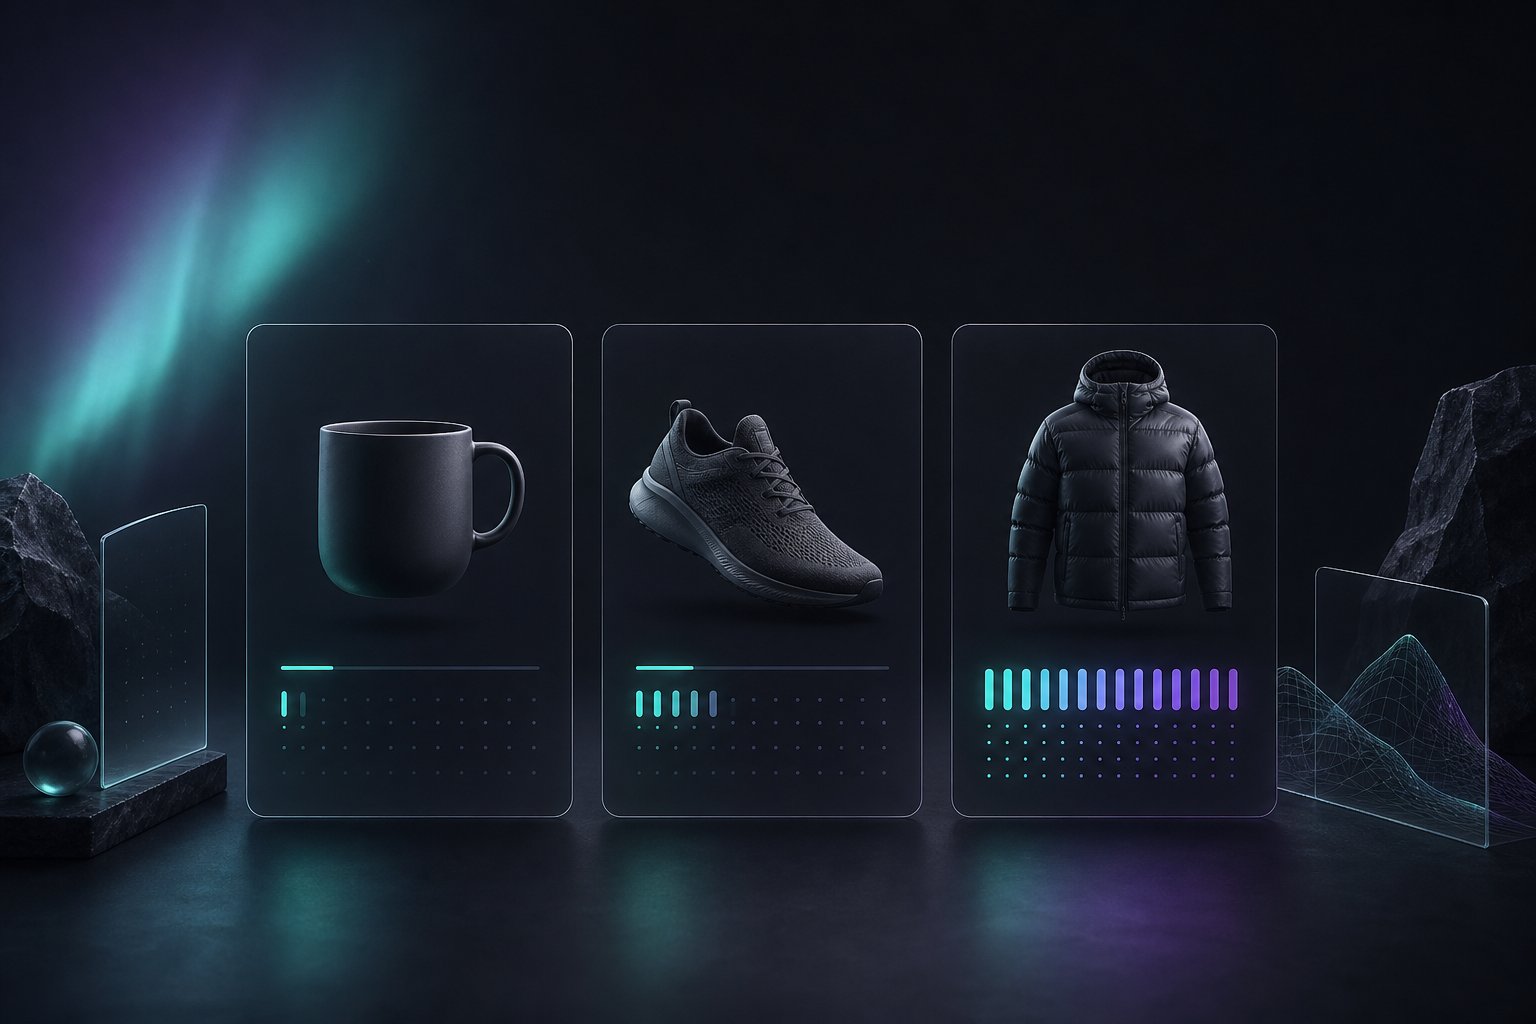
That mix tells you whether 3D is helping with silhouette, surface detail, or proportion. If a flat gallery already answers all three, 3D is probably optional for that SKU.
If you want a stricter way to rank candidates, pair this step with How I Decide Which Shopify Products Are Worth a 3D Scan and How to Decide Which Shopify Products Deserve 3D Models First.
Expected result: you know exactly what question each test product is supposed to answer.
2. Prep the setup before you open the capture flow
The pilot gets easier when the product and lighting are boring. Use a simple surface, steady light, and enough space to walk around the object without clutter in the background.
You are not trying to create a perfect studio. You are trying to remove distractions so the model reconstruction has clean input.
I would also separate this from the more detailed prep work in How to Prep Shopify Products for Clean 3D Capture. That post is the right companion if you need a tighter capture checklist.
Expected result: the product stays visually stable while you move around it.
3. Run one guided capture from start to finish
Open a capture session on a regular smartphone, orbit around the product, and follow the guidance until you have enough photos. The app is designed for 10+ guided photos, which is enough to see whether the object reconstructs cleanly.
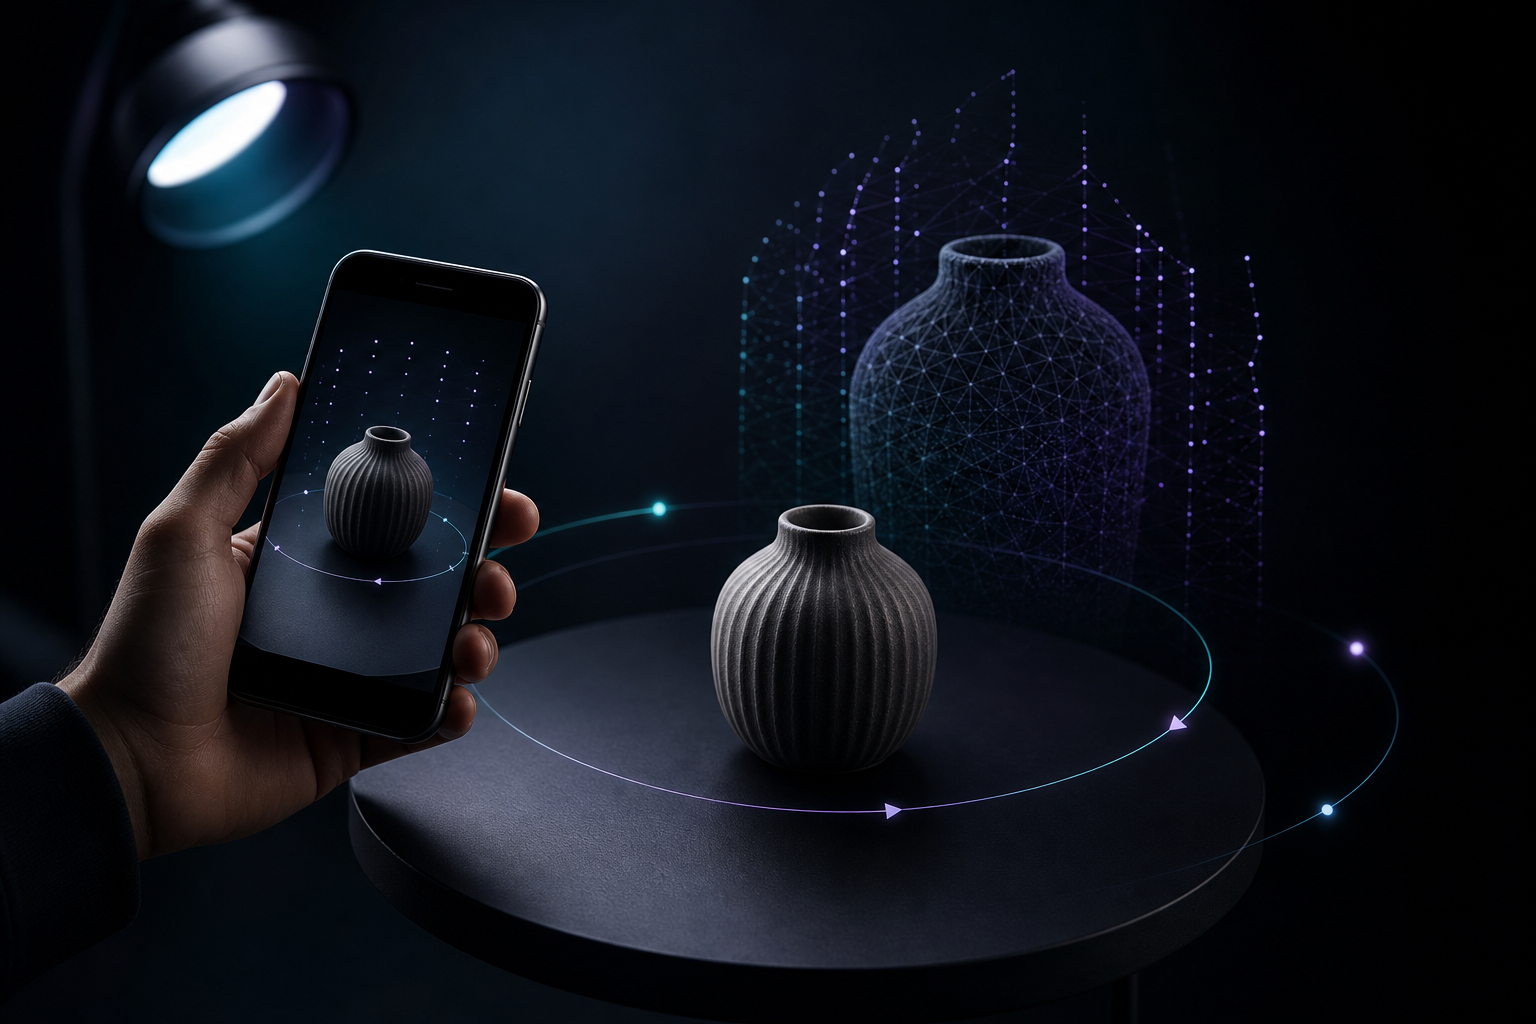
What I look for in the first pass is not perfection. I want the model to preserve the shape, the main surfaces, and the overall proportions. If the result is a little rough, that tells you the capture conditions or the product choice need work. It does not automatically mean 3D is a bad fit.
If you want a fuller walkthrough of the capture step, How to Capture a Shopify Product in 3D Without a Studio and How to Set Up a Shopify 3D Capture Session That Scans Cleanly are the natural follow-ups.
Expected result: you have a model candidate that is good enough to review in a browser.
4. Publish the strongest model into Shopify, then preview it on the product page
Once the photos process, Supra 3D Capture produces a GLB that can live in Shopify product media and, when the theme supports it, appear in Shopify’s native 3D viewer or through the app block.
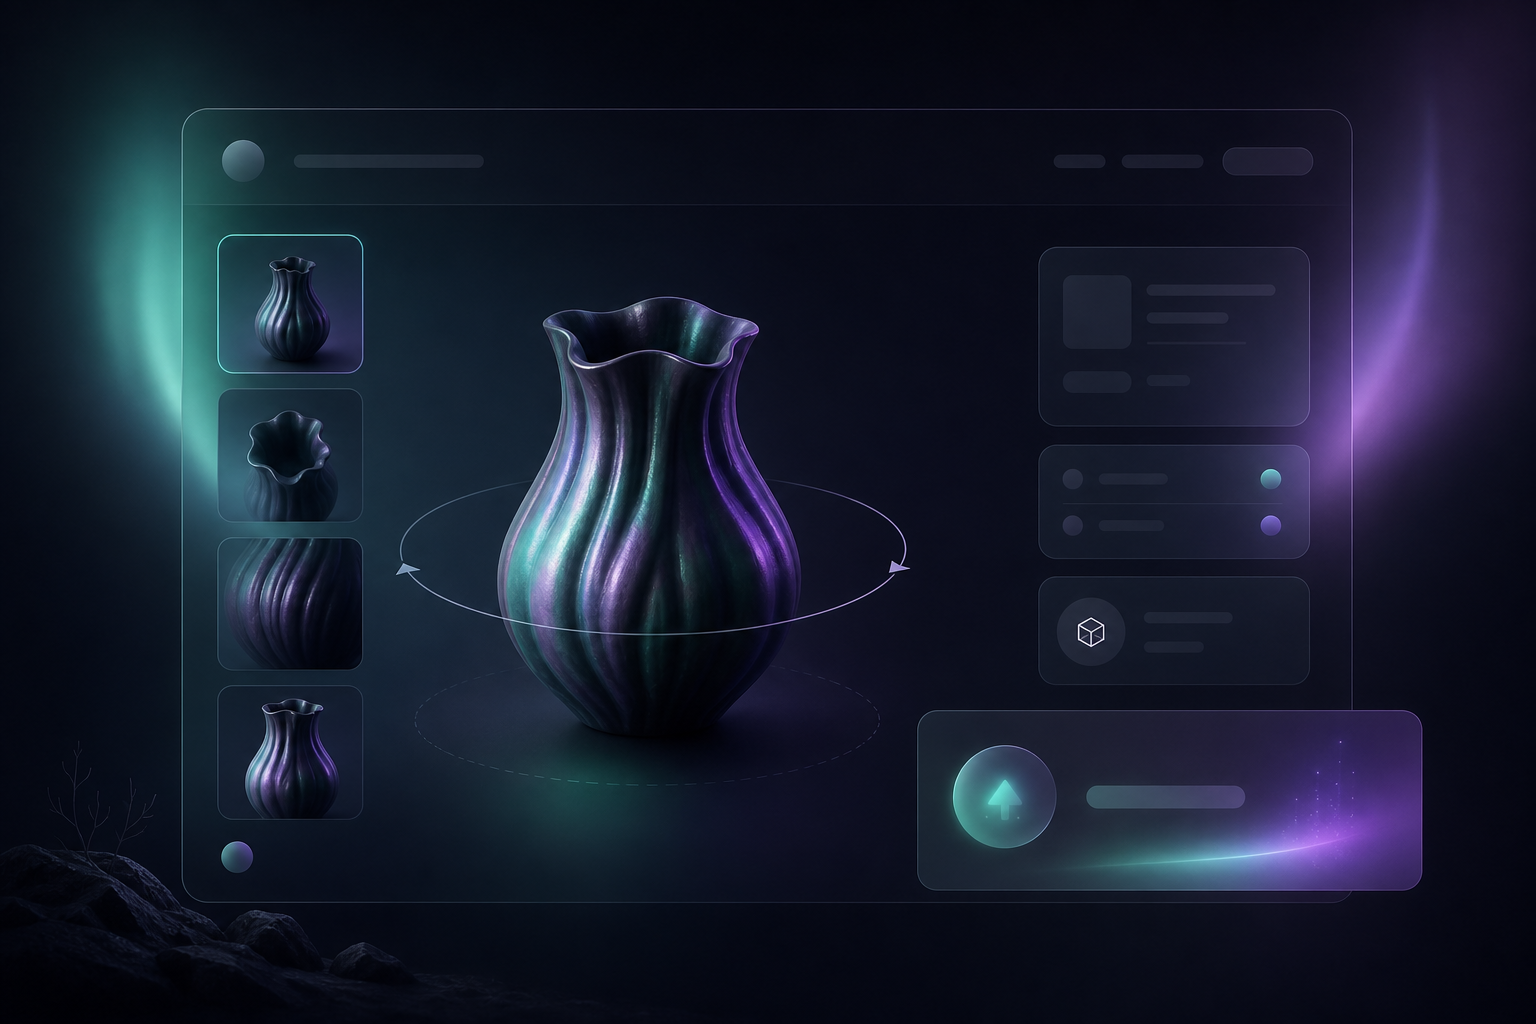
This is the part that usually changes the conversation. A static gallery asks shoppers to trust a sequence of photos. A 3D model lets them rotate the object and inspect it on their own terms.
I would keep the first publish simple:
- Put the model on one product page.
- Compare the page against the flat gallery.
- Watch whether the model clarifies shape, scale, or finish.
That is enough to tell you whether the format is earning its place.
Expected result: shoppers can drag, rotate, and inspect the product in the storefront.
5. Decide whether the pilot earned a wider rollout
After the first three products, I would not ask whether 3D is exciting. I would ask whether it reduced uncertainty.
The most useful questions are practical:
- Did the model explain something the photos did not?
- Did the page feel more complete?
- Did the product become easier to judge quickly?
- Did any obvious return-risk question disappear?
That is also where a lightweight scorecard helps. How to Build a Shopify 3D Capture Scorecard That Works is a good companion if you want to compare pilots instead of relying on gut feel.
If the answer is yes, move to a few more SKUs and keep the same process. If the answer is no, keep 3D for the products where shape really matters and stop spending time on the rest.
A few practical rules that keep the pilot honest
- Start with products that already photograph well.
- Avoid making the first test about the hardest object in the catalog.
- Use one capture standard for all three products.
- Compare the 3D result against the flat gallery, not against your expectations.
- Keep the first pass small enough that you can learn from it.
If you want more context on why a small pilot is better than a catalog-wide rollout, How to Build a Shopify 3D Capture Checklist That Works is the other post I would keep open while setting this up.
Supra 3D Capture has a free plan with 1 saved 3D model and 3 scans per month, which is enough for a small test. The public plans also include Base at $14.99/month and Pro at $29.99/month if you want more saved models and scan volume later.
The simplest version of the process is still the best one: choose three products, capture each one with a phone, publish the clearest model to Shopify, and judge it by whether it answers a real shopper question. If you want to start immediately, the Shopify App Store listing is the place to begin.
That is usually enough to tell you whether 3D is worth expanding.