
July 20, 2026
How to Build a Shopify 3D Capture Queue Around Return Risk
A practical way to rank Shopify SKUs for 3D capture, batch the right products first, and publish GLBs into product pages.

If you already know 3D could help your store, the real question is not whether to scan. It is which Shopify products should go first.
A good 3D queue keeps you from wasting time on low-value SKUs and helps you put effort where the shopper actually needs more confidence. That is the right fit for Supra 3D Capture, which turns 10+ guided phone photos into a web-ready GLB you can publish into Shopify product media or place with an Online Store 2.0 app block.
The simplest rule is this: do not start with the product that looks the coolest. Start with the product that has the best mix of return risk, page traffic, and visual ambiguity.
1. Score the catalog before you scan
Use a small scoring sheet and rank each SKU on four questions:
| Factor | Ask yourself | High score means |
|---|---|---|
| Return risk | Do customers often misread size, shape, or texture? | 3D could reduce expectation gaps |
| Page traffic | Does the product already get attention? | A better page could matter quickly |
| Shape complexity | Is the form hard to understand from flat photos? | A spin-around view adds value |
| Visual payoff | Will a rotating model show off the product better than a gallery? | The 3D model is worth the effort |
If you want a lighter first-pass rule, How to Choose Which Shopify Products Get 3D Models First is a good companion. This article is the operational version: use the score, then build the queue.
A practical cutoff looks like this:
- 16 to 20 points: capture this cycle.
- 11 to 15 points: capture when you have capacity.
- 10 points or below: leave it in the flat-photo workflow for now.
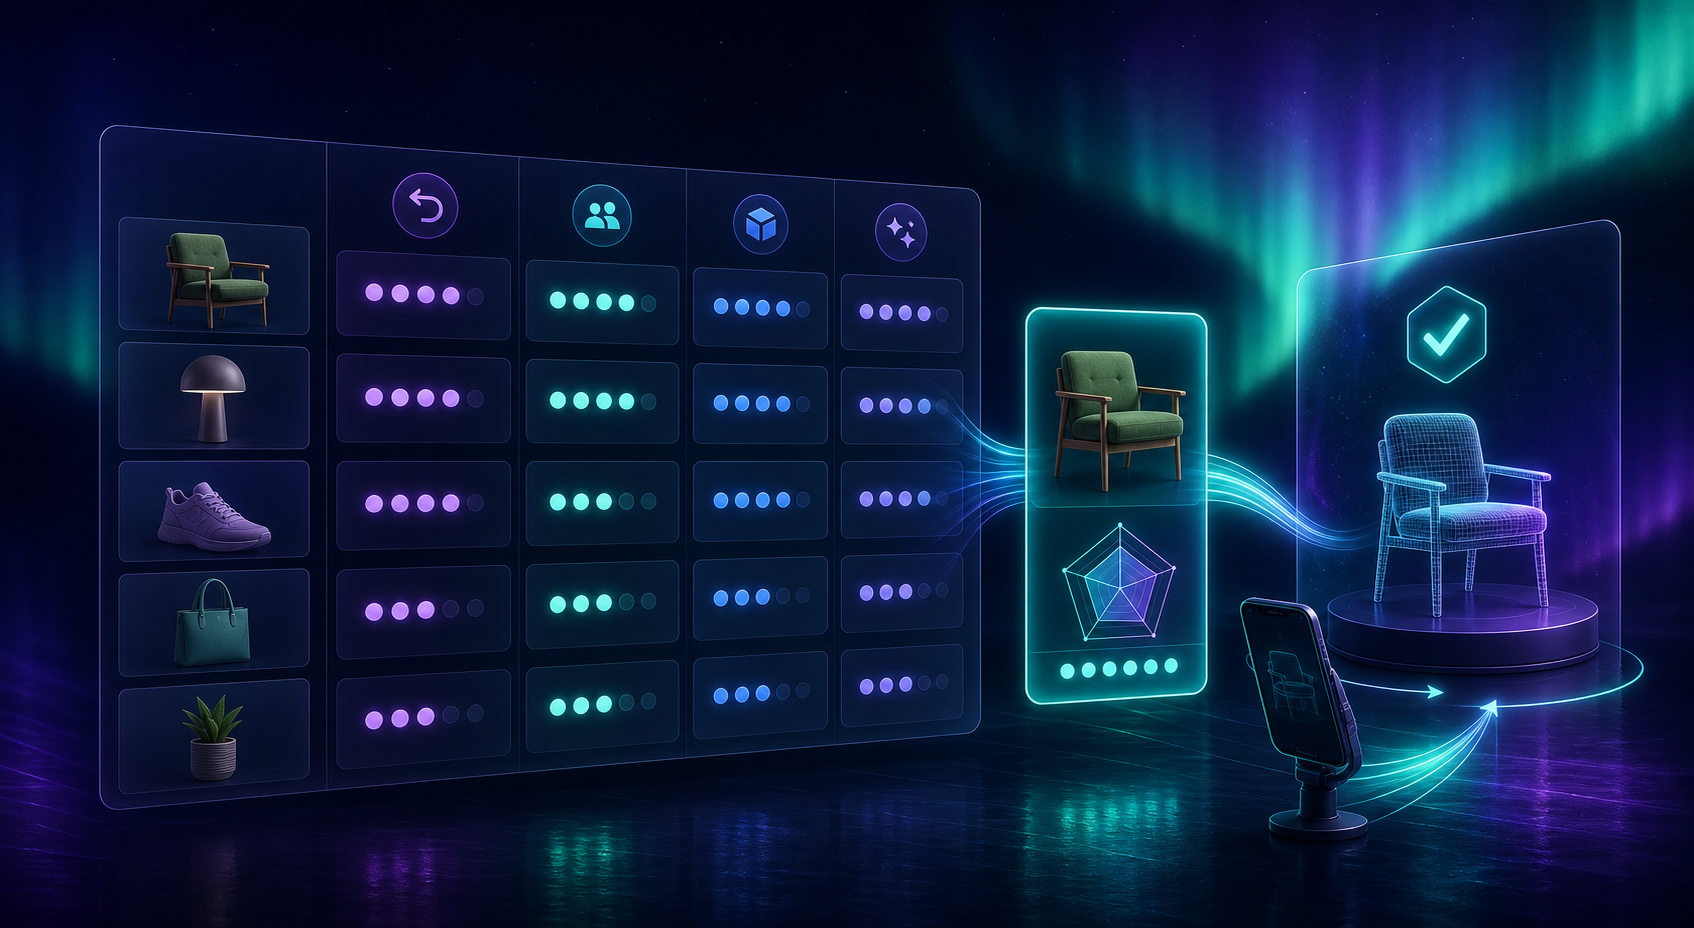
Expected result: you know which SKU deserves the first capture slot, and you can explain why.
2. Keep the first batch small
A queue is more useful than a wish list. Start with three to five SKUs, not the whole catalog.
Use this order:
- The product with the highest return risk.
- The product with the clearest visual upside on the product page.
- The product that is easiest to capture cleanly.
- The product that will help you validate the workflow before you scale it.
This is where a simple checklist helps. If you need one, How to Start a Shopify 3D Capture Pilot With Three SKUs keeps the prep repeatable, and How I Decide Which Shopify Products Are Worth a 3D Scan is useful if you want a stricter scoring model.
Expected result: you have a short, defensible batch instead of an endless backlog.
3. Prep the winner before you touch the camera
Once a SKU reaches the front of the queue, set it up like a scan session instead of a casual product shoot.
Use a stable surface, even light, and one product at a time. Remove anything that creates avoidable noise: loose packaging, distracting reflections, and unrelated props. If the product has a shiny, clear, or highly reflective surface, assume it will need more care, not less.
Supra 3D Capture is designed around a guided orbit, so the capture experience should feel orderly: move around the object, keep the subject centered, and take the full set of phone photos the app asks for. If you want the mechanics spelled out step by step, How to Set Up a Shopify 3D Capture Session That Scans Cleanly is the closest match.

Expected result: the model reconstructs the product shape cleanly enough that you do not need to reshoot everything.
4. Publish the model where the shopper already is
A good 3D asset should not feel bolted on. Publish the GLB into Shopify product media or place it with the dedicated theme app block so it sits inside the same page the customer is already using.
That is the big advantage of native Shopify 3D media: the shopper can drag and inspect the item without leaving the product page. Used well, the 3D model does not replace the gallery. It adds the missing angle that the gallery cannot provide.
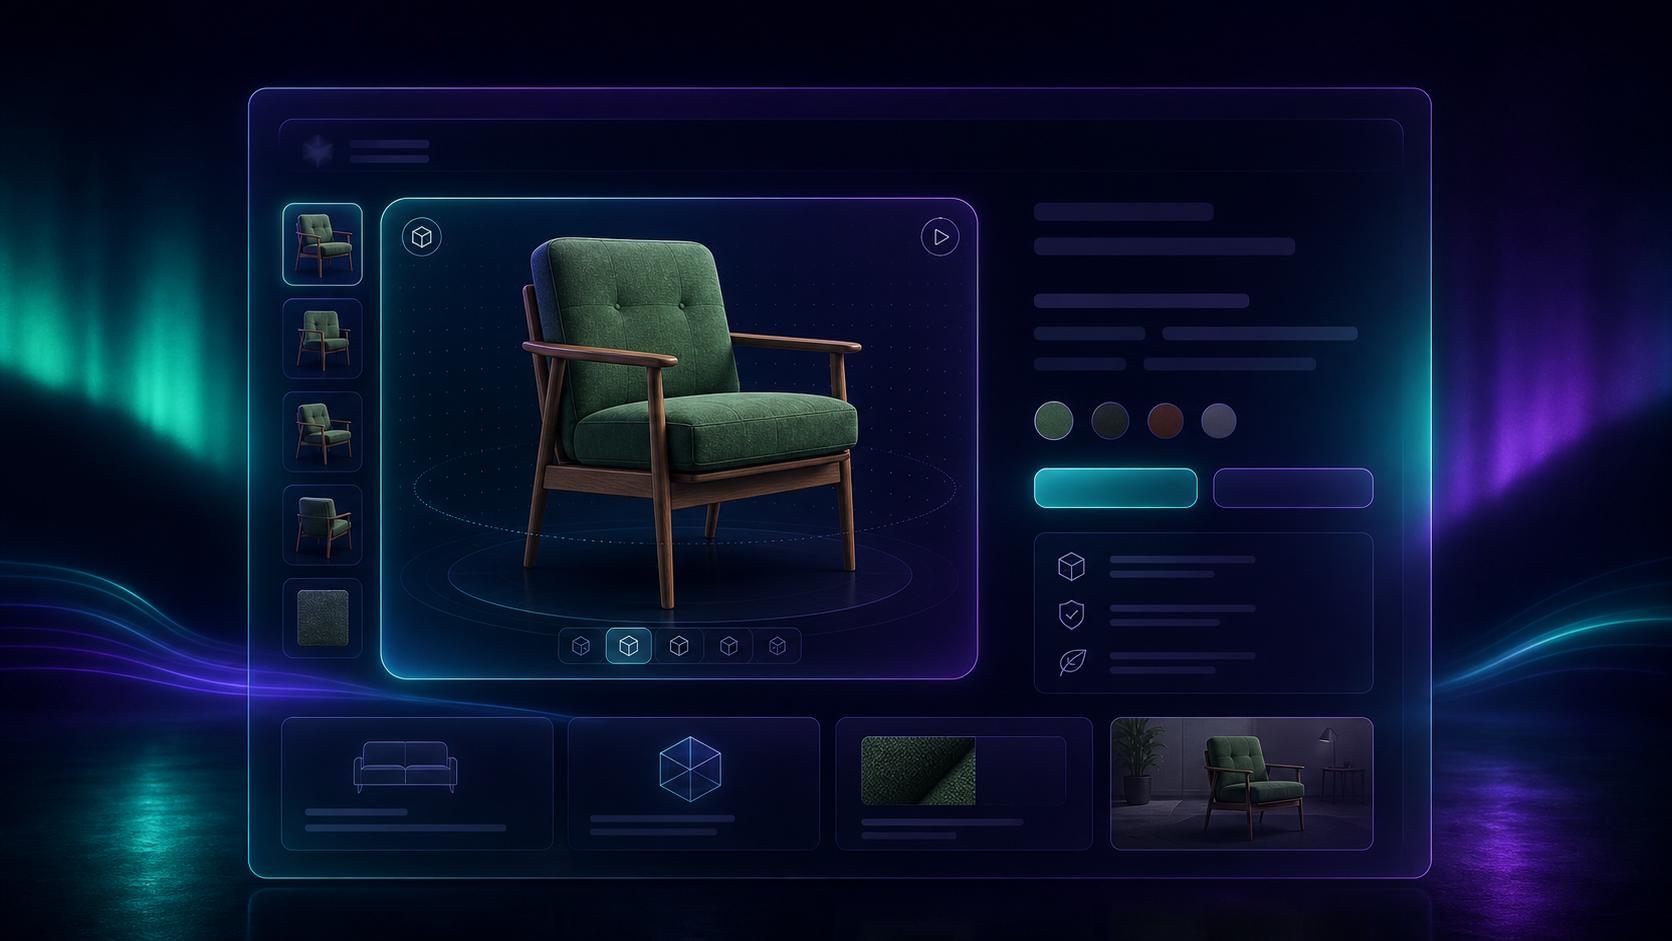
If you want the page-level placement logic, How I Build a Shopify Product Page Around a 3D Model shows how to make the viewer feel native instead of decorative.
Expected result: the product page becomes interactive without changing the rest of the storefront.
5. Use the first cycle to refine the queue
After the first batch is live, review what actually happened.
Look for signals like:
- Whether shoppers spend more time on the page.
- Whether support questions become more specific.
- Whether the product description and photos now match the item better.
- Whether the next set of SKUs should move up or down in the queue.
Do not promise a universal conversion lift. The real value is better product understanding, stronger confidence, and less mismatch between what the page suggests and what the customer receives.
If a SKU still looks weak after the first pass, do not force it into production. Either improve the setup or leave it in flat photos for now. The queue exists to create discipline, not to justify every item.
When a product should stay out of the queue
Some products should wait, even if they are technically scannable.
Hold back if:
- The product is low traffic and low return risk.
- The surface is so reflective or transparent that the scan will take too much cleanup.
- The product already reads clearly in flat photos.
- You do not have enough time to publish the model properly on the product page.
That is not a failure. It is just a better use of time.
Start with one useful scan
If you want to test the workflow without a big commitment, start with the Free plan on Supra 3D Capture. It includes 3 scans per month and 1 saved 3D model, which is enough to validate the queue on a small batch.
If the first queue works, move the best performers into the Base or Pro plan and keep the rest in reserve. For the app listing itself, the Shopify App Store version is the easiest place to install it.
The next action is simple: score your catalog, pick the top three SKUs, and capture the one that will make the strongest case for the rest.