
August 2, 2026
How to Turn Plain Shopify Product Photos Into Lifestyle Scenes
A practical Shopify workflow for cleaning up product photos, building lifestyle scenes, and creating try-ons and videos with Supra AI Photo Studio.
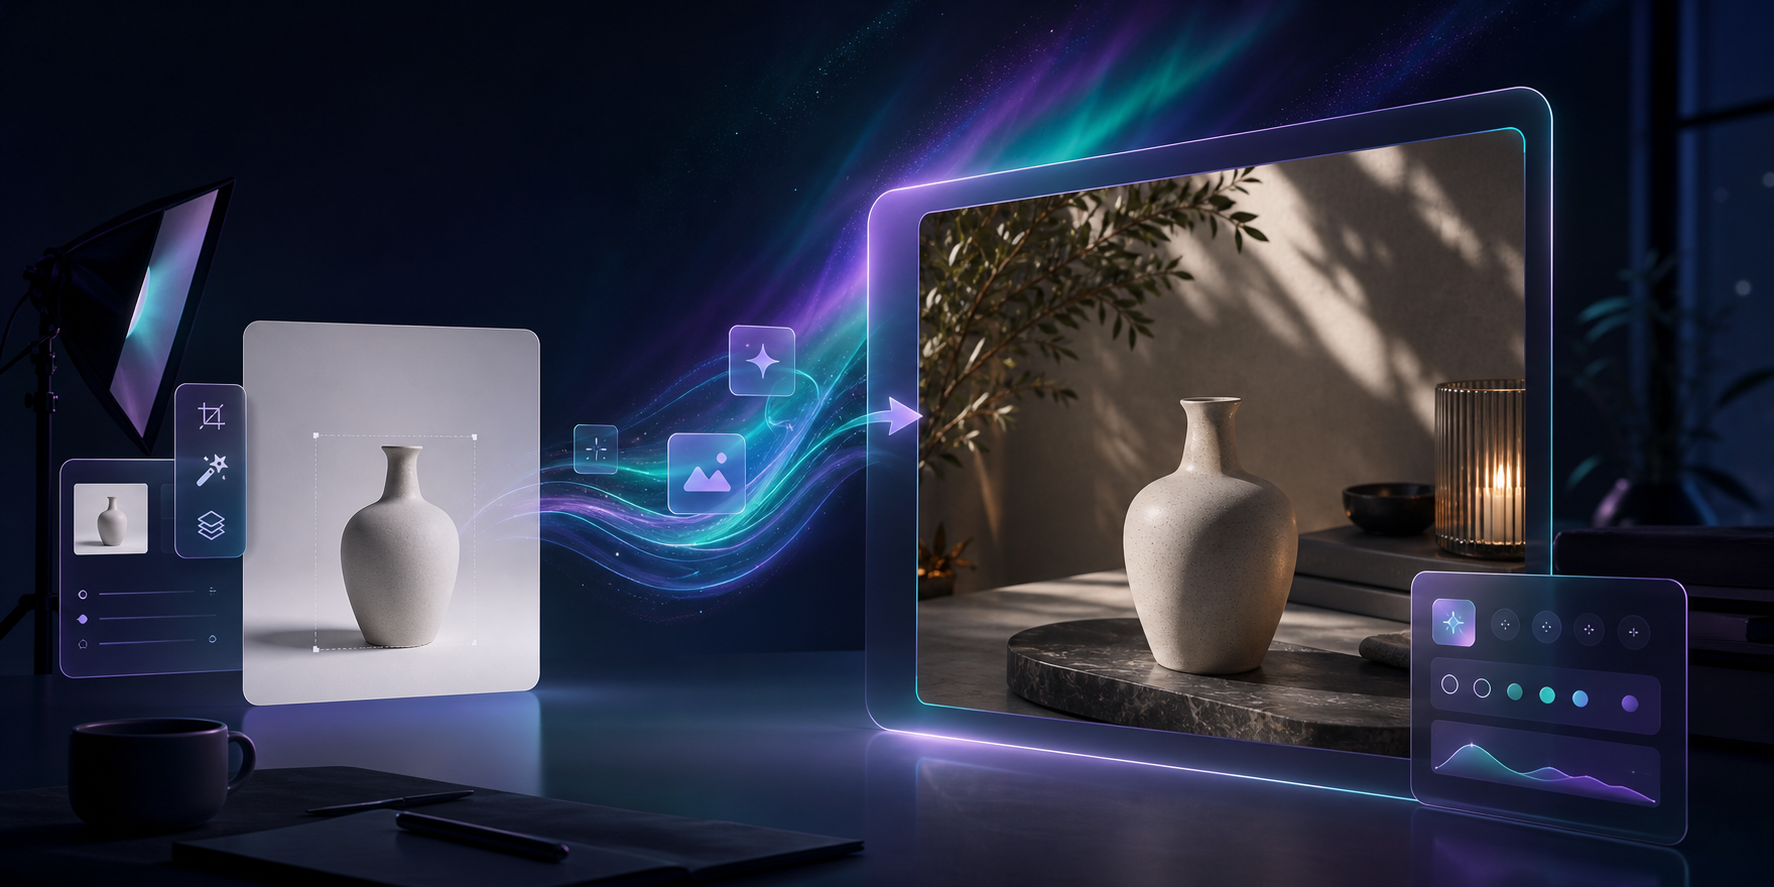
Most Shopify stores do not need more photos. They need a repeatable way to turn the photos they already have into visuals that look intentional across the catalog, ads, and social. Supra AI Photo Studio does that inside Shopify admin, and this guide shows the workflow I would use when I want one plain image to do more work.
If you want to see the product first, start with the Shopify app listing or the demo trailer.
1. Start With The Cleanest Source Image You Have
Open the app from Shopify admin, pick a product, or upload a product image into the editor. If the original file is blurry or badly cropped, fix that before you try to make it stylish. The app includes background removal, upscaling, and auto enhancement, which is usually the right first pass.
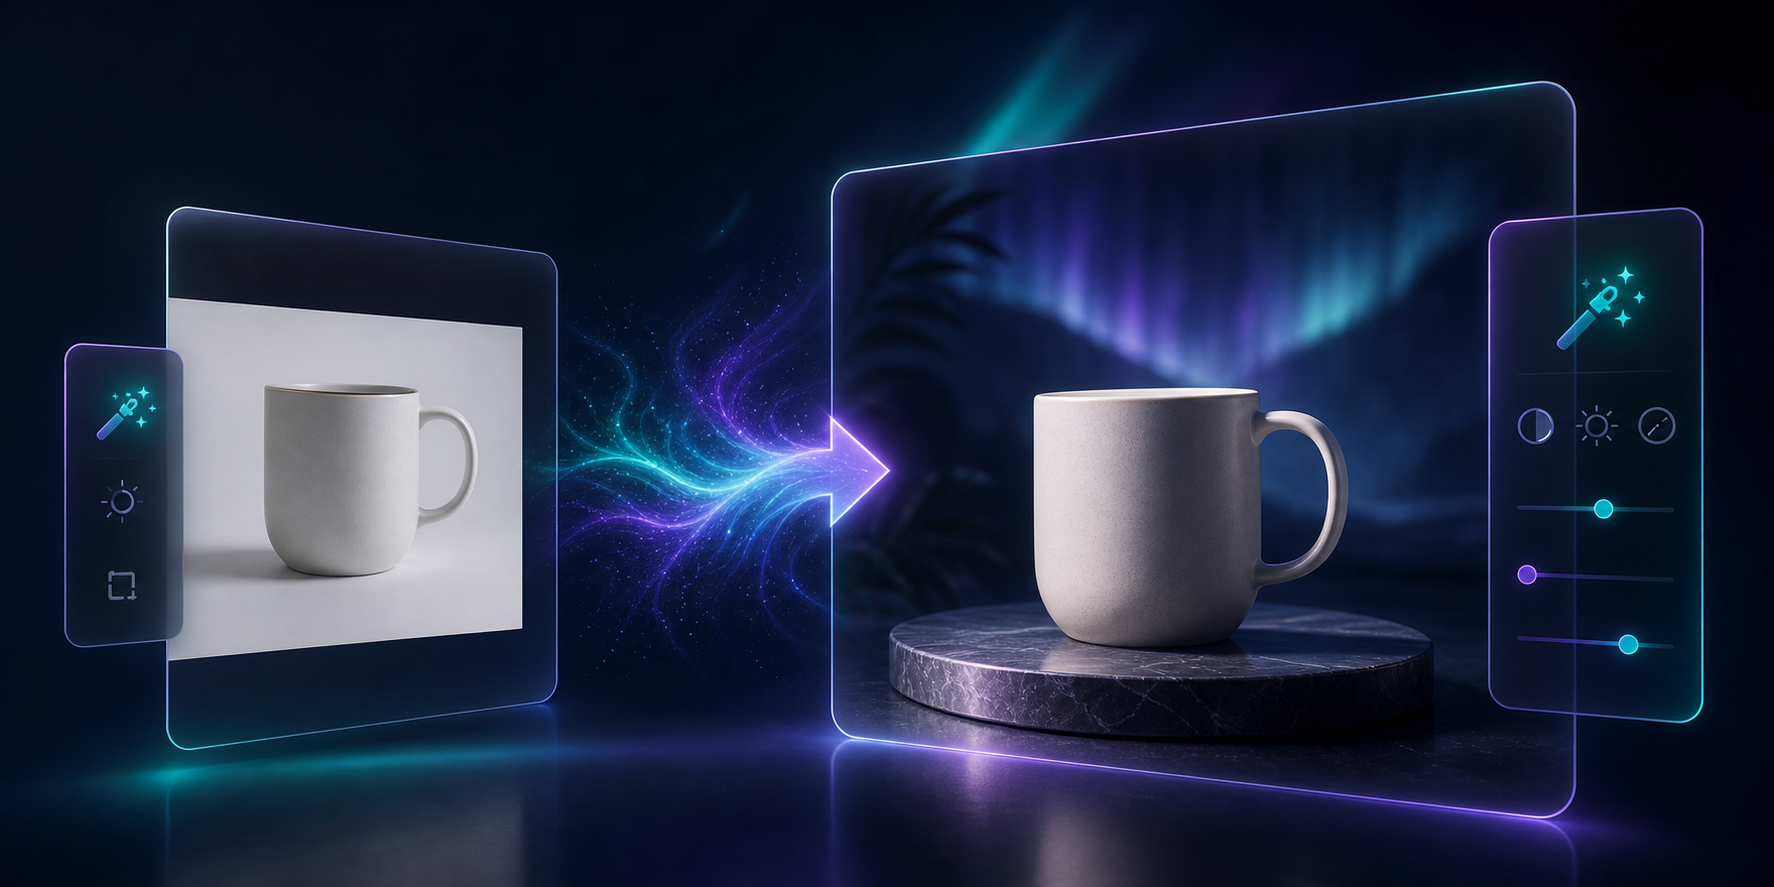
Expected result: a product cutout that reads clearly on its own and can survive a background change later.
2. Clean Up The Photo Before You Add Style
Use the tools on the left side of the editor to remove the background, sharpen detail, and correct lighting. The help page for the editor breaks the workspace into four parts: the top bar, the tools panel, the canvas, and the image gallery. That matters because the workflow is not just make something pretty. It is make a controlled edit, review it, then keep the versions you want.
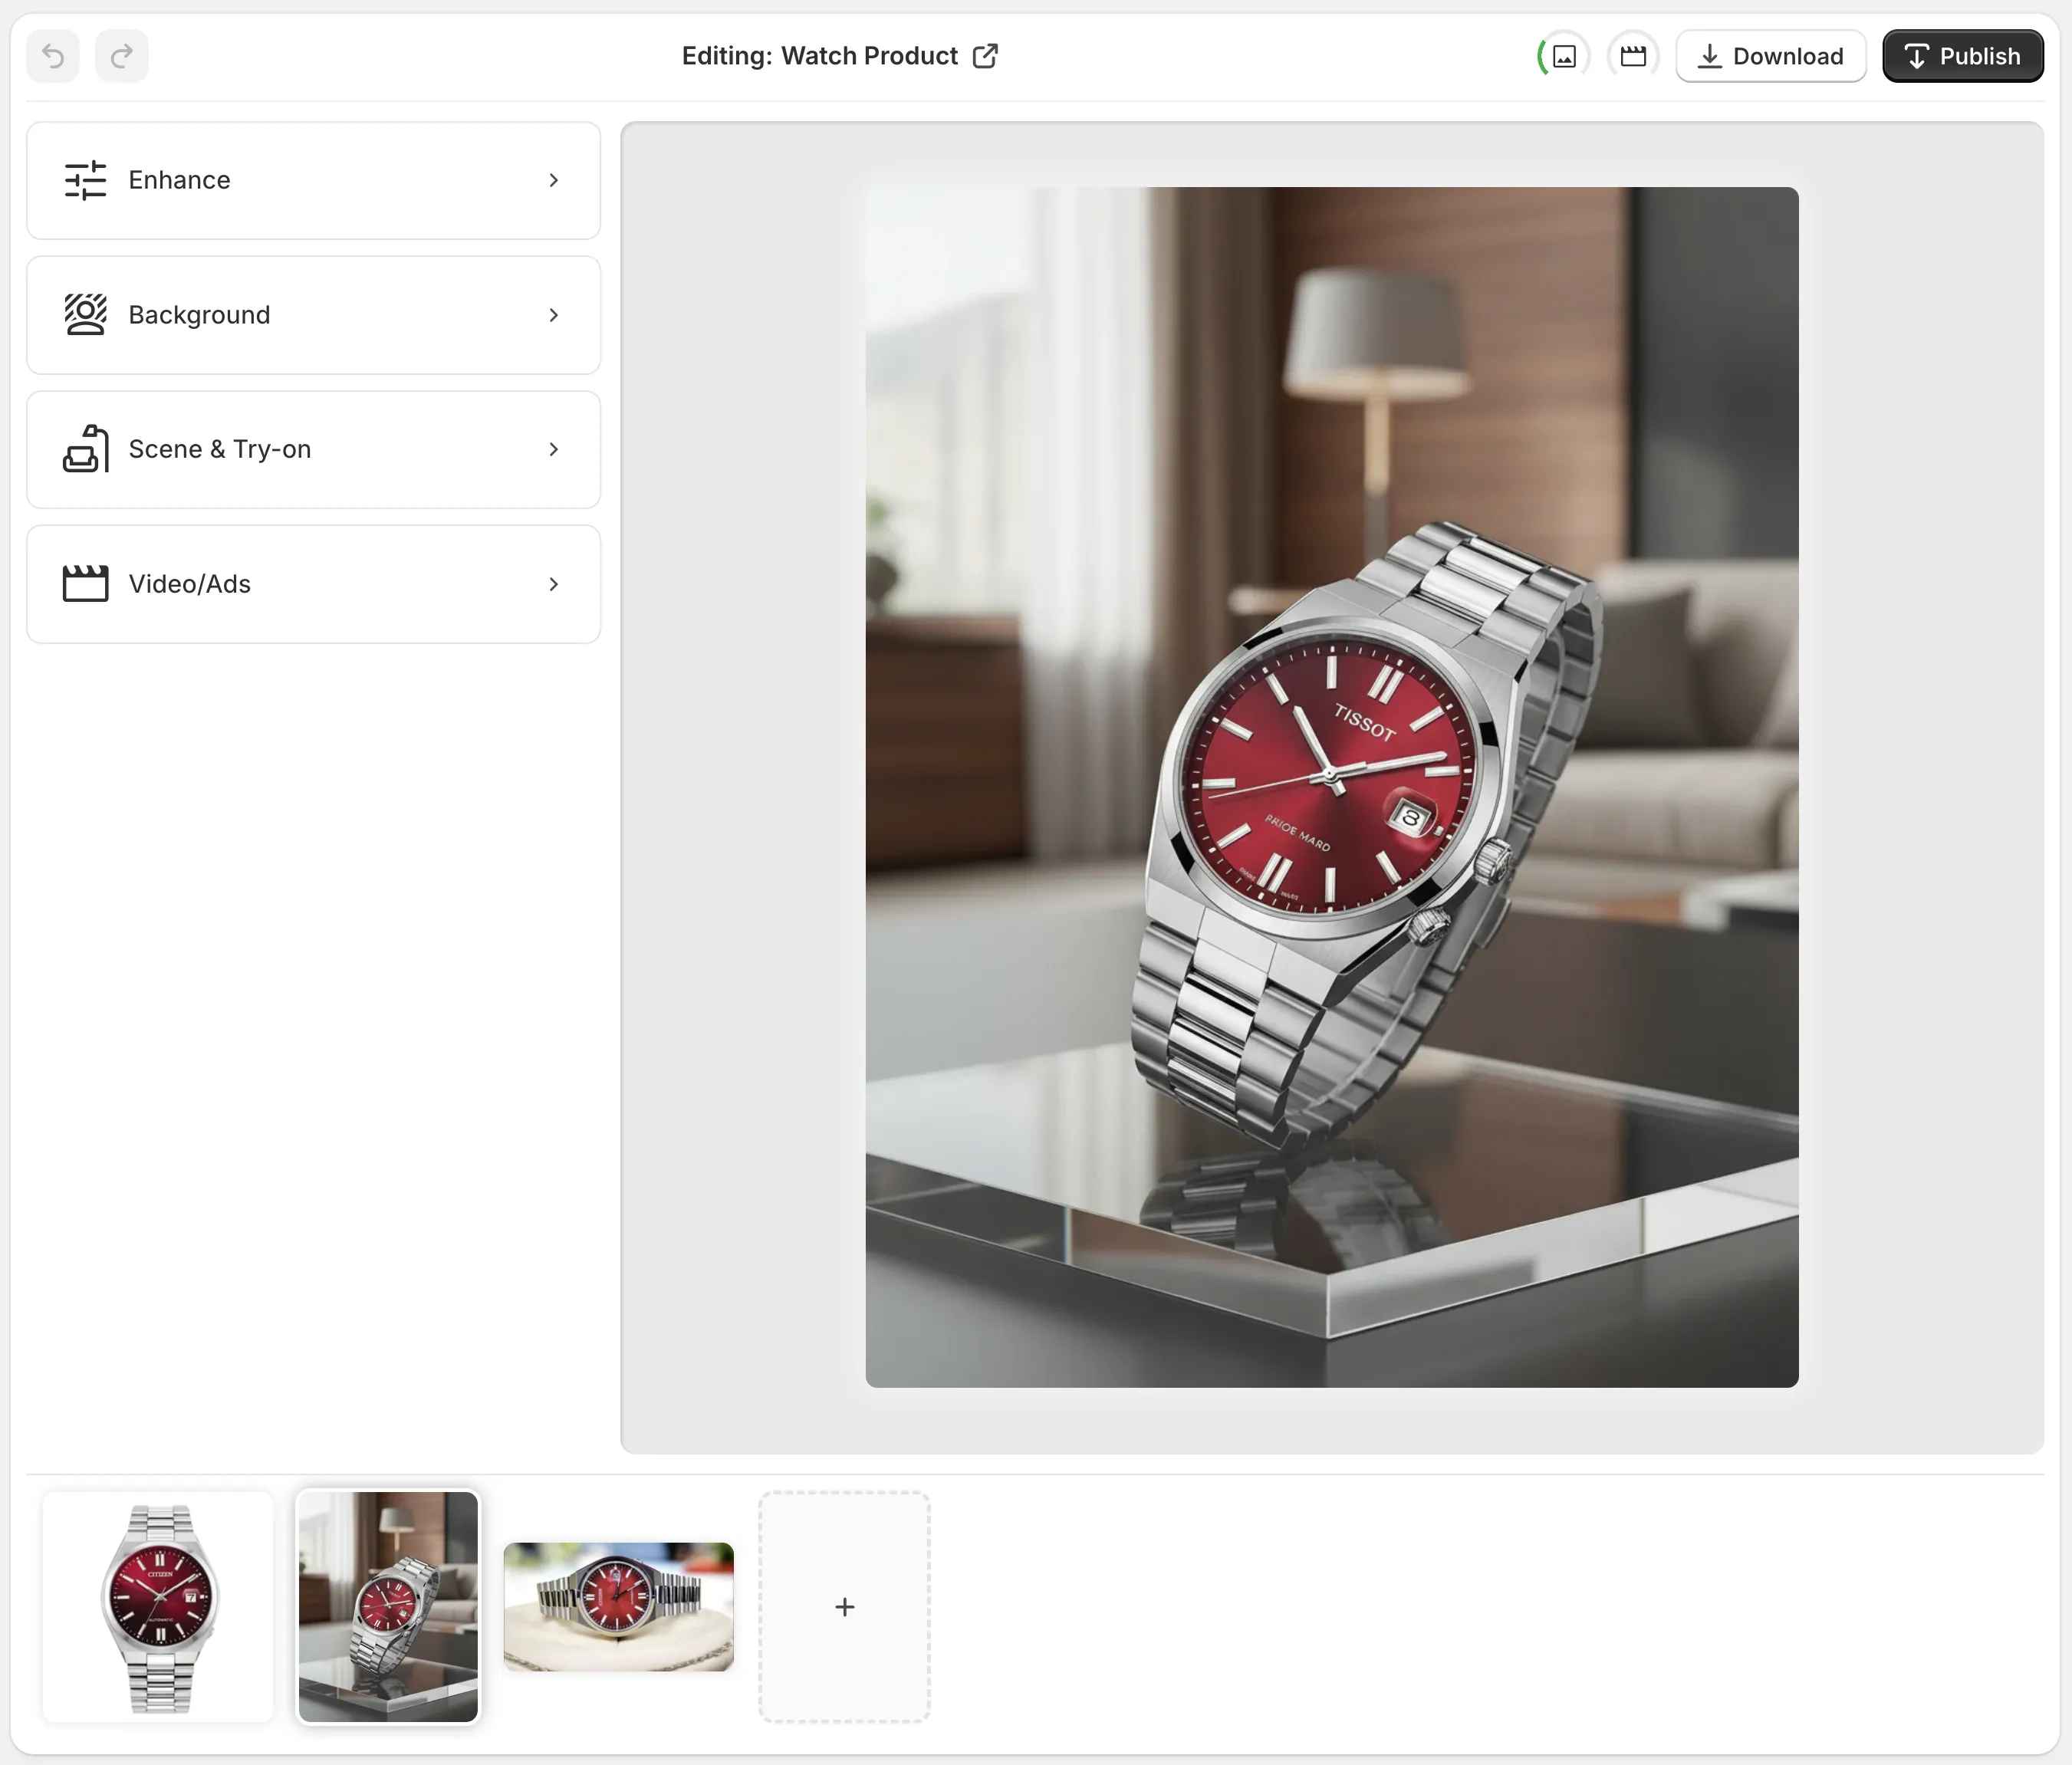
Expected result: the product is easier to place into a new scene without drifting away from the original shape or color.
3. Move From Cutout To Lifestyle Scene
Once the product is isolated, use object placement to drop it into a setting that matches how you want to sell it: a studio, luxury boutique, office, kitchen, outdoor scene, or something more neutral. Keep the scene simple if the product is the star. Add more atmosphere only when it helps the item feel real.
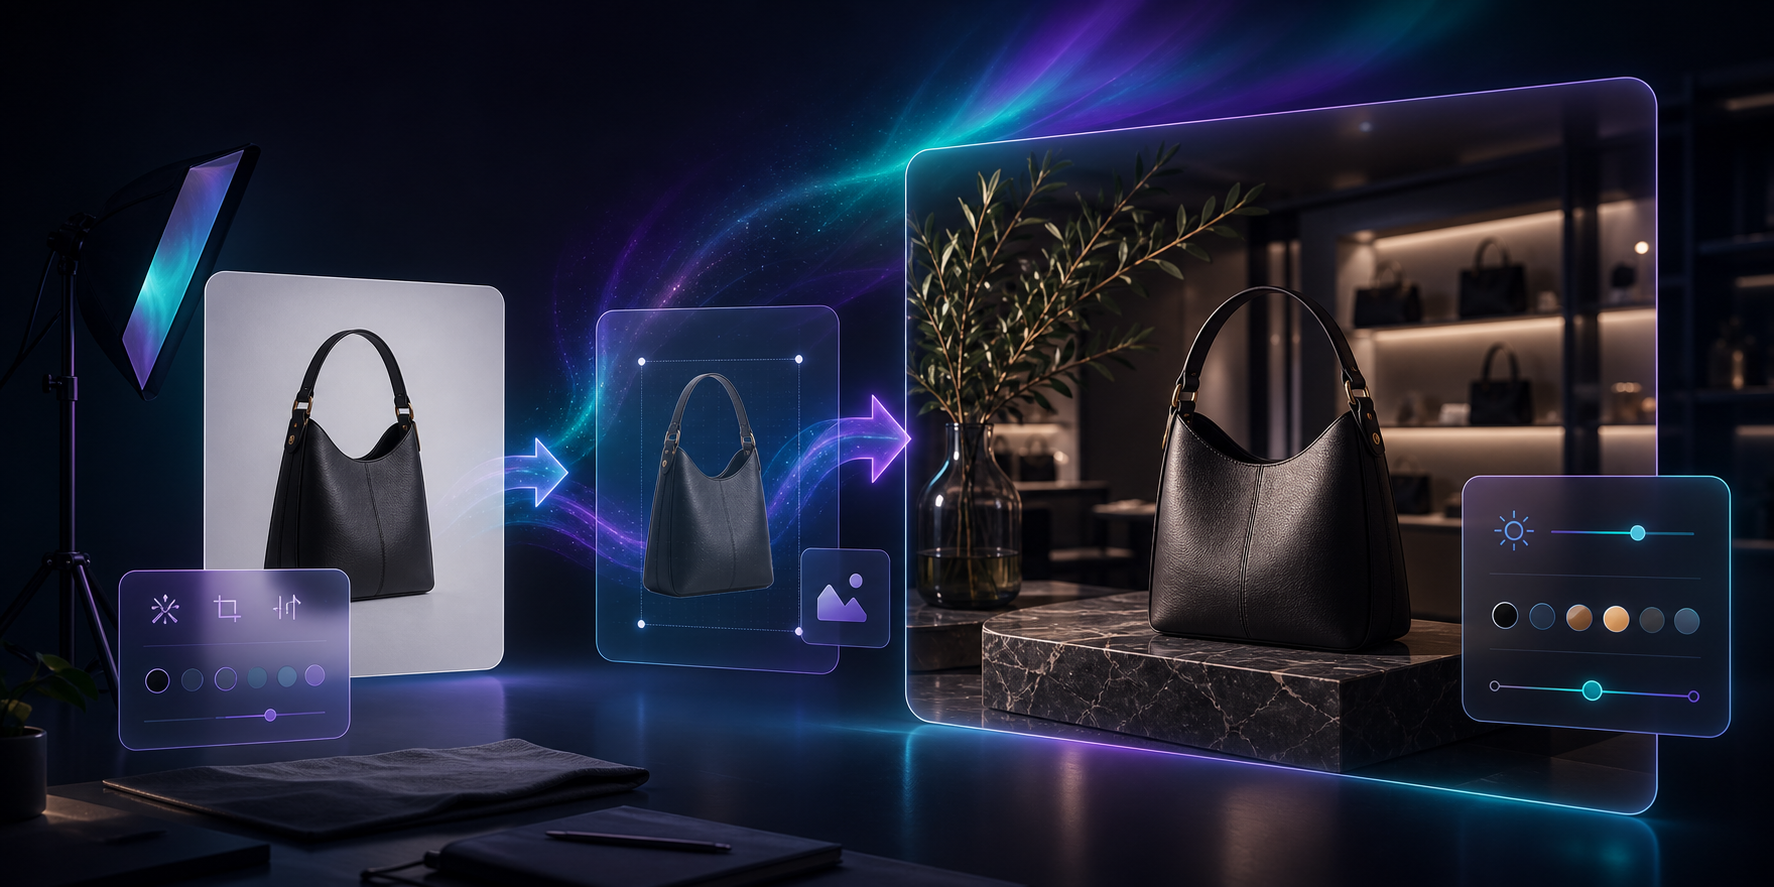
Expected result: a catalog-ready lifestyle shot that feels intentional, not pasted in.
This is also where it helps to know when to choose one tool over another. I wrote about that decision in How to Decide Which Shopify Products Need Try-On, Placement, or Video and How I Turn Plain Product Photos Into Studio Shots, Try-Ons, and Ads. The pattern is the same: do not force every product through the same visual treatment.
4. Use Try-On And Mockups When The Product Needs Human Or Brand Context
For apparel, jewelry, and accessories, the try-on flow makes sense because the buyer cares about fit and scale. For print-on-demand or branded merch, mockups are often the better first move because the design itself is the point. Supra AI Photo Studio says you can create your own models, put products on them, and embed designs into apparel, packaging, posters, mugs, and more.
Expected result: a product image that answers the buyer’s next question before they have to ask it.
If you want a second viewpoint on the same workflow, the articles How to Turn One Product Photo Into Listings, Lifestyle Shots, and Ads and How I Build a Shopify Visual System From One Product Photo are both useful when you want the outputs to stay consistent across the whole catalog instead of looking like separate experiments.
5. Turn The Best Still Image Into Short-Form Video
If the product is already working as a still, use the app’s UGC video or b-roll tools to turn it into something you can use in ads and social posts. This is the part many merchants skip, but it is one of the easiest ways to get more mileage from the same source photo. Keep the motion restrained and focused on the product rather than trying to make every clip cinematic.
Expected result: one product setup becomes a still image, an ad, and a motion asset.
Common Pitfalls
- Start with a product photo that already has enough resolution. If the source is too soft, enhancement can only do so much.
- Do not overload the scene. A busy background can make the product harder to trust.
- Be conservative with try-on and placement when exact color or shape matters.
- Reuse the same visual direction across the product page, ads, and social content so the catalog feels coherent.
The editor is built for that kind of disciplined workflow. Use the left tools to make the base image usable, the canvas to check the result, the image gallery to keep versions straight, and the top bar to undo, redo, download, or publish changes when the edit is ready.
Expected result: a repeatable process instead of one-off image experiments.
Supra AI Photo Studio is a practical fit if you want better product photography without hiring a designer for every asset. The app has a free plan, and the premium plans scale if you need more volume. If you want to see whether the workflow fits your store, start with the Shopify app listing and work through one product end to end.
If your product photos still start as plain shots, turn one of them into a lifestyle scene this week and decide from there whether you also need try-on, mockups, or video.