
October 3, 2026
How to Run a Shopify Size Chart Pre-Launch Check
Use this practical Shopify checklist to verify measurements, rules, display, units, and mobile readability before an apparel launch.

A size chart can be technically present on a Shopify product page and still fail the shopper who needs it. A missing sleeve measurement, a chart assigned to the wrong collection, or a modal that is hard to find on a phone can turn a reasonable purchase into a sizing question—or a return.
This pre-launch check gives you a repeatable way to verify the chart, its measurement guide, its assignment rules, and its storefront display before you publish a new apparel collection. You need access to your Shopify admin, your theme editor, and the measurements you intend to show.
1. Decide what the chart is measuring
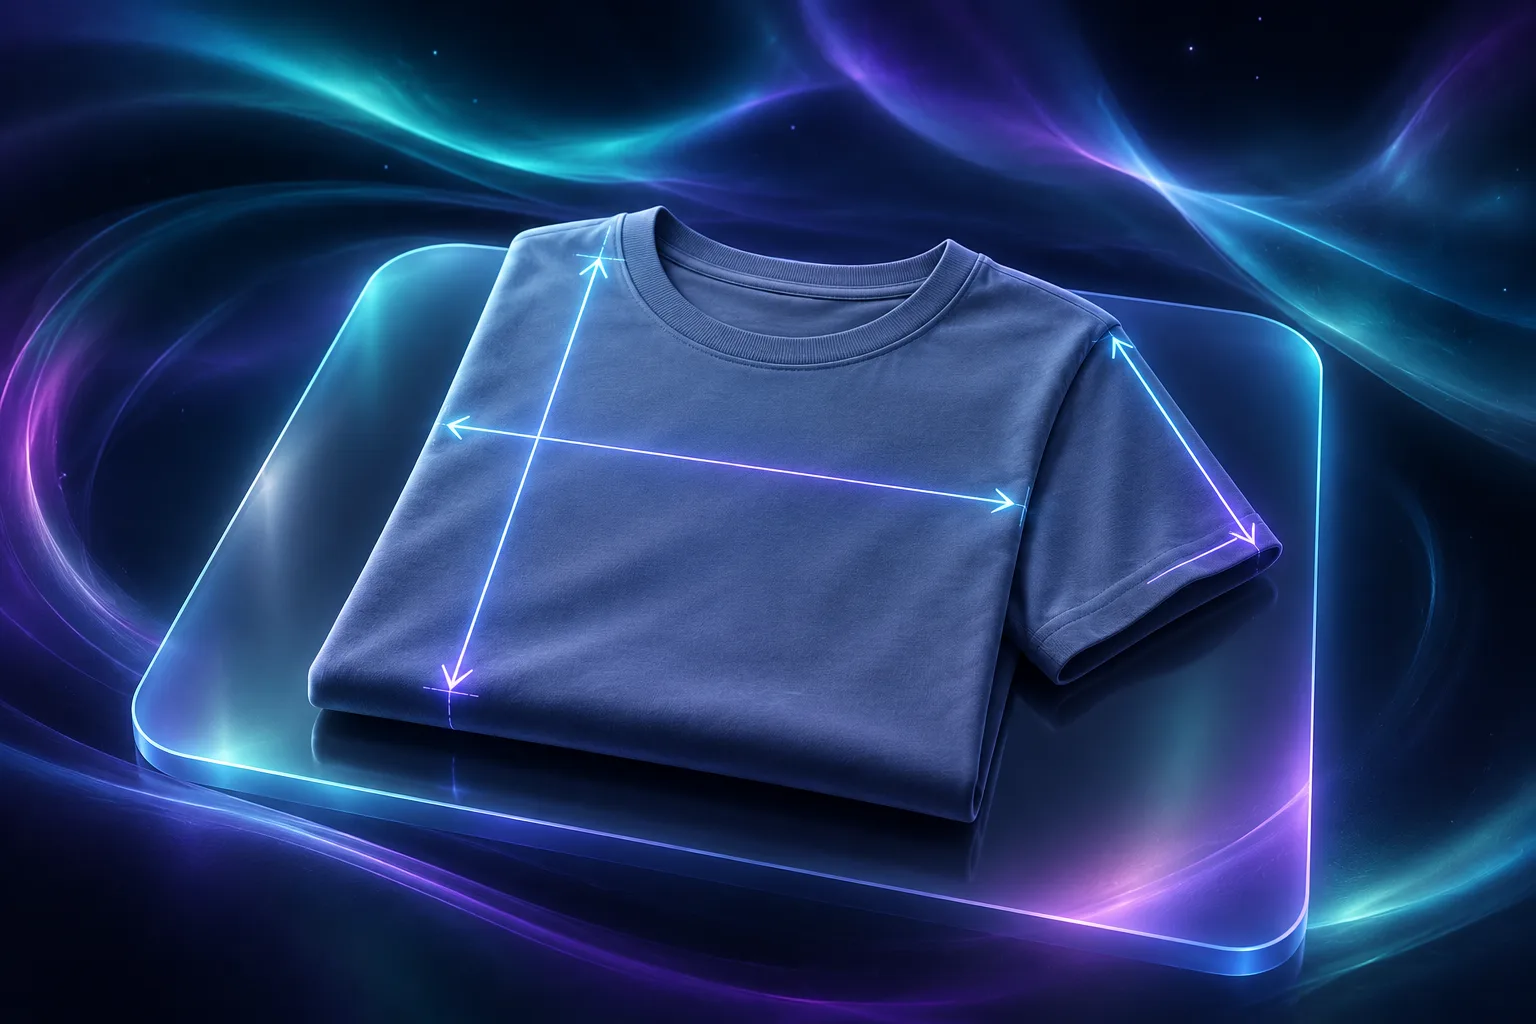
Start with the most important distinction: are your numbers body measurements or garment measurements? Put that distinction directly above or beside the table. A shopper should not have to infer whether a 40-inch chest means their own body or the finished shirt laid flat and measured across.
For a garment chart, write a short method note such as: “Lay the garment flat; measure chest straight across from underarm to underarm.” For a body chart, name the body point and tell the shopper whether to keep the tape level. Keep the unit in every column heading—Chest (in) is safer than a lone Chest column.
Use a small sample of real products to check the numbers. Pick one size near each end of the range and one in the middle. Compare the values in Shopify to the measurement sheet or physical sample. This catches column shifts and outdated factory data before shoppers see it.
Expected result: every chart identifies the measurement type, units, and method; each spot-checked value has a source you trust.
2. Add the measurement guide a shopper actually needs
A table tells people which number to use. A measurement guide tells them where to find it. That is especially useful when fit depends on rise, inseam, torso length, shoulder width, or a non-obvious garment point.
In Supra Size Chart, pair the chart with a labelled guide and use only the lines that correspond to the table. A dress chart with bust, waist, and hip is clearer when the illustration uses those same terms. If the table says “length,” specify whether that runs from the high shoulder point, centre back, or waistband.
Do not rely on a generic image to do this work. The guide should mirror the product and the chart. If one collection uses a relaxed fit and another uses compression fabric, give each its own instructions when the measurement method changes. For help deciding how much detail to show, compare the product-page reading experience with this guide to making Shopify size charts easy to read on mobile.
Expected result: a shopper can reproduce every measurement in the table without guessing where to place a tape measure.
3. Confirm the right products receive the right chart
Open your chart assignment rules before touching the storefront. A broad collection rule is useful for a line of tees with the same fit, but it is not a substitute for checking exceptions. A cropped cut, a vendor-specific fit block, or a one-off fabric can require a more specific chart.
Supra Size Chart can target a product, collection, product type, vendor, or tag. Start with the broadest truthful rule, then test a product that should match and one that should not. When rules overlap, make the most specific assignment intentional. Keep a store-wide default only if it gives shoppers safe, meaningful information.
This is also the moment to remove duplicated tables from old product descriptions. Your product content becomes easier to maintain when the chart lives in one structured place rather than in many rich-text fields—a principle that also helps when you organize Shopify product-page content without theme code.

Expected result: every representative product gets one appropriate chart, and an unrelated product does not inherit it.
4. Test units, copy, and the decision around the table
If you sell across regions, test the metric/imperial toggle with a few known values. The goal is not to make the table more complicated; it is to let shoppers use the scale they recognize. Check that the converted headings are clear and that any fit notes remain meaningful in both modes.
Then read the surrounding product-page copy. A chart is most useful beside the information that changes a fit decision: fabric stretch, intended silhouette, model size, or a note such as “between sizes? choose the larger size for a relaxed fit.” Do not invent a sizing promise you cannot support.
Treat sizing as part of the same buying decision as colour and variants. A clear variant state reduces ambiguity before the shopper reaches the chart; this companion guide explains how to add colour swatches to Shopify collection pages.
Expected result: units work, labels make sense without internal jargon, and the shopper has enough fit context to choose a size.
5. Review the theme block on desktop and mobile
In the Shopify theme editor, place the size-chart app block where a shopper expects sizing help—normally near the variant picker or buy controls. Then preview a narrow phone viewport and a desktop viewport.
Choose inline, accordion, or modal based on the chart’s complexity and your page layout. An inline table is immediate for short charts; an accordion preserves page rhythm; a modal can work for a long chart if its trigger is obvious and easy to close. Test the actual product page rather than relying on the editor preview alone.
On a phone, check the table’s horizontal behavior, touch target size, contrast, and whether a shopper can return to the chosen variant after opening the chart. If you use a modal, test both the unit toggle and the close control. A strong sizing layout builds trust; for another practical perspective, see how French merchants choose a reassuring Shopify size chart.

Expected result: the chart is discoverable, legible, and usable without interrupting a purchase on either screen size.
6. Make the check repeatable before every collection launch
Save this six-step review as a launch task: measurement source, guide, rule match, units and fit copy, desktop preview, and mobile preview. When the same chart is reused across a catalog, check it once centrally and then sample the products covered by each rule. Keep a CSV or JSON export as a portable reference for the approved data.
Supra Size Chart keeps charts and measurement guides in your Shopify store’s metaobjects, lets you assign them with catalog rules, and renders them through a theme app block. It is free, with CSV/JSON import and export plus inline, accordion, and modal display options. Install it from the Shopify App Store, create one test chart, and run this checklist on a live product before the next collection goes public.
A good size chart does not need more decoration. It needs correct measurements, clear instructions, reliable assignment, and a storefront check from the shopper’s point of view. Run those checks before launch, and your size help becomes easier to trust and easier to maintain.