June 12, 2026
How to Build a Repeatable Shopify Image Workflow From One Product Shot
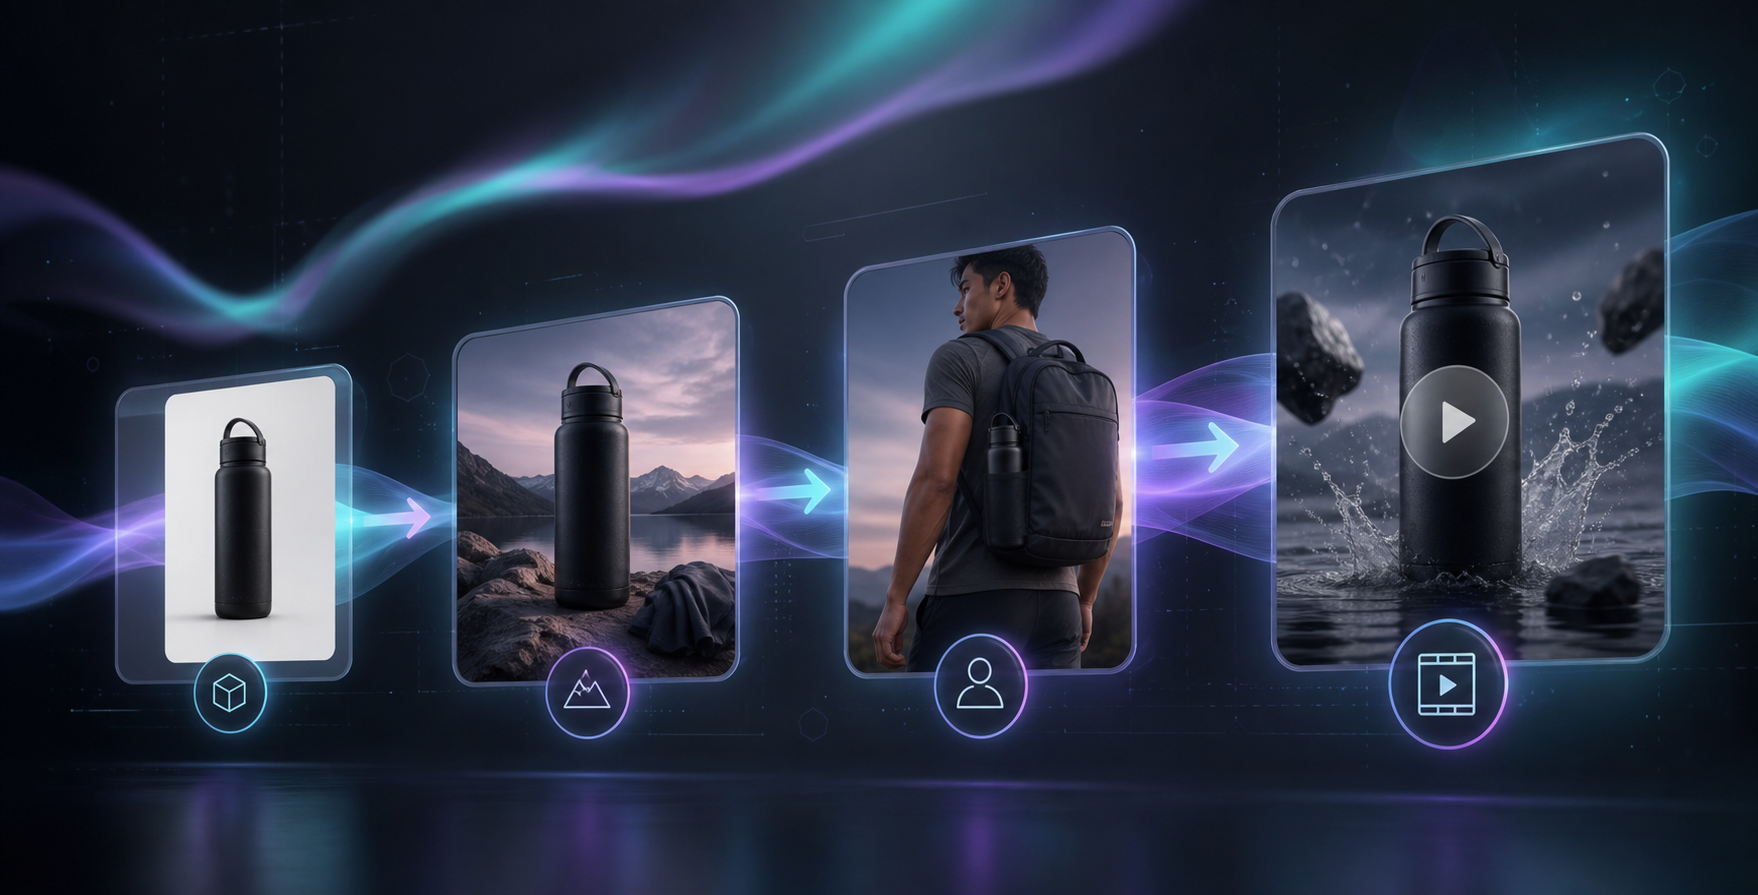
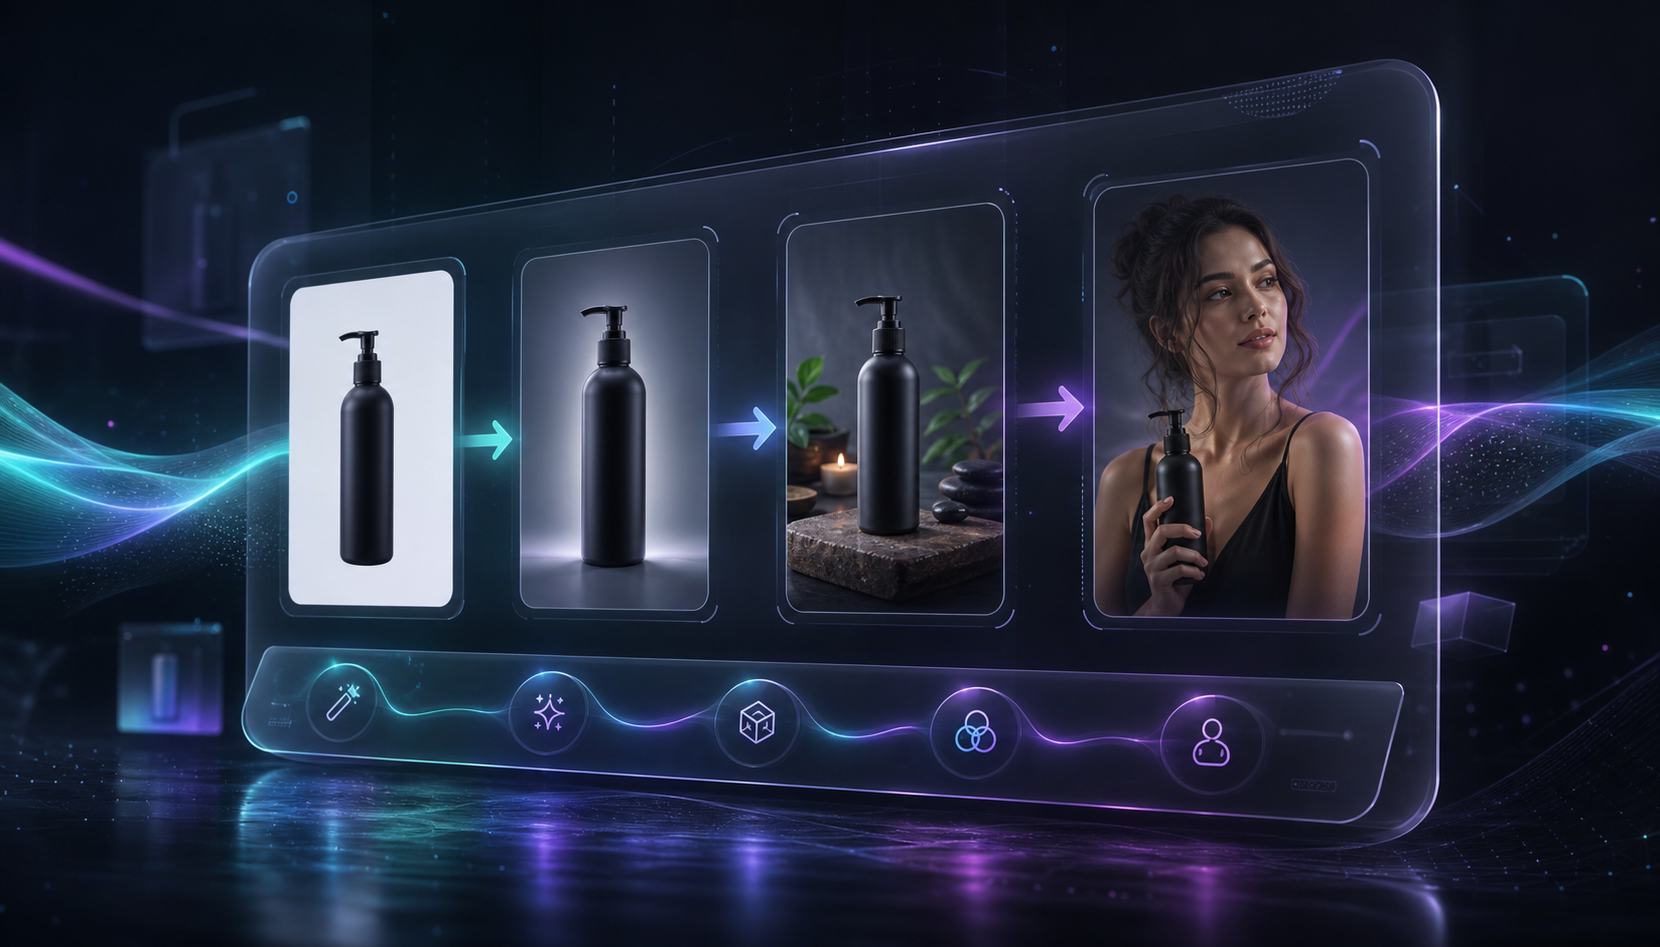
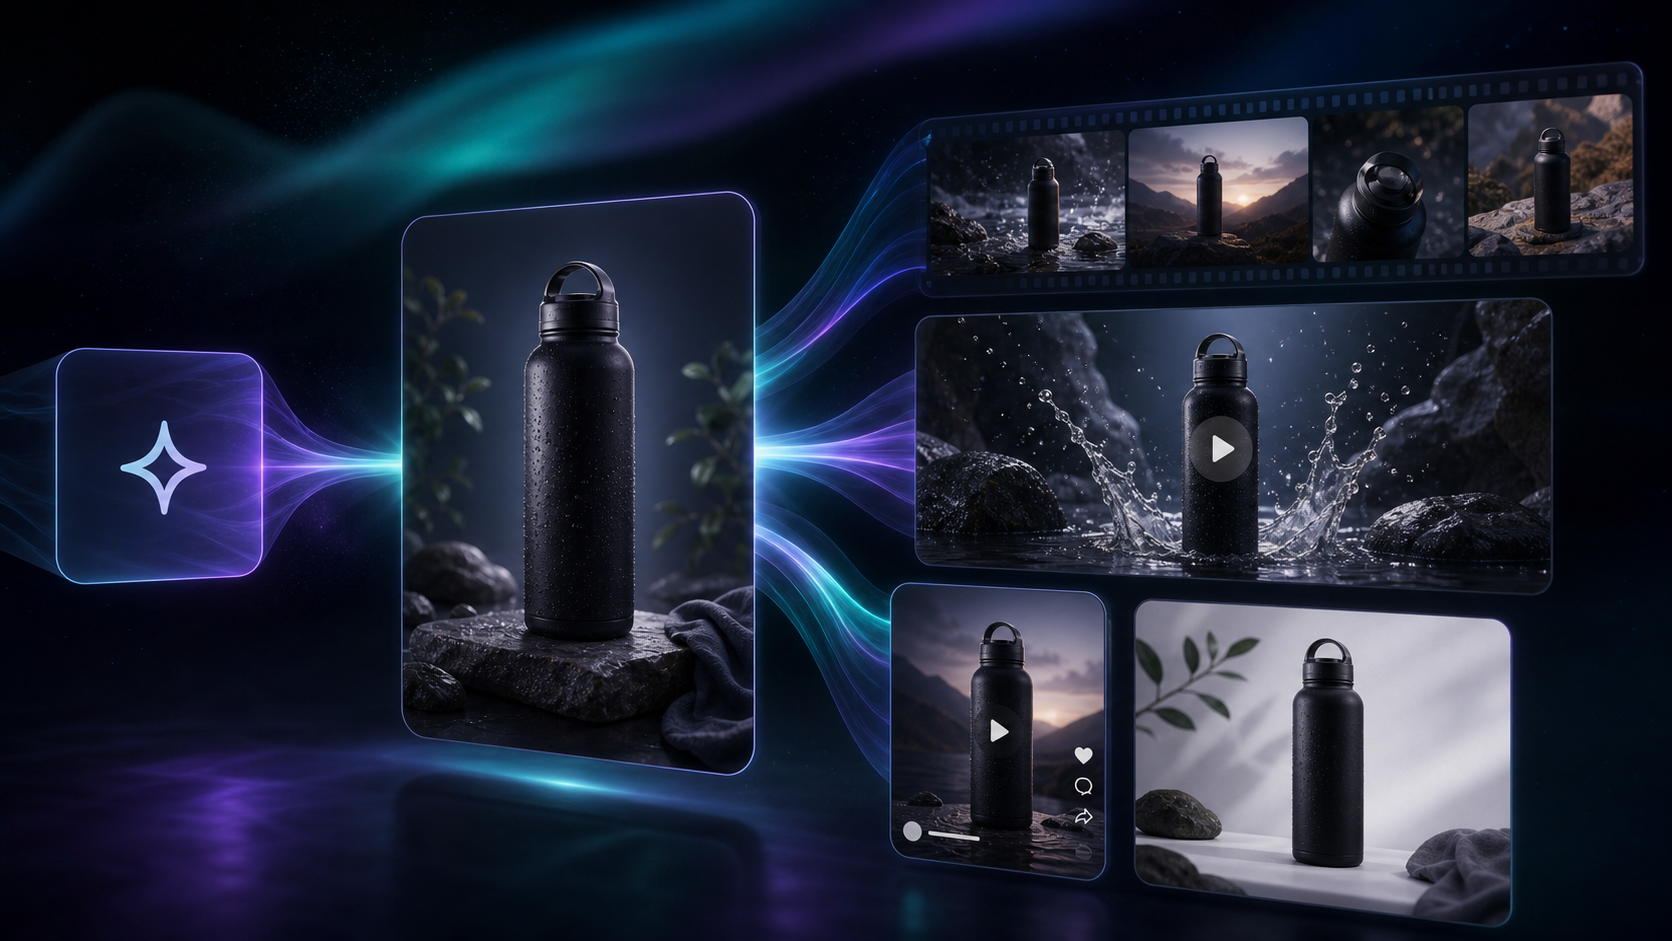
Turn one clean product photo into a catalog image, try-on, lifestyle scene, and short ad asset with Supra AI Photo Studio.
How to Build a Repeatable Shopify Image Workflow From One Product Shot
If you start with one good product photo, Supra AI Photo Studio can turn it into a cleaner catalog image, a lifestyle scene, a try-on, or a short ad clip without leaving Shopify. The app listing is Supra AI Photo Studio on Shopify and the landing page is supra-ai-photo-studio.sktch.io.
I wrote a narrower version of this in How to Create Studio-Quality Shopify Product Photos From Plain Shots, but this guide treats the whole workflow as a system instead of stopping at cleanup.
1. Decide the output set before you edit
A single source shot usually needs three jobs: a clean catalog image, a contextual lifestyle image, and one motion asset. If the product is wearable, add a try-on version. If it is a hard good, add object placement. Do not edit blindly. Decide the exact outputs first so every step has a target.
Expected result: you know which versions you need before you touch the image.
2. Clean the source image first
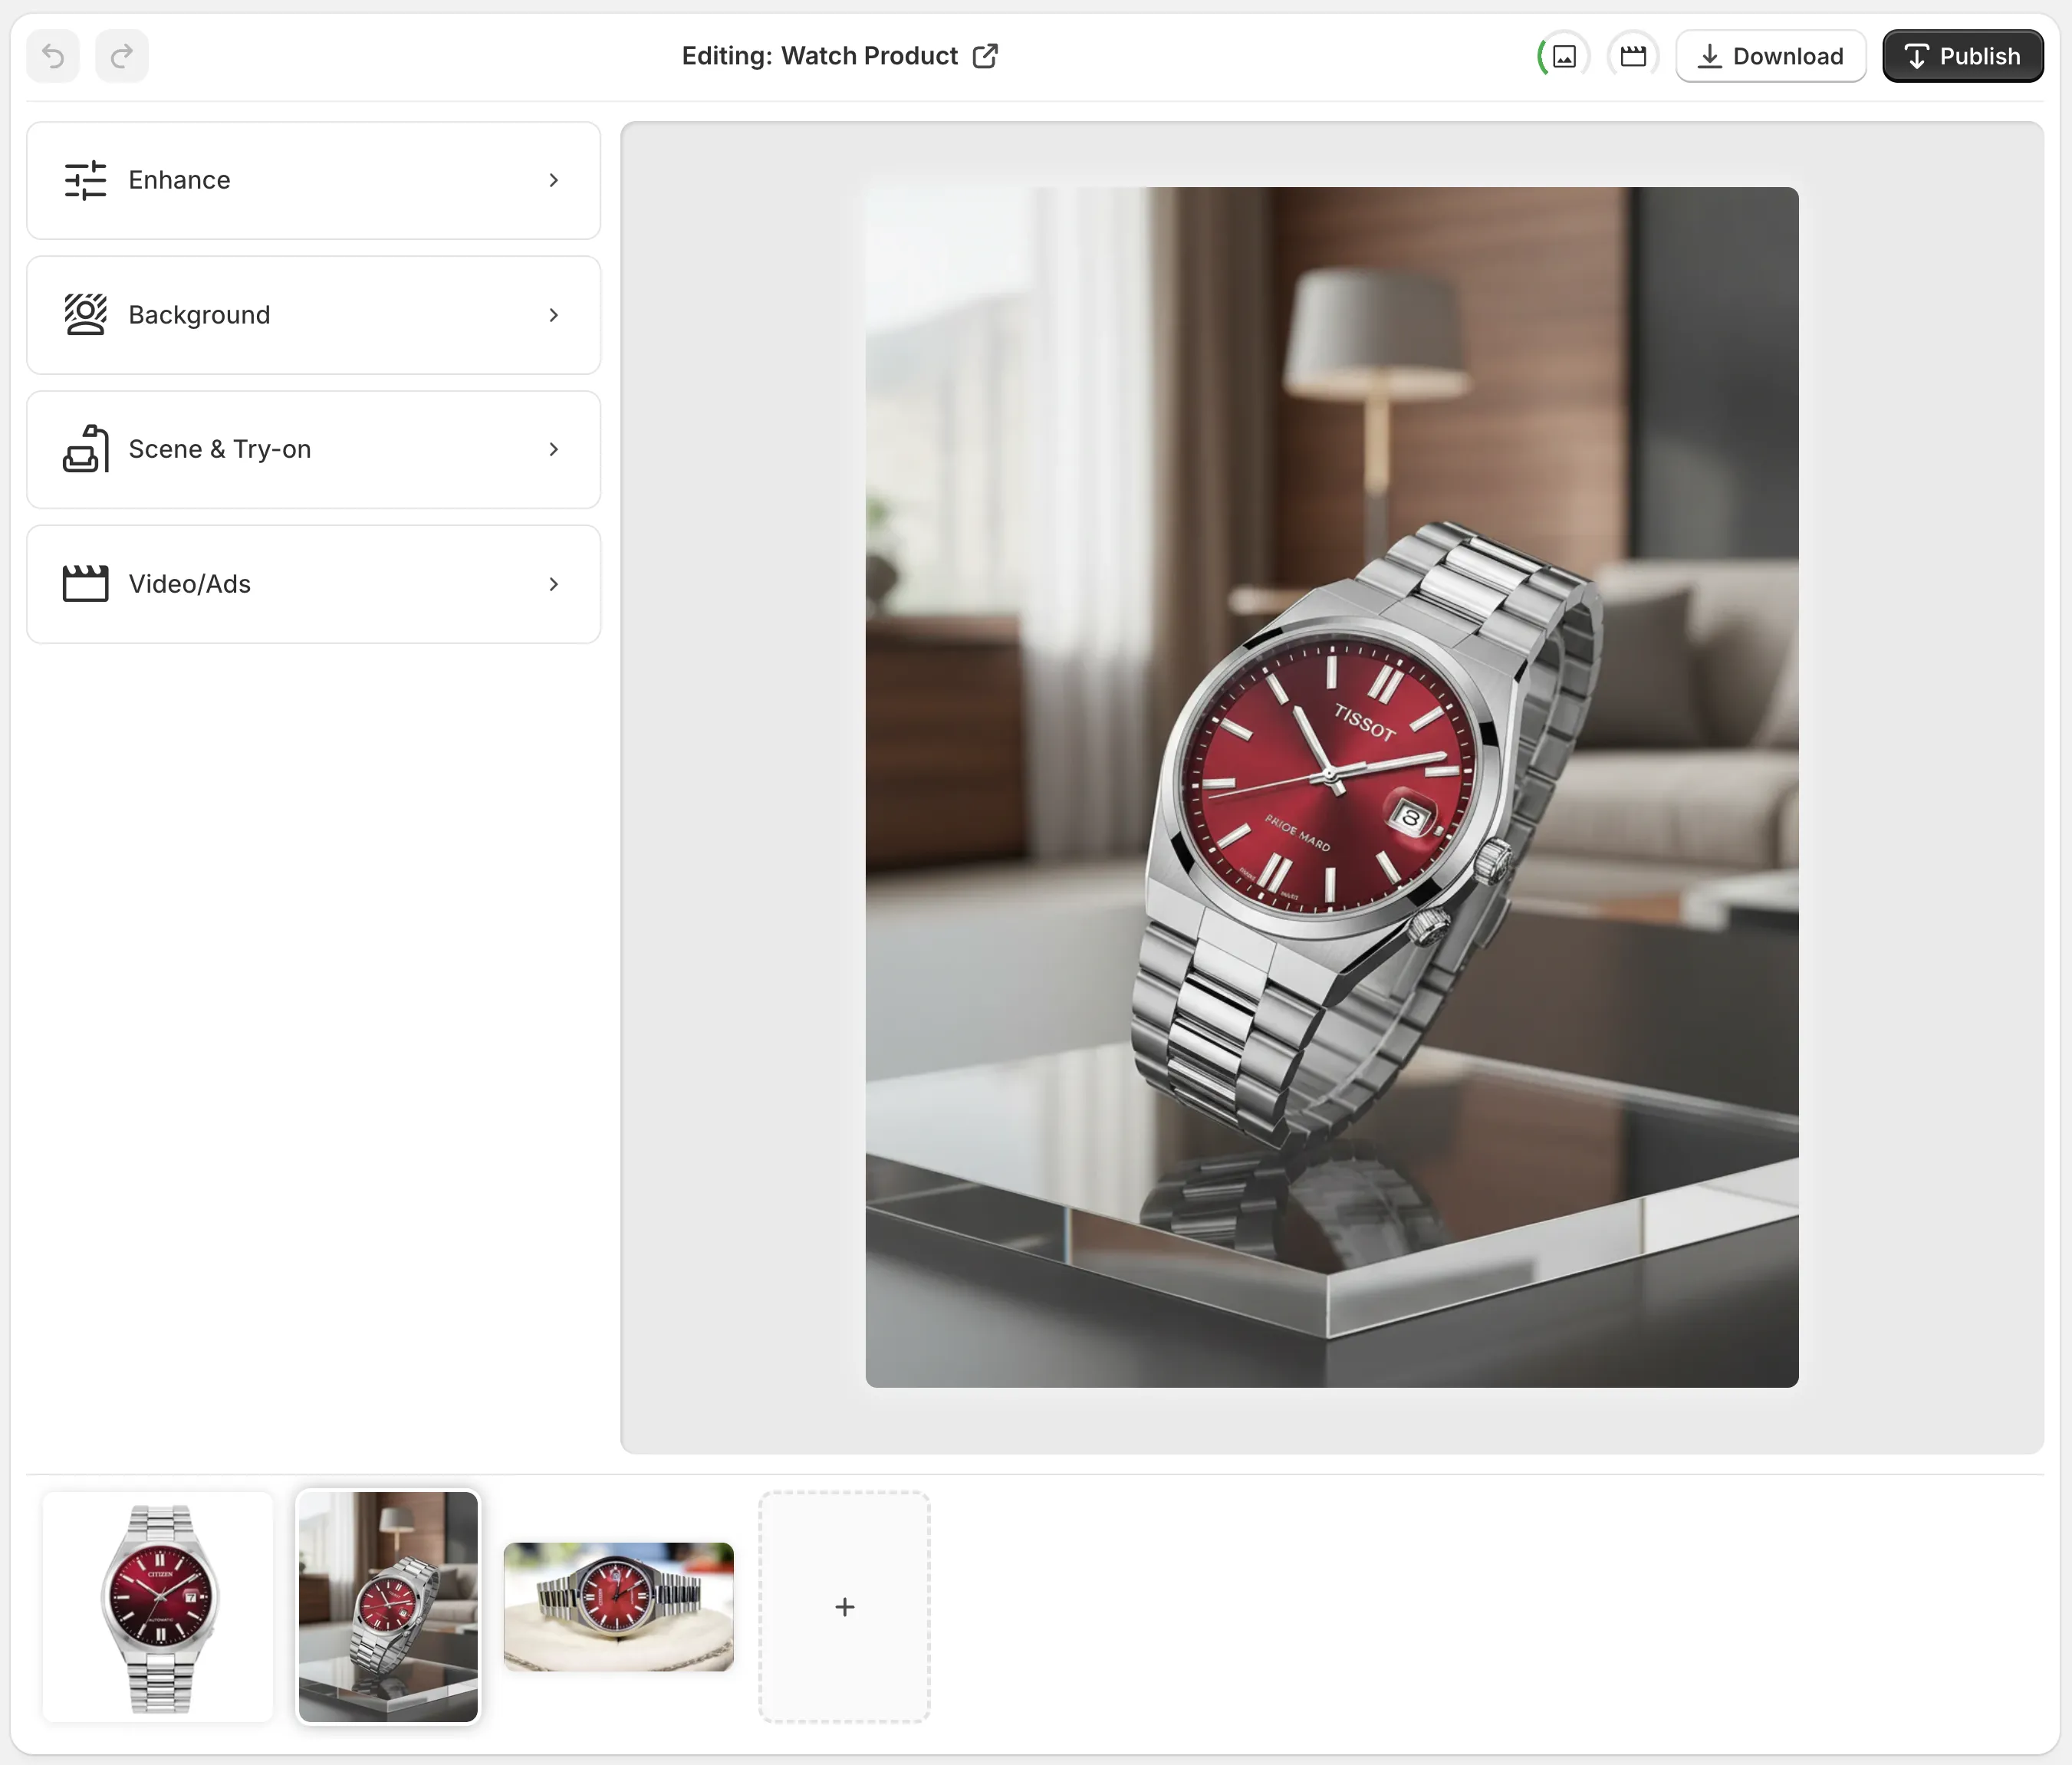
Use background removal, upscaling, and auto-enhance before you try to make the image look dramatic. Supra AI Photo Studio supports those cleanup passes, and the editor layout makes it easy to keep the original visible while you iterate.
If the catalog already looks noisy or inconsistent, compare this step with How to Build a No-Shoot Shopify Photo Workflow That Still Looks Premium.
Expected result: a sharp cutout with correct color, lighting, and edges.
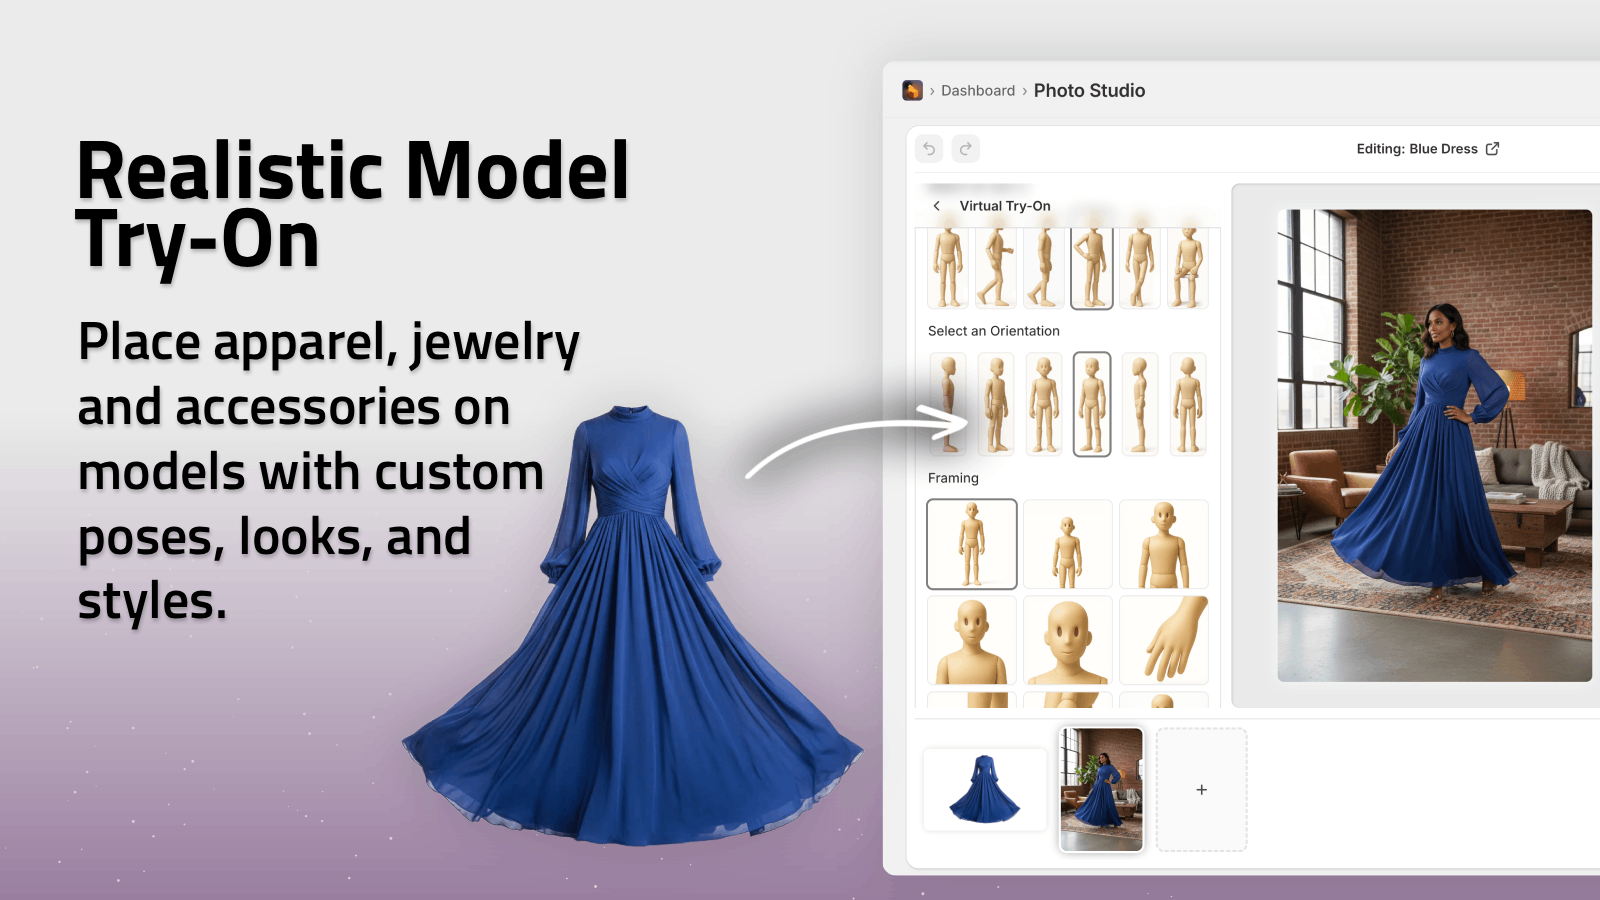
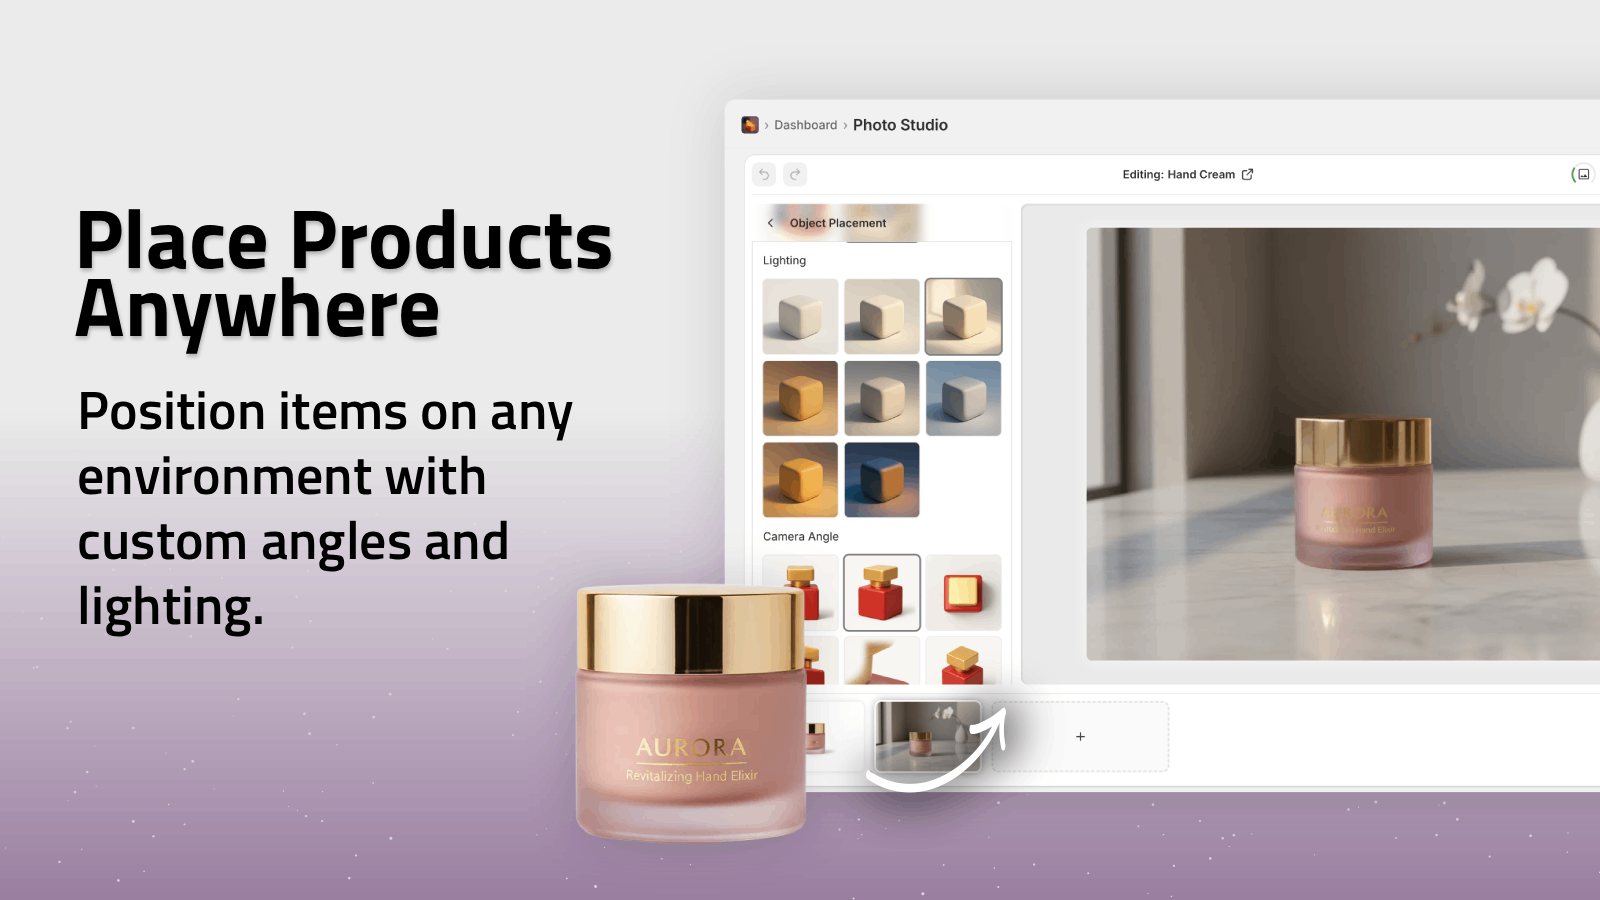
3. Choose try-on or object placement based on the product
If the product is wearable, try-on gives you the fastest path to a believable model image. If it is a bottle, candle, accessory, or home item, object placement is the better choice because the scene can stay close to the product’s actual use.
The product screenshots show both paths: Realistic Model Tryon and Place products anywhere.
If you want a tighter catalog-only version of this step, How to Keep Shopify Product Photos Consistent Across Your Catalog is the best companion guide.
Expected result: a contextual image that still looks like the original product, not a generic AI scene.
4. Turn the best still into a motion asset
Once one still looks right, use UGC Videos or B-roll videos to get a short clip for ads and social. The point is not to invent a new campaign. It is to extend the image that already works into something you can use in a feed or ad set.
If you want to compare motion options, How to Create UGC-Style Product Videos for Shopify Without Hiring Influencers and How to Build a Shopify UGC Video Testing Matrix are the most relevant follow-ups.
Expected result: one still photo becomes a usable motion asset without a full reshoot.
5. Keep the catalog consistent across the rest of the SKUs
The output only feels premium if the next product uses the same visual logic. Keep lighting, crop, background treatment, and polish level consistent across the catalog. The editor overview makes that repeatability easier to manage: Top Bar for undo and publish, Tools for AI actions, Canvas for the working image, and Image Gallery for the variants.
If you want the broader version of this idea, How I Turned Plain Shopify Product Photos Into a Full Launch Kit shows how the same assets can support a launch instead of just a product page.
Expected result: the product grid looks like one brand instead of a pile of one-off experiments.
6. Test one product before you scale it
Supra AI Photo Studio has a free plan, and the free tier is enough to test the workflow on one SKU before you commit to the full catalog. Create one cleanup pass, one contextual image, and one motion asset. If the set looks better than the original, repeat the process.
Expected result: a small proof that tells you whether the workflow belongs in your store.
Conclusion
If your product shots are technically fine but still feel flat, do not rebuild your whole photo process. Start with one clean source image, define the outputs, and run them through cleanup, scene placement, and motion. That is the shortest path from plain shot to a repeatable Shopify visual system.
If you want to test the workflow now, start with the Shopify app listing or the landing page and run one SKU through the full sequence.