
July 18, 2026
How to Build a Portable Video Export Pipeline in VideoFlow
Use one VideoJSON to preview, export, and edit the same video across browser, server, and React without rebuilding the project.
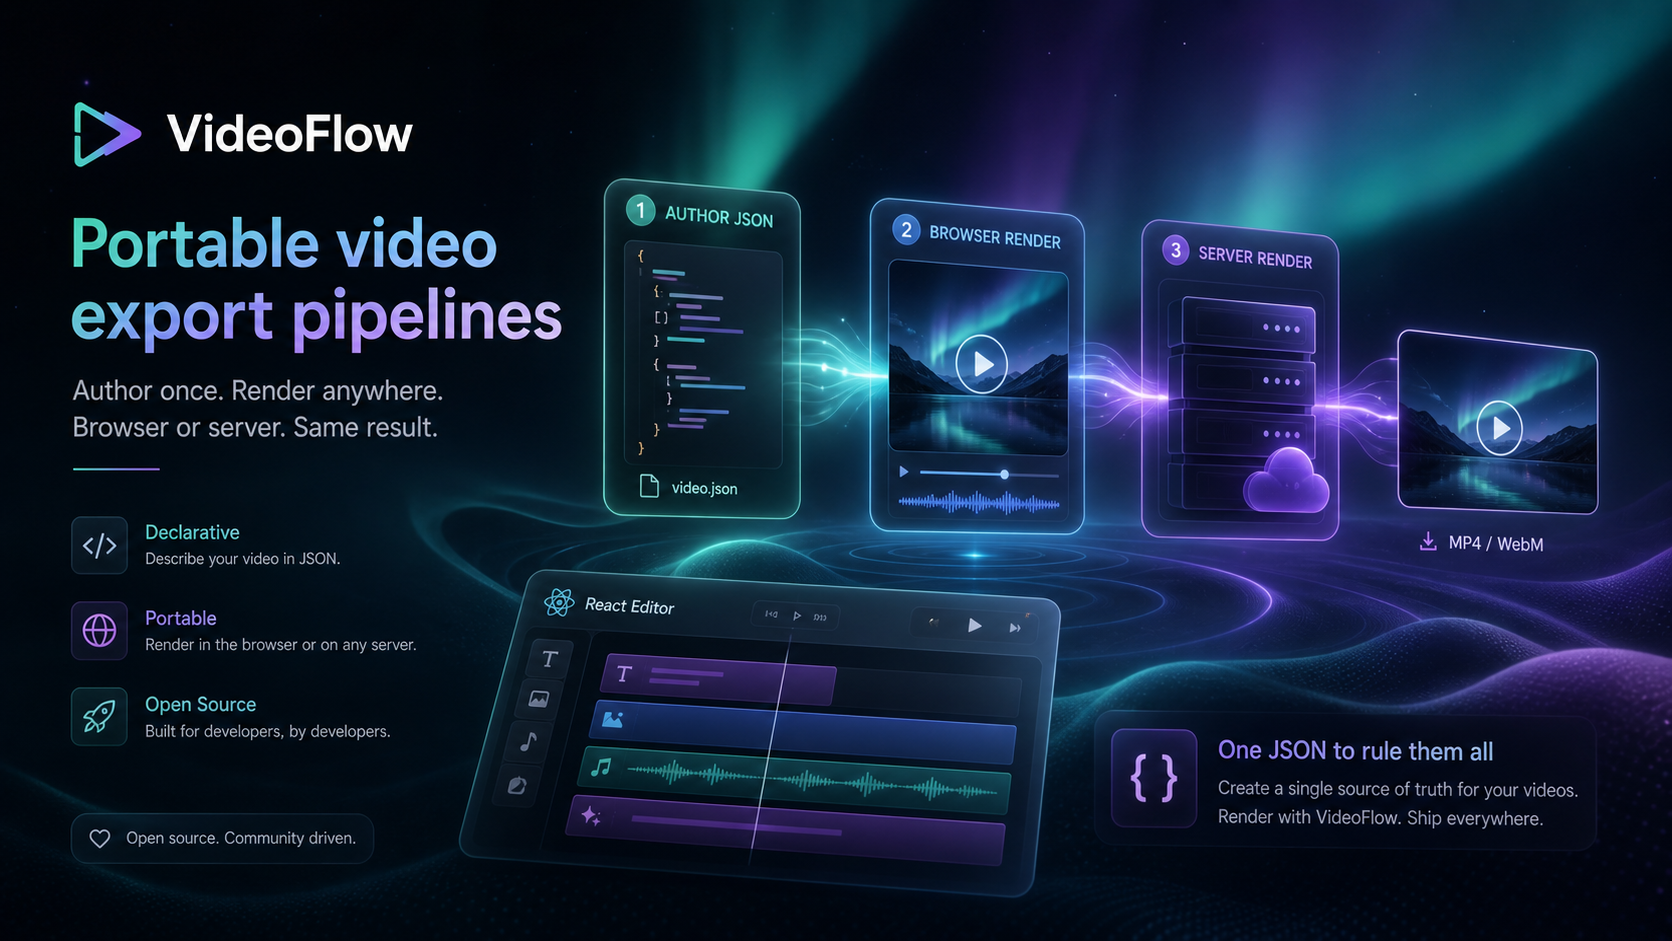
If you need to ship video features, the hard part is not a single render. It is keeping one source of truth useful in three places: the browser, a server worker, and an editor. VideoFlow is built for that exact problem: author the video once, compile it to VideoJSON, and reuse the same structure wherever you need it.
Start with the main site at VideoFlow, then keep the docs close by in separate tabs: docs, core, renderers, React video editor, playground, and examples.
1. Install the pieces you actually need
npm install @videoflow/core @videoflow/renderer-browser @videoflow/renderer-server @videoflow/renderer-dom @videoflow/react-video-editor
Expected result: your app has the core authoring package, the browser renderer, the server renderer, the live DOM preview, and the optional React editor ready to wire together.
2. Build one VideoJSON source of truth
Start with @videoflow/core and write the scene as code. The point is not to hardcode a final MP4. The point is to store the structure in a form that can be compiled, diffed, and reused later.
import VideoFlow from "@videoflow/core";

const $ = new VideoFlow({
  name: "Product launch teaser",
  width: 1920,
  height: 1080,
  fps: 30,
});

$.addText(
  { text: "Launch day", fontSize: 7, fontWeight: 800 },
  { transitionIn: { transition: "overshootPop", duration: "500ms" } }
);

$.addImage({ src: "https://example.com/hero.png" });

const videoJSON = await $.compile();
Expected result: you get a portable JSON object instead of a one-off render result.
If you want a second example of the JSON-first workflow, pair this with How to Build a JSON-First Video Workflow With VideoFlow and How to Build a VideoFlow Project That Keeps Templates and Renderers Separate.

3. Render the same JSON in the browser
Use the browser renderer when you want client-side export, lower server cost, or a faster feedback loop. VideoFlow’s browser path is useful when the export happens in the user’s session and you do not want to upload the source project first.
The product docs call out two practical browser advantages: progress callbacks and AbortController cancellation. That matters if a user closes the dialog, switches templates, or retries a long export.
Expected result: the same JSON can become an MP4 or WebM without leaving the browser session.
If you want the browser-specific version of that path, compare it with How to Build a Browser-Based MP4 Export Workflow With VideoFlow.
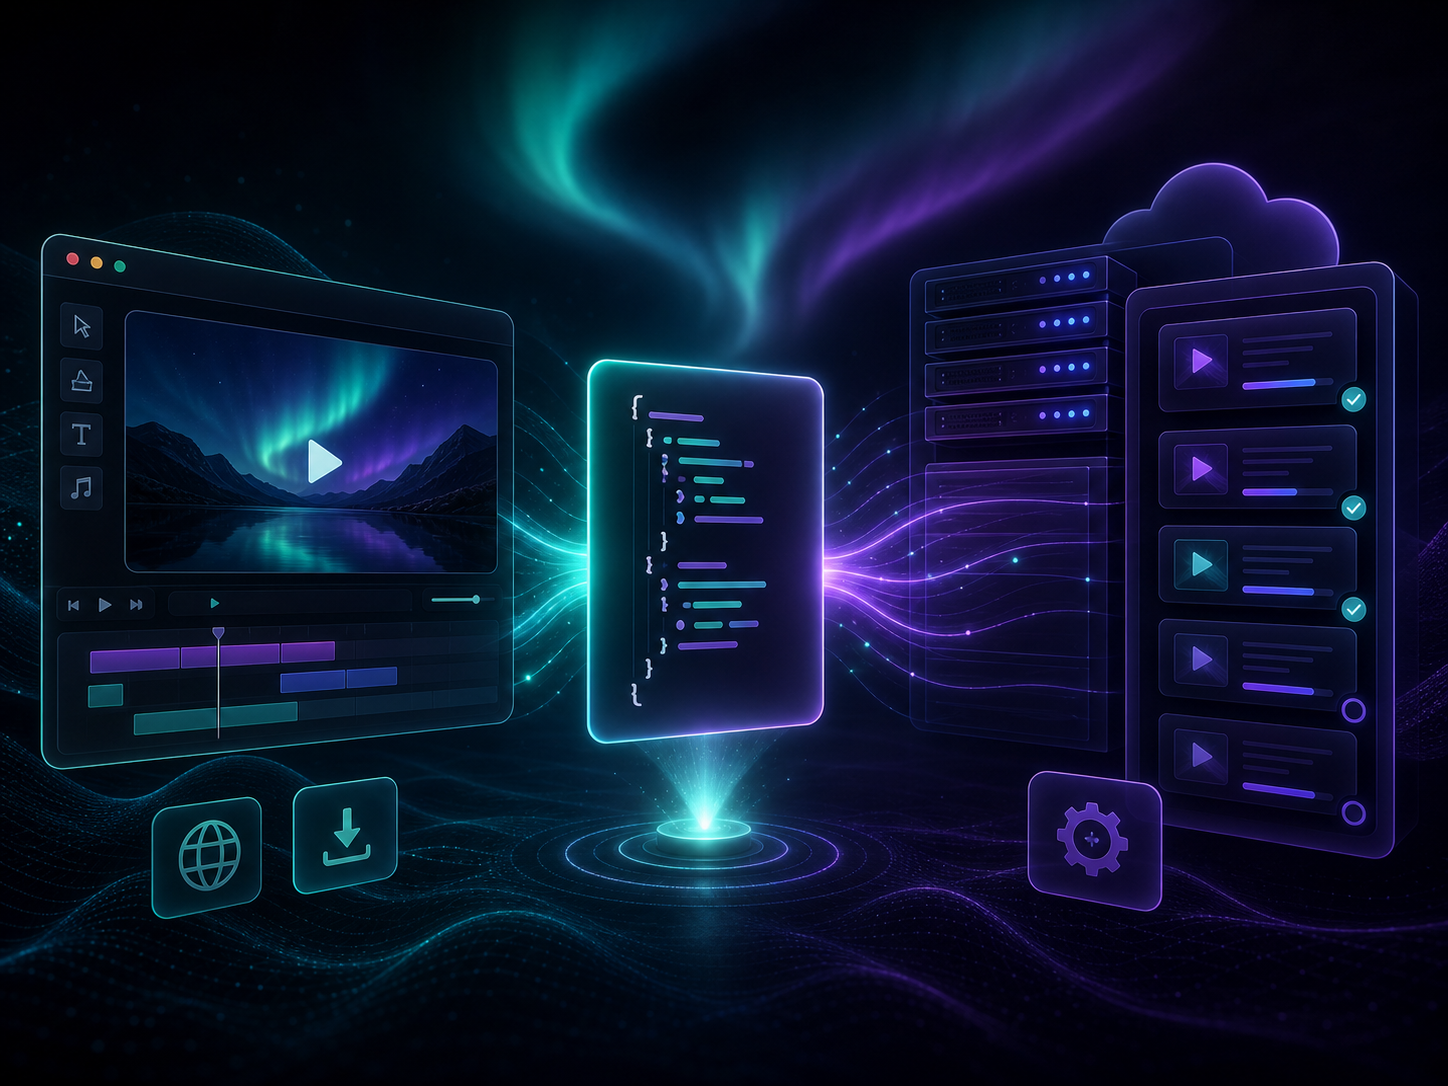
4. Use the server renderer when the job belongs in a queue
The server renderer is the right fit when rendering needs to happen in batch jobs, scheduled jobs, API jobs, or any workflow where you want consistent infrastructure behind the export button. VideoFlow says the server renderer uses headless Chromium and WebCodecs by default, with FFmpeg available for alternate encoding needs.
Expected result: you can run large or repeated render jobs without forcing them through a user’s browser.
If you want to keep this style maintainable in Git, read How to Build a Git-Friendly Video Template System With VideoFlow.
5. Add a DOM preview and a React editor for operators
The DOM renderer gives you a live preview with scrubbing, frame-accurate seeking, audio sync, and Shadow DOM isolation. That is the part that lets a teammate inspect the same JSON before export.
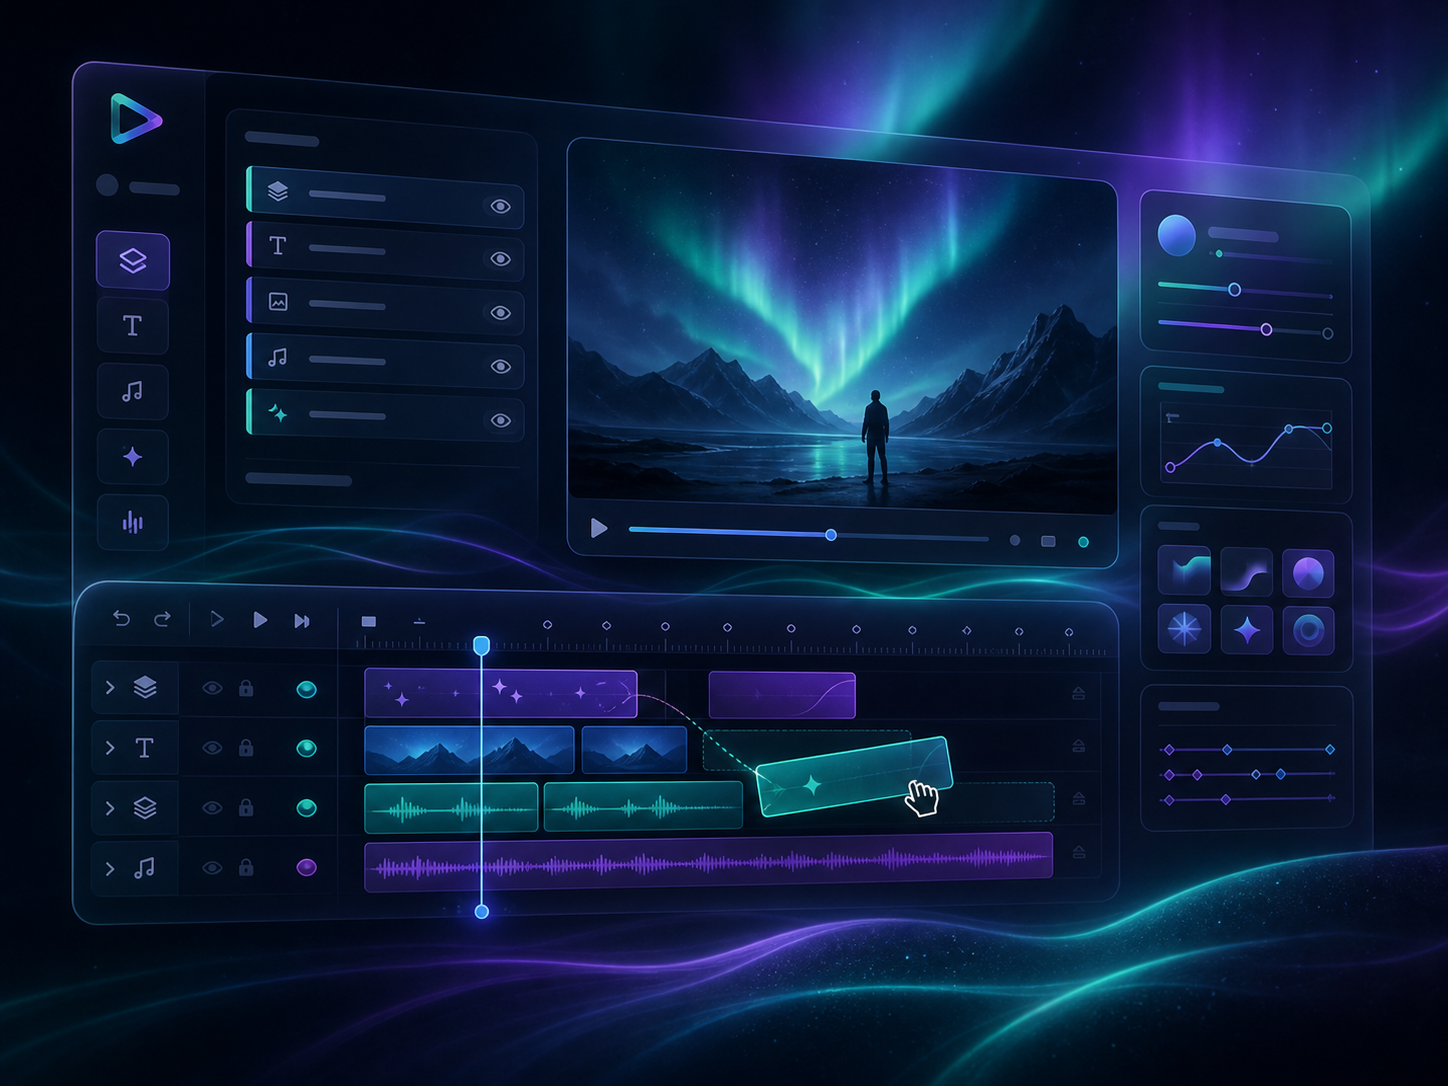
When you need a real editing UI, the optional React video editor is the bridge. It gives you a multi-track timeline, drag, trim, snap, keyframes, undo and redo, MP4 export, and themes you can tune.
import { VideoEditor } from "@videoflow/react-video-editor";
import "@videoflow/react-video-editor/style.css";

export default function App() {
  return (
    <VideoEditor
      video={videoJSON}
      onChange={(next) => saveToServer(next)}
      onSave={async (next) => await persist(next)}
      onUpload={async (file) => await upload(file)}
      theme="dark"
    />
  );
}
Expected result: non-developers can adjust the same source of truth without introducing a second timeline format.
6. Keep the pipeline portable
A good VideoFlow setup has one rule: the JSON stays the source of truth, and renderers stay replaceable. That makes the project easier to version in Git, easier to review in pull requests, and easier to move between browser, server, and editor workflows.
Use videoflow.dev/playground to test ideas quickly, then move into videoflow.dev/docs and videoflow.dev/examples when you are ready to build the real pipeline. The GitHub repo is also open source at https://github.com/ybouane/VideoFlow.
A practical decision rule:
- Browser renderer for local export and low-friction user actions.
- Server renderer for queues, scheduled jobs, or high-volume rendering.
- DOM renderer for live preview and scrubbing.
- React editor when someone needs to change the timeline visually.
Related reading:
- How to Build a VideoFlow Project That Keeps Templates and Renderers Separate
- How to Build a Git-Friendly Video Template System With VideoFlow
- How to Build a Browser-Based MP4 Export Workflow With VideoFlow
If you build from the JSON outward, you get one project that can preview, export, and edit without forked logic. Start with the core package, wire one renderer, and only add the editor when the workflow actually needs it.