
August 9, 2026
How to Set Up Size Charts That Update Across Your Shopify Catalog
Build a reusable Shopify size-chart system with accurate measurements, collection rules, and shopper-friendly unit choices.

If you sell apparel, footwear, or equipment, a size chart should answer a shopper’s question before they need to open a support ticket: what should I measure, and which size matches it? This guide walks through setting up a reusable size-chart system in Shopify so one update can cover the right products across your catalog. You need your product groups, a source of garment measurements, and a published theme.
For stores currently pasting tables into product descriptions, Supra Size Chart provides the central editor, measurement guides, and assignment rules used in the steps below.
1. Decide Which Products Can Share One Chart
Start with fit, not with the number of products. A regular-fit cotton tee may share a chart across several colors and graphic variants. A cropped tee, an oversized tee, and a heavyweight sweatshirt should usually get separate charts because the measurements or fit expectations differ.
Create a short list of the product groups that genuinely share the same garment pattern. Record the source measurements for each group in a spreadsheet. For a basic top, that commonly means size, chest width, body length, and sleeve length. Add a note when a measurement is taken with the garment laid flat; it prevents shoppers from comparing a flat width directly with their body circumference.
The expected result is a small set of defensible chart groups instead of hundreds of copied tables. This is the same product-page discipline that makes Shopify swatches for product families and collection pages easier to maintain: variants can share a system when the underlying customer decision is genuinely the same.
2. Build the Chart From Your Measurement Source
In Supra Size Chart, create a new chart and enter the columns from your source sheet in the spreadsheet-style editor. Set the unit for each column, then add any useful measurement notes. If your team already maintains this data in a CSV, import it rather than rekeying values.
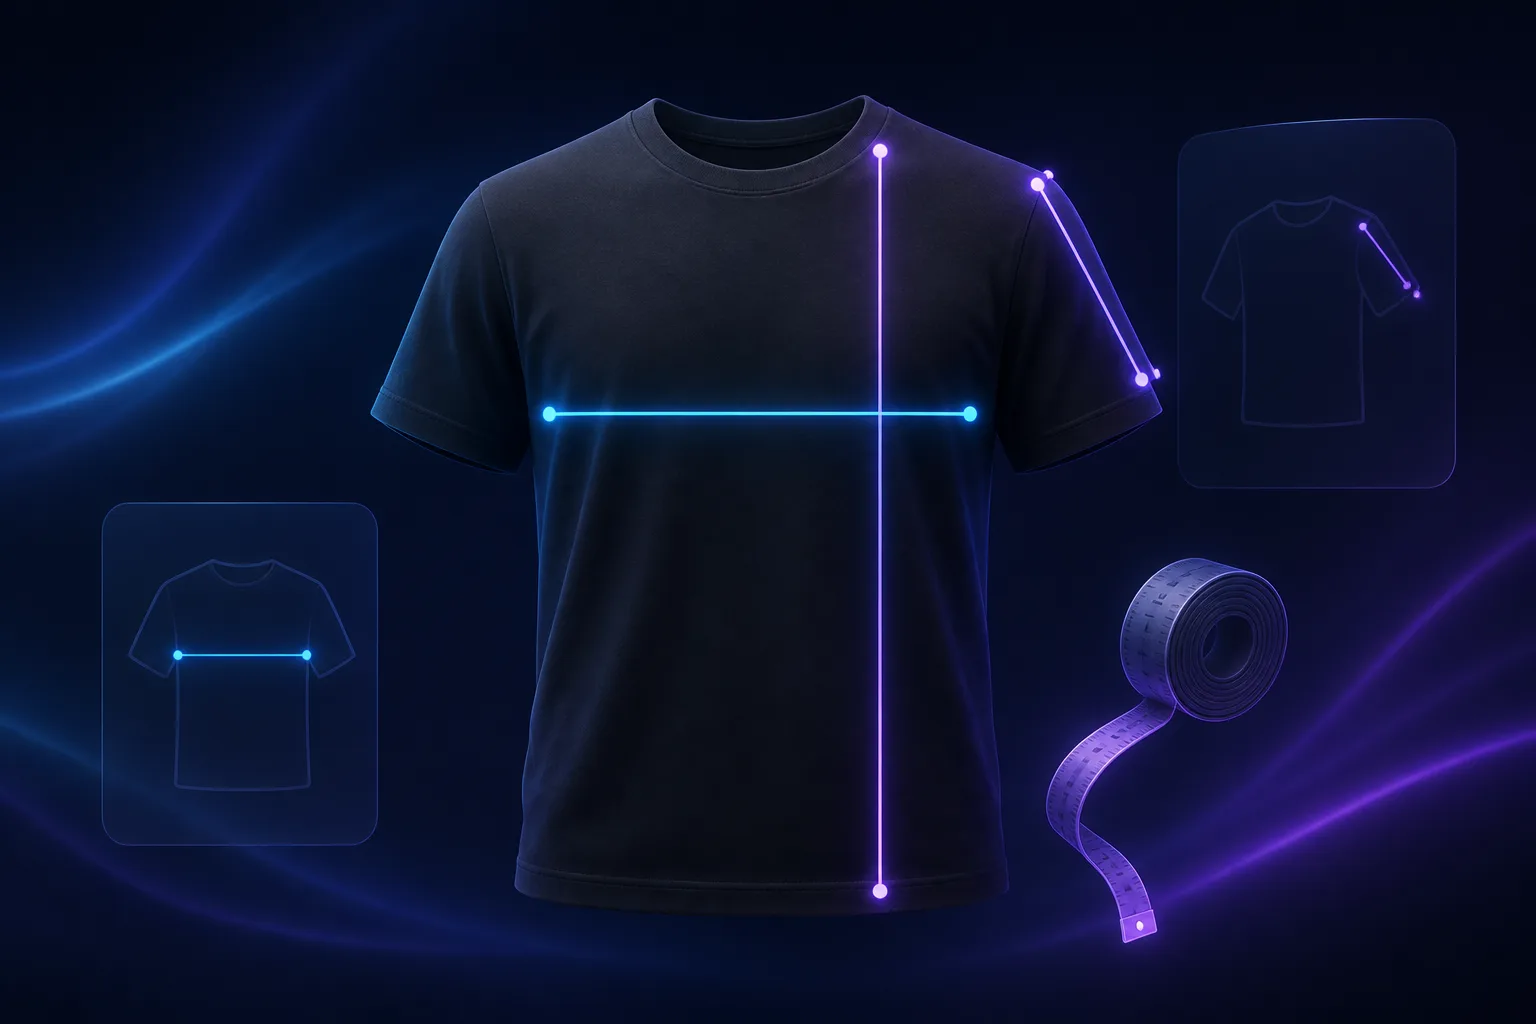
Keep the first version simple. A chart with four clearly defined columns is more useful than a wide table with unexplained numbers. For example, do not include a vague “length” column when you mean center-back body length. Name the measurement precisely in the note.
Expected result: the chart is readable on its own and a merchandiser can update it without editing Shopify product HTML. Because charts are stored as your store’s Shopify metaobjects and can be exported as CSV or JSON, the sizing data remains portable instead of being trapped in a page description.
3. Add a Measurement Guide Before You Assign Products
A numeric chart only works when the shopper measures the same thing your team measured. Add a labelled measurement guide to the chart and choose the garment silhouette that matches the product. Place the measurement lines where the chart columns expect them: for example, chest width across the body and body length from the correct shoulder point.
Use the guide to remove ambiguity, not to decorate the page. A customer should be able to see whether you mean a garment measurement or a body measurement in a few seconds. If your range includes very different silhouettes, reuse a guide where it is accurate and create another one where it is not.
This is also a useful moment to check the full product-page journey. If the product media still leaves shoppers uncertain about proportion or fit, consider the workflow in how to stage Shopify product photos before you publish them alongside the size guide.
4. Assign the Chart With the Narrowest Useful Rule
Now connect the chart to products. Supra Size Chart lets you assign a chart by product, collection, product type, vendor, or tag. Choose the broadest rule that is still correct. A collection rule is efficient for a consistent basics collection; a product rule is safer for a one-off cut; a tag works well when a fit group appears across collections.

Before relying on a broad rule, open three representative product pages: one standard item, one recently added item, and one edge case. The expected result is that the correct chart appears on all three. Rules are matched live, so a product added to the matching collection or tag later is covered without pasting another table.
If several rules could match, use the more specific rule for the exception and keep the shared chart as the fallback. This keeps special fits from silently inheriting the wrong sizing information.
5. Place the Theme Block Where Shoppers Need It
In Shopify’s theme editor, add the Supra Size Chart theme app block to the product template. Then choose the display mode that matches the page: inline table for a compact, comparison-friendly layout; accordion when product pages are already information dense; or a modal trigger when the chart needs more room. The modal uses the theme’s button styling, so it does not need a separate visual system.
Check the result on a phone as well as desktop. The expected result is that a shopper can find the chart without scrolling through the full description, read the column labels, and return to the size selector without losing their place. This kind of focused product-page check complements building a Shopify product photo workflow around one source image: each piece of product information should be consistent and easy to verify.
6. Make Unit Choice Explicit for International Shoppers
If you sell across regions, turn on the metric and imperial toggle when the measurements support a direct counterpart. Keep the original source unit clear and avoid mixing scales within the same column. A shopper should not need to guess whether a value is centimetres or inches.

Test the toggle with one complete row and confirm the values remain plausible after conversion. The expected result is a chart that works for more shoppers without maintaining duplicate tables.
7. Export a Backup and Review Exceptions
Export the finished chart as CSV or JSON and store it with the rest of your merchandising source data. Then review products that should not use the default: limited runs, altered fits, bundles, and products with regional sizing. The goal is not to force one table everywhere; it is to make the right table repeatable.
For a final product-page audit, review sizing alongside the rest of the decision path. How to choose the right Shopify swatch setup is a helpful companion when shoppers also need to distinguish colors, linked products, and variants.
A reusable chart, a clear measurement guide, and a carefully chosen rule turn sizing from repeated product-description work into a system. Start by creating one chart for your highest-volume fit group, place the theme block on its product template, and test it on three live products. You can install Supra Size Chart free and keep your charts, rules, and exports under your store’s control.