
July 21, 2026
How to Build a Shopify 3D Capture Shot List That Actually Works
A practical phone-based workflow for planning a Shopify 3D capture session, from setup to publish.

How to Build a Shopify 3D Capture Shot List That Actually Works
If you want a product page to feel more concrete without hiring a 3D artist, the fastest path is a disciplined capture session. Supra 3D Capture turns a regular phone into a guided photogrammetry workflow: take 10+ photos, reconstruct a web-ready GLB, and publish it into Shopify’s native 3D media flow or a theme app block.
The part that usually fails is not the app. It is the shot list.
I like to treat the capture plan like a checklist for one SKU, not a vague “take a bunch of photos” instruction. That keeps the session repeatable and makes it easier to compare against How to Tell Which Shopify Products Are Ready for 3D Models, How to Build a Shopify 3D Capture Queue Around Return Risk, How to Start a Shopify 3D Capture Pilot With Three SKUs, and How to Build a Shopify 3D Capture Checklist That Works.
1. Decide What the Model Has To Prove
Before you touch the camera, write down the one question the 3D model should answer.
- If the shopper needs shape, use 3D.
- If the shopper needs scale, use 3D.
- If the shopper needs to understand a finish or contour, use 3D.
- If the product is mostly about mood or styling, I would not force it into this workflow first.
That filter matters because the goal is not to scan everything. The goal is to improve the pages where a rotating model changes confidence.
Expected result: you know why this SKU deserves capture, and you can explain that choice to anyone on the team.
2. Set Up a Clean Capture Space
The easiest way to get a better model is to remove confusion before the first photo.
Use a stable surface, even lighting, and a background that does not compete with the product. Keep the object centered, and remove loose packaging, busy props, and anything reflective that does not help the scan. A phone stand is useful if it helps you hold distance steady, but the main rule is consistency.
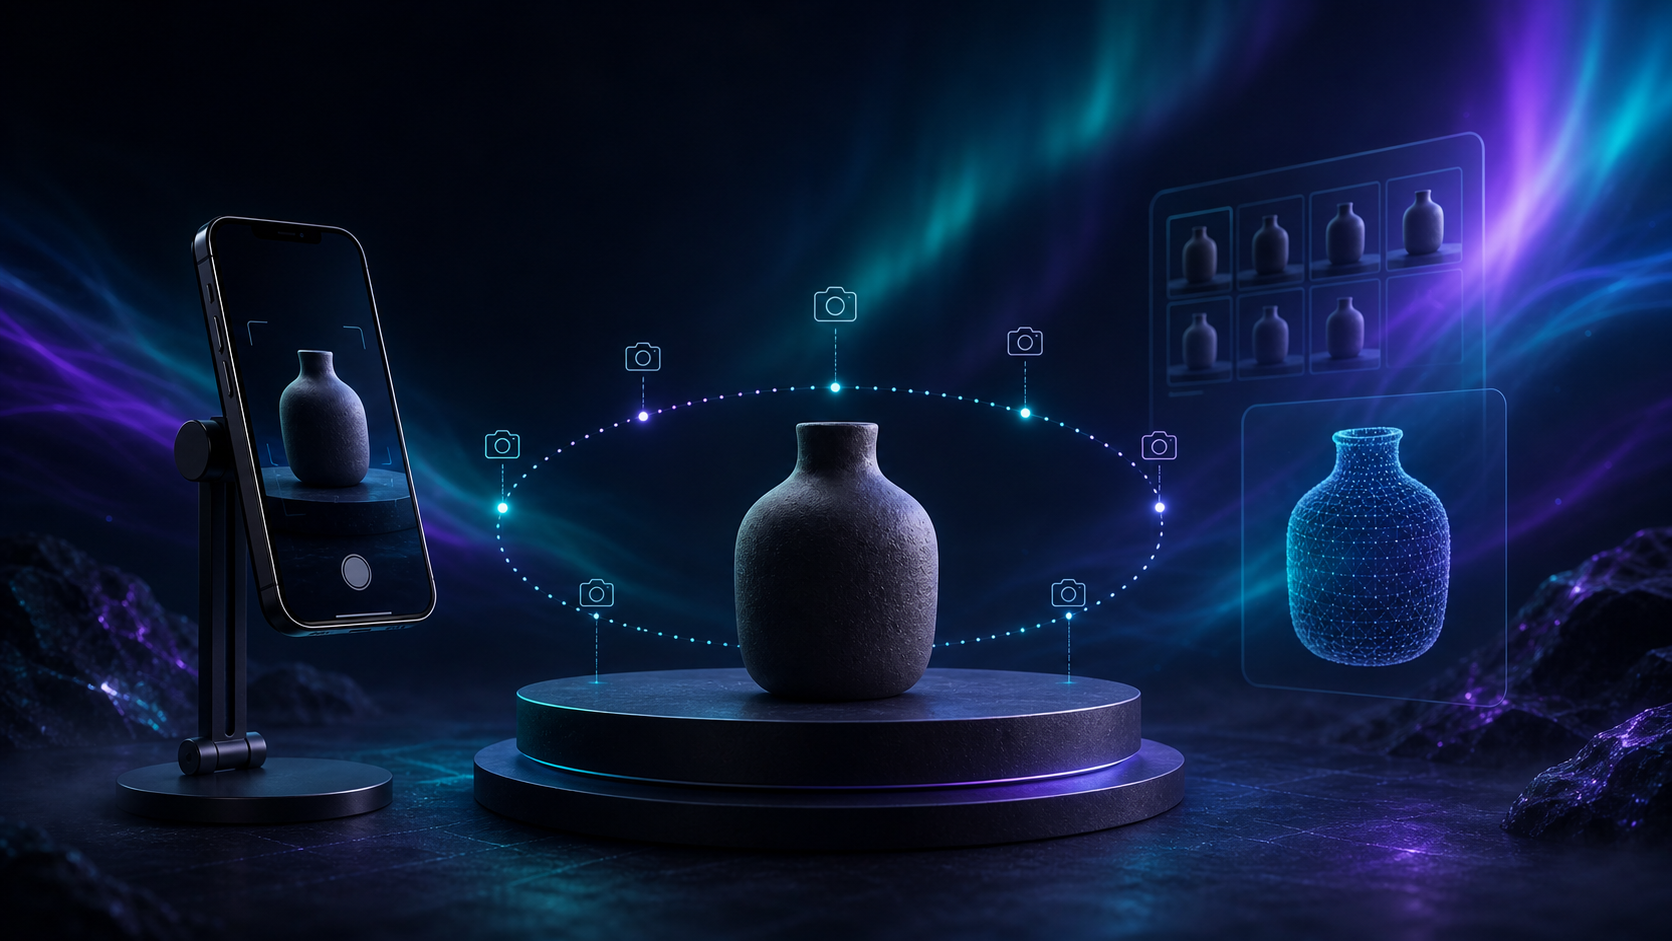
If the product has a shiny, clear, or highly reflective surface, assume it will take extra care. That does not mean do not scan it. It means you need a cleaner setup and better expectations.
Expected result: the product is the obvious subject in every frame, and the background stops stealing attention.
3. Shoot the Orbit With Consistent Distance
This is the part that makes or breaks the reconstruction.
Take a slow orbit around the product and keep the object framed at roughly the same size in each shot. I usually think in terms of a guided circle: 10 to 20 photos minimum, more if the product has complex surfaces or cutouts. The app can guide when the subject is in frame, which is what makes a regular phone workflow practical instead of fragile.

Do not rush the angles. Overlap is what gives photogrammetry enough data to build a clean mesh. If you change distance too much or drift off-center, you make the reconstruction work harder than it needs to be.
Expected result: you finish the orbit with a full set of overlapping images that look boring in isolation but useful together.
4. Process the Photos and Inspect the GLB
Once the photos are uploaded, the cloud pipeline does the heavy lifting: reconstruction, cleanup, and optimization for the web.
This is where Supra 3D Capture is useful for merchants who are already comfortable taking product photos but do not want to learn modeling software. The workflow is designed to turn guided phone photos into a polished GLB without special gear or LiDAR.
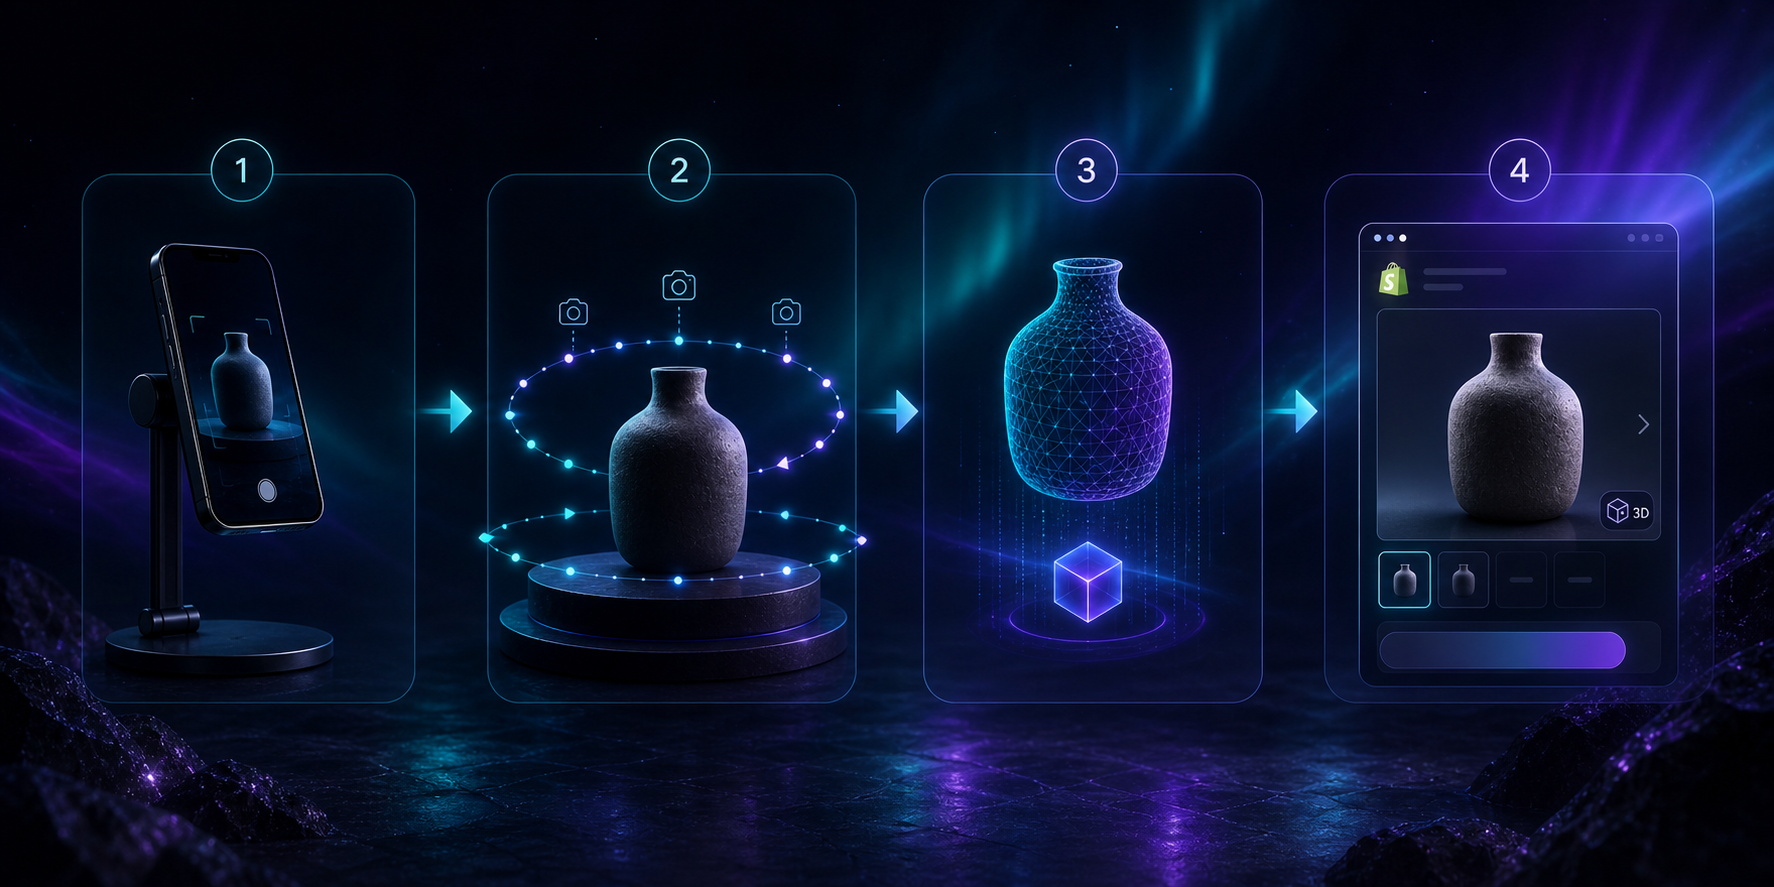
When the first model comes back, check three things:
- Does the silhouette feel true?
- Does the surface hold together cleanly?
- Does the model still look like the SKU you photographed?
If the answer is no, do not try to paper over it with copy. Reshoot with more consistent lighting or a less difficult background.
Expected result: you have a GLB that is stable enough to use on a real product page, not just in a preview.
5. Publish Where the Shopper Already Is
The useful part of a 3D model is not the export. It is where the export lands.
Attach the GLB to Shopify product media or place it with the dedicated Online Store 2.0 theme app block so the viewer lives inside the product page the shopper is already reading. That is the simplest way to make the 3D asset feel native instead of decorative.
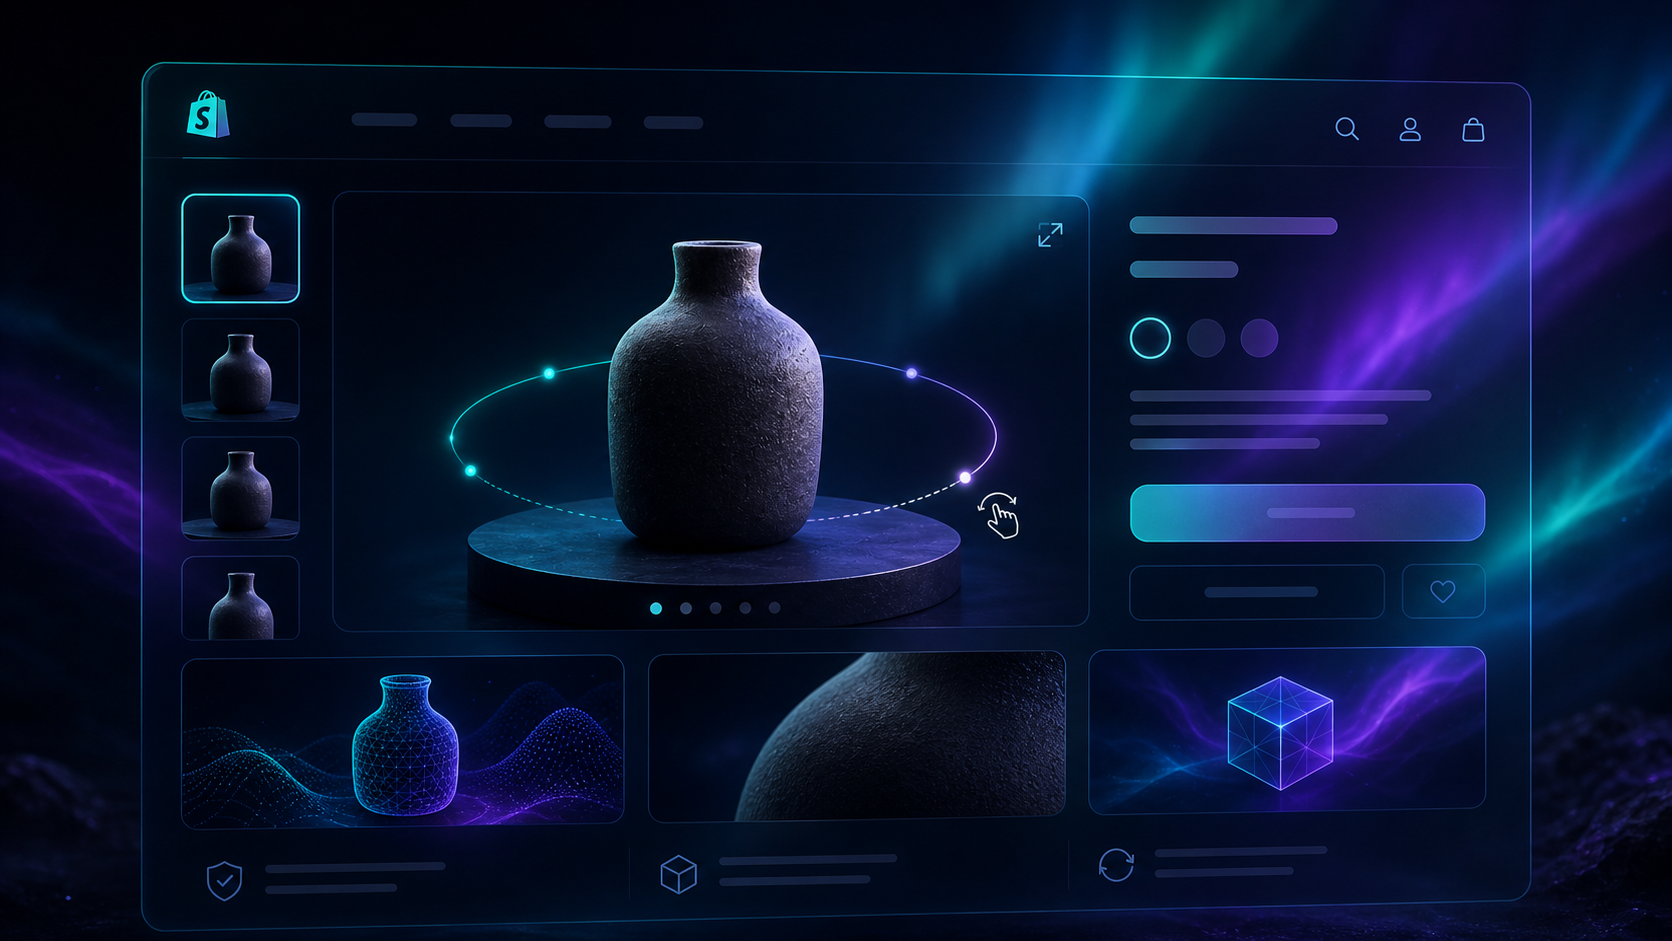
When you test the published page, check both desktop and mobile. A viewer that looks great in a preview can still feel awkward if the gallery, button placement, or spacing is off on a phone.
Expected result: the product page gets a real interactive element without forcing a redesign.
6. Know Which Subjects Need Extra Care
Some products need more than a standard orbit.
Reflective products, clear products, and soft or fuzzy products are more likely to produce messy scans. If you are working on those SKUs, you may need more controlled lighting, better separation from the background, or a decision to postpone them until the pilot proves the workflow.
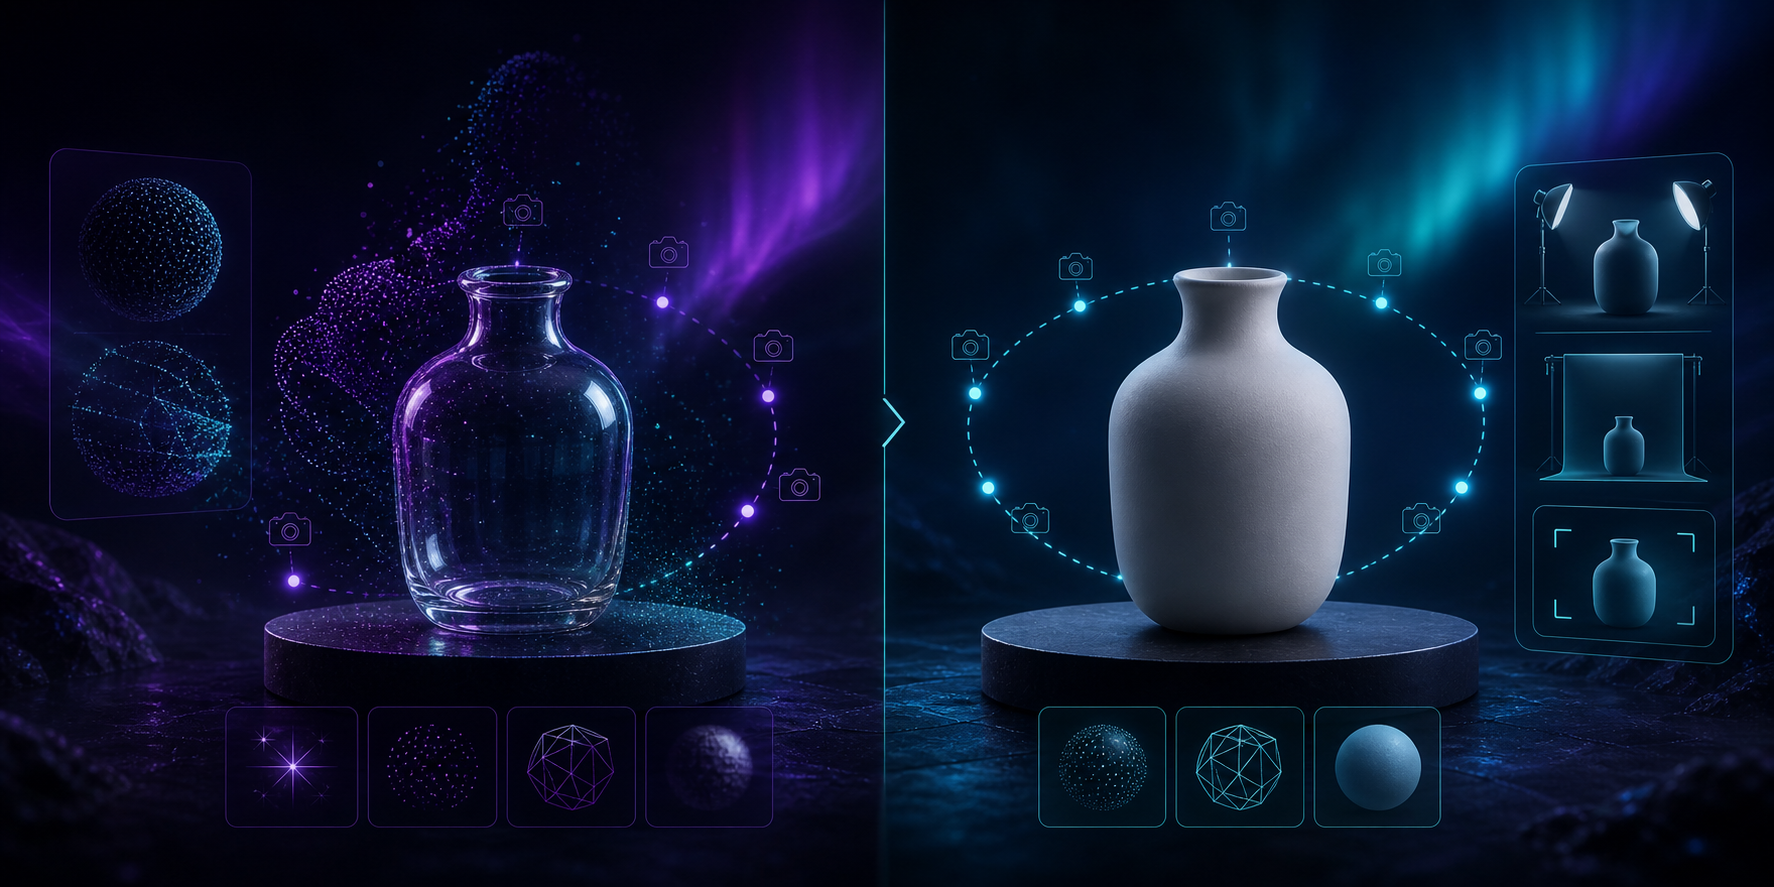
The main mistake is treating all products as equally scan-friendly. They are not. A hard-surface object with a readable silhouette is easier to reconstruct than glass, chrome, or a product that changes shape while you move around it.
Expected result: you know when to keep going and when to stop before you burn time on a bad fit.
7. Use the First Session To Build a Repeatable Pattern
Once one SKU works, do not expand randomly.
Use the first result to define your next capture batch. The best follow-up is usually one of three paths:
- a similar rigid SKU,
- a product with slightly higher return risk,
- or a catalog item that will benefit from the same lighting and orbit setup.
That is why the earlier planning articles matter. How to Build a Shopify 3D Capture Queue Around Return Risk helps you decide what should go next, while How to Start a Shopify 3D Capture Pilot With Three SKUs keeps the pilot small enough to finish.
If the shot list works on one product, you now have a repeatable process instead of a one-off scan.
Conclusion
A good 3D capture session is mostly a planning problem. Pick the right SKU, light it cleanly, shoot a consistent orbit, and publish the result where shoppers can actually interact with it.
If you want to test the workflow, start with the Free plan on Supra 3D Capture. It includes 3 scans per month and 1 saved 3D model, which is enough to validate the process on a small batch. If you are ready to install it, the Shopify App Store listing is the quickest next step.
The next action is simple: pick one rigid SKU, build the shot list, and run the capture once from start to finish.